Renee Paj- Delicious Easy Recipe You Must Try
Renee Paj is more than just a dish; it’s a warm embrace, a culinary hug that whispers stories of comfort and joy. Have you ever craved a meal that feels like a homecoming, a dish that instantly transports you to a place of pure contentment? That’s precisely the magic of Renee Paj. It’s the kind of food that draws people in, its aroma a siren song, promising a symphony of flavors and textures. What makes this particular Renee Paj so beloved? It’s the perfect balance of tender, slow-cooked meat, infused with aromatic spices that awaken the senses, all nestled alongside a bed of fluffy, fragrant rice. Each spoonful is a revelation, a testament to simple ingredients transformed into something extraordinary. It’s a recipe that has been passed down, cherished, and perfected, making it a true standout in any kitchen.
Renee Paj: A Comforting Bite of Sweetness
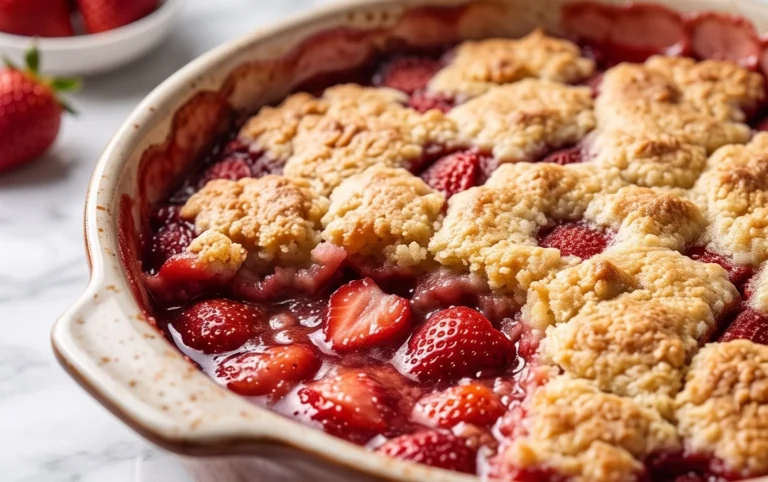
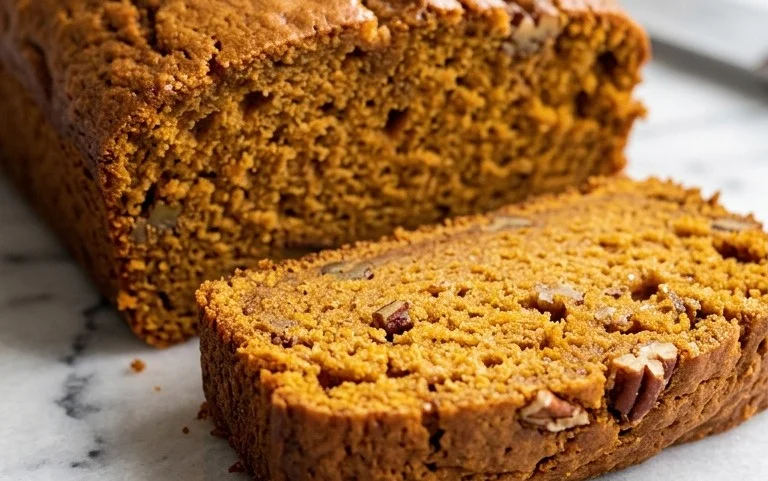
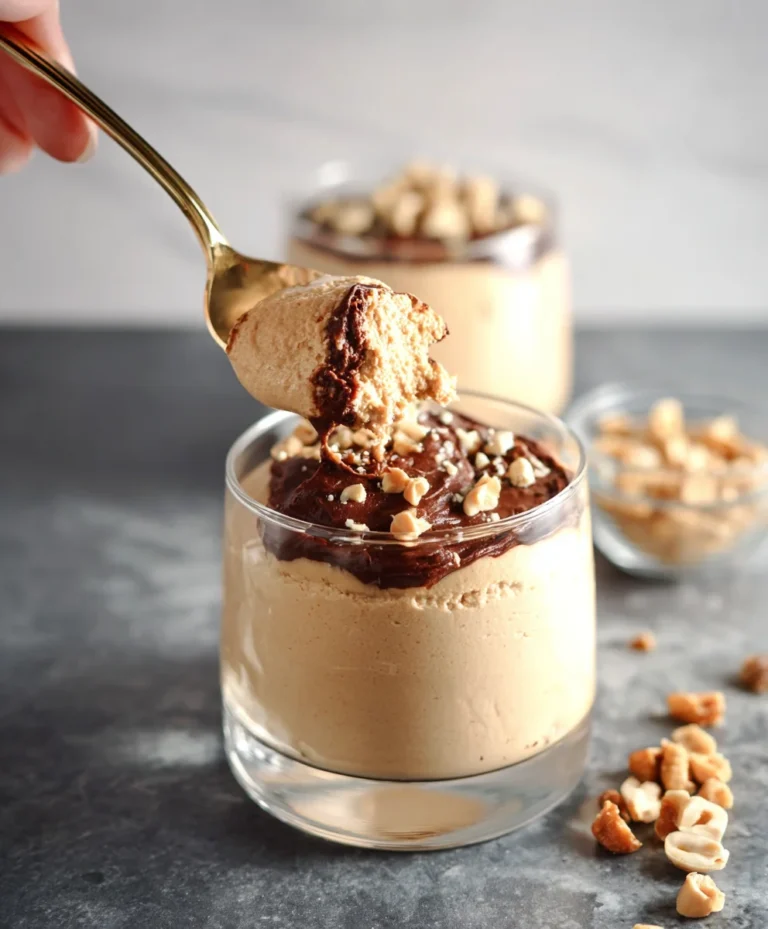
There are some recipes that just feel like a warm hug. Renee Paj, a delightful treat that’s somewhere between a quick bread and a dense, flavorful cake, is one of those recipes. It’s perfect for a cozy breakfast, a satisfying afternoon snack, or even a simple dessert. The magic of Renee Paj lies in its comforting blend of ripe bananas, warm spices, and a tender crum extractb, all brought together with a touch of nutty crunch if you choose to add it. This recipe is remarkably forgiving and can be whipped up with ingredients you likely already have in your pantry.
The beauty of Renee Paj is its simplicity. It doesn’t require any fancy techniques or obscure ingredients. The star of the show is undoubtedly the ripe bananas – the riper, the better! Those brown spots signal peak sweetness and a wonderfully moist texture. When mashed, they create a natural sweetness and a beautiful aroma that permeates your kitchen as it bakes. Paired with the earthy warmth of cinnamon and the subtle richness of brown sugar, it’s a flavor combination that’s simply irresistible.
Let’s get down to what makes this recipe so special. It’s a fantastic way to use up those bananas that have seen better days, transforming them into something truly delicious. The texture is wonderfully forgiving; it’s not overly delicate, making it great for begin extractners. You’ll find it’s substantial enough to be satisfying without being heavy. And that optional walnut addition? It adds a delightful textural contrast and an extra layer of flavor that really elevates the finished product. I often find myself reaching for this recipe on a lazy weekend morning or when I need a quick pick-me-up.
Ingredients:
Cooking Instructions:
Preparation and Mixing the Dry Ingredients
The first step to creating your delicious Renee Paj is to get your oven preheating and prepare your baking pan. Preheat your oven to 350 degrees Fahrenheit (175 degrees Celsius). It’s important to let the oven come to temperature fully before baking to ensure even cooking. Next, grease and flour a standard 9×5 inch loaf pan, or if you prefer, you can line it with parchment paper for easier removal. This prevents your delicious creation from sticking. In a large mixing bowl, combine your dry ingredients. This includes the old fashioned oats, all purpose flour, light brown sugar (make sure it’s packed to get the right sweetness and moisture), kosher salt, baking soda, baking powder, and ground cinnamon. Whisk these ingredients together thoroughly. This step is crucial for distributing the leavening agents and salt evenly, which will ensure your Paj rises properly and has a balanced flavor. Make sure there are no clumps of baking soda or powder.
Mashing the Bananas and Combining Wet Ingredients
Now it’s time to work with our star ingredient: the bananas. Place your 3 large, ripe bananas (peeled and cut into chunks for easier mashing) into a separate medium-sized bowl. Using a fork or a potato masher, mash the bananas until they are mostly smooth with just a few small lumps remaining. Some small banana pieces add lovely texture, so don’t worry about getting them perfectly pureed. To this mashed banana mixture, add your 2 large eggs, pure vanilla extract, and the cooking oil. Whisk these wet ingredients together until they are well combined and the mixture is smooth. The vanilla extract will add a wonderful depth of flavor that complements the banana beautifully. The oil will contribute to the tender and moist crum extractb of the finished Paj.
Combining Wet and Dry Ingredients
This is where the magic starts to happen! Pour the wet ingredients (the mashed banana mixture) into the bowl containing the dry ingredients. Now, using a spatula or a wooden spoon, gently fold the wet ingredients into the dry ingredients until they are just combined. Be careful not to overmix! Overmixing can develop the gluten in the flour too much, resulting in a tough Paj. Stop mixing as soon as you no longer see streaks of dry flour. If you are using the chopped walnuts, this is the point where you would gently fold them into the batter. Make sure they are evenly distributed throughout the mixture for that delightful crunch in every bite.
Baking to Perfection
Carefully pour the batter into your prepared loaf pan, spreading it evenly with your spatula. You can smooth the top slightly. Place the pan in the preheated oven. Bake for approximately 50-60 minutes, or until a wooden skewer or toothpick inserted into the center of the Paj comes out clean. The baking time can vary slightly depending on your oven, so it’s always a good idea to start checking around the 50-minute mark. If the top of the Paj starts to brown too quickly before the inside is cooked, you can loosely tent it with aluminum foil. This will protect the top from over-browning while allowing the inside to finish baking.
Cooling and Enjoying
Once baked, carefully remove the loaf pan from the oven. Let the Renee Paj cool in the pan for about 10-15 minutes. This allows it to set up properly before you attempt to remove it. After this initial cooling period, invert the Paj onto a wire rack to cool completely. Allowing it to cool completely is important for the texture to fully develop and for easier slicing. Once cooled, slice your Renee Paj into thick pieces and enjoy! It’s delicious on its own, or you can serve it with a dollop of butter, a drizzle of honey, or even a spoonful of cream cheese. This Paj is best enjoyed within a few days, but it also freezes beautifully if you want to save some for later. Simply wrap it tightly in plastic wrap and then aluminum foil.
Conclusion:
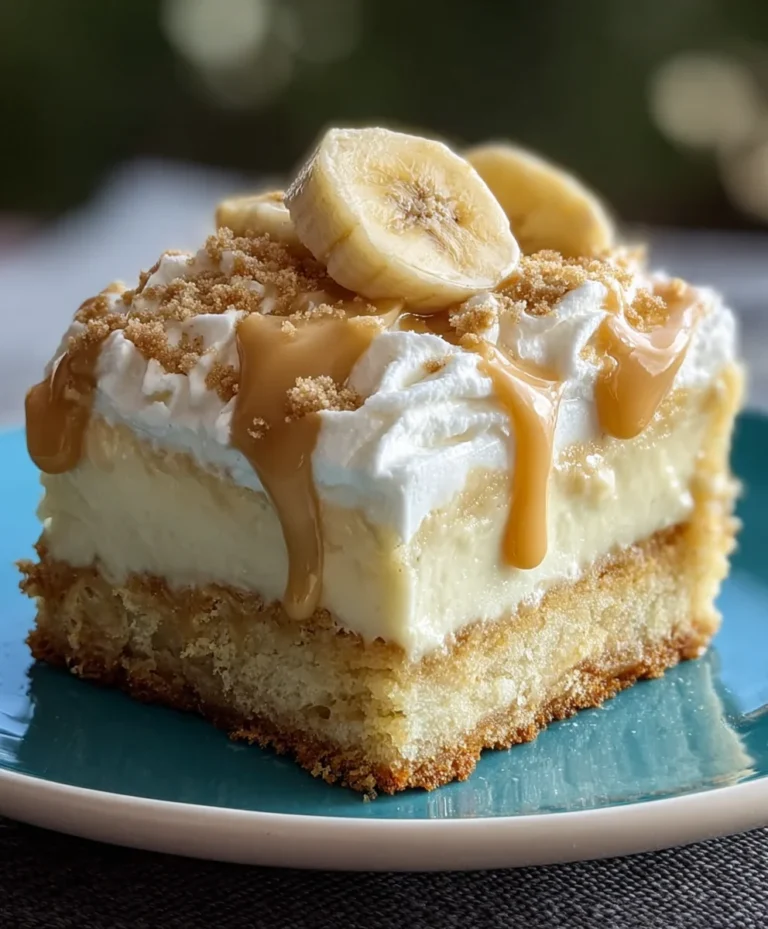
I hope you’re as excited to try this Renee Paj recipe as I am! This dessert is truly something special, offering a delightful balance of sweet, creamy, and just a hint of tangin extractess that makes it incredibly satisfying. It’s surprisingly straightforward to make, proving that impressive desserts don’t have to be complicated. The soft, melt-in-your-mouth texture combined with the vibrant flavor profile makes this Renee Paj a guaranteed crowd-pleaser, perfect for any occasion, from a casual family dinner to a more formal gathering. I wholeheartedly encourage you to give it a go; I’m confident you’ll fall in love with it just like I have.
For serving, this delightful Renee Paj shines on its own, but a dollop of whipped cream, a sprinkle of fresh berries, or even a light dusting of powdered sugar can elevate it further. It’s also wonderful served slightly warm or chilled, offering a versatility that suits various preferences. Don’t be afraid to experiment with variations! You could introduce a touch of citrus zest, like lemon or orange, to the filling for an extra brightness, or perhaps swirl in some melted chocolate or fruit puree for added depth. The possibilities are truly endless!
Frequently Asked Questions:
Can I make this Renee Paj ahead of time?
Absolutely! The Renee Paj is an excellent make-ahead dessert. In fact, chilling it for several hours or even overnight allows the flavors to meld beautifully and the texture to set perfectly. Just cover it tightly and store it in the refrigerator.
What if I don’t have fresh berries for garnish?
No problem at all! While fresh berries are lovely, they are entirely optional. A sprinkle of toasted nuts like almonds or walnuts adds a lovely crunch. A drizzle of caramel sauce or a dusting of cinnamon can also provide a delicious finishing touch without fresh fruit.
Is it possible to make a dairy-free version of this Renee Paj?
Yes, you can! For a dairy-free adaptation, you can substitute the cream cheese with a dairy-free cream cheese alternative and use full-fat coconut milk or a plant-based alternative in place of the heavy cream. The result will be slightly different but still wonderfully delicious.
Renee Paj
A delicious and easy banana oat bar recipe.
Ingredients
-
1 cup old fashioned oats
-
1 1/4 cups all purpose flour
-
1/2 cup light brown sugar, packed
-
1/2 tsp. kosher salt
-
1/2 tsp. baking soda
-
1/4 tsp. baking powder
-
1/2 tsp. ground cinnamon
-
3 large, ripe bananas, cut into chunks
-
2 large eggs
-
1 tsp. pure vanilla extract
-
3 TBSP cooking oil
-
1/3 cup chopped walnuts
Instructions
-
Step 1
Preheat oven to 350°F (175°C). Grease and flour a 9×13 inch baking pan. -
Step 2
In a large bowl, combine the oats, flour, brown sugar, salt, baking soda, baking powder, and cinnamon. Stir well. -
Step 3
In a separate bowl, mash the bananas. Add the eggs, vanilla extract, and cooking oil. Mix until well combined. -
Step 4
Pour the wet ingredients into the dry ingredients and stir until just combined. Fold in the chopped walnuts, if using. -
Step 5
Spread the batter evenly into the prepared baking pan. -
Step 6
Bake for 25-30 minutes, or until a toothpick inserted into the center comes out clean. -
Step 7
Let cool completely before cutting into bars.
Important Information
Nutrition Facts (Per Serving)
It is important to consider this information as approximate and not to use it as definitive health advice.
Allergy Information
Please check ingredients for potential allergens and consult a health professional if in doubt.