Quick Easy No Yeast Pizza Dough – Homemade Pizza
An excellent no yeast pizza dough is your ticket to spontaneous pizza nights that are both quick and incredibly easy. Forget the hours of waiting for yeast to proof; with this recipe, delicious homemade pizza is just minutes away from mixing to baking. We all love pizza, right? It’s the ultimate comfort food, perfect for family dinners, casual get-togethers, or just a treat after a long week. But what makes this particular no yeast pizza dough so special? It delivers that satisfyingly chewy, slightly crispy crust without any fuss. No more last-minute grocery store runs for yeast, no more worrying if your dough will rise. This is the recipe you’ll reach for again and again when that pizza craving strikes, promising a fantastic homemade pizza experience every single time.
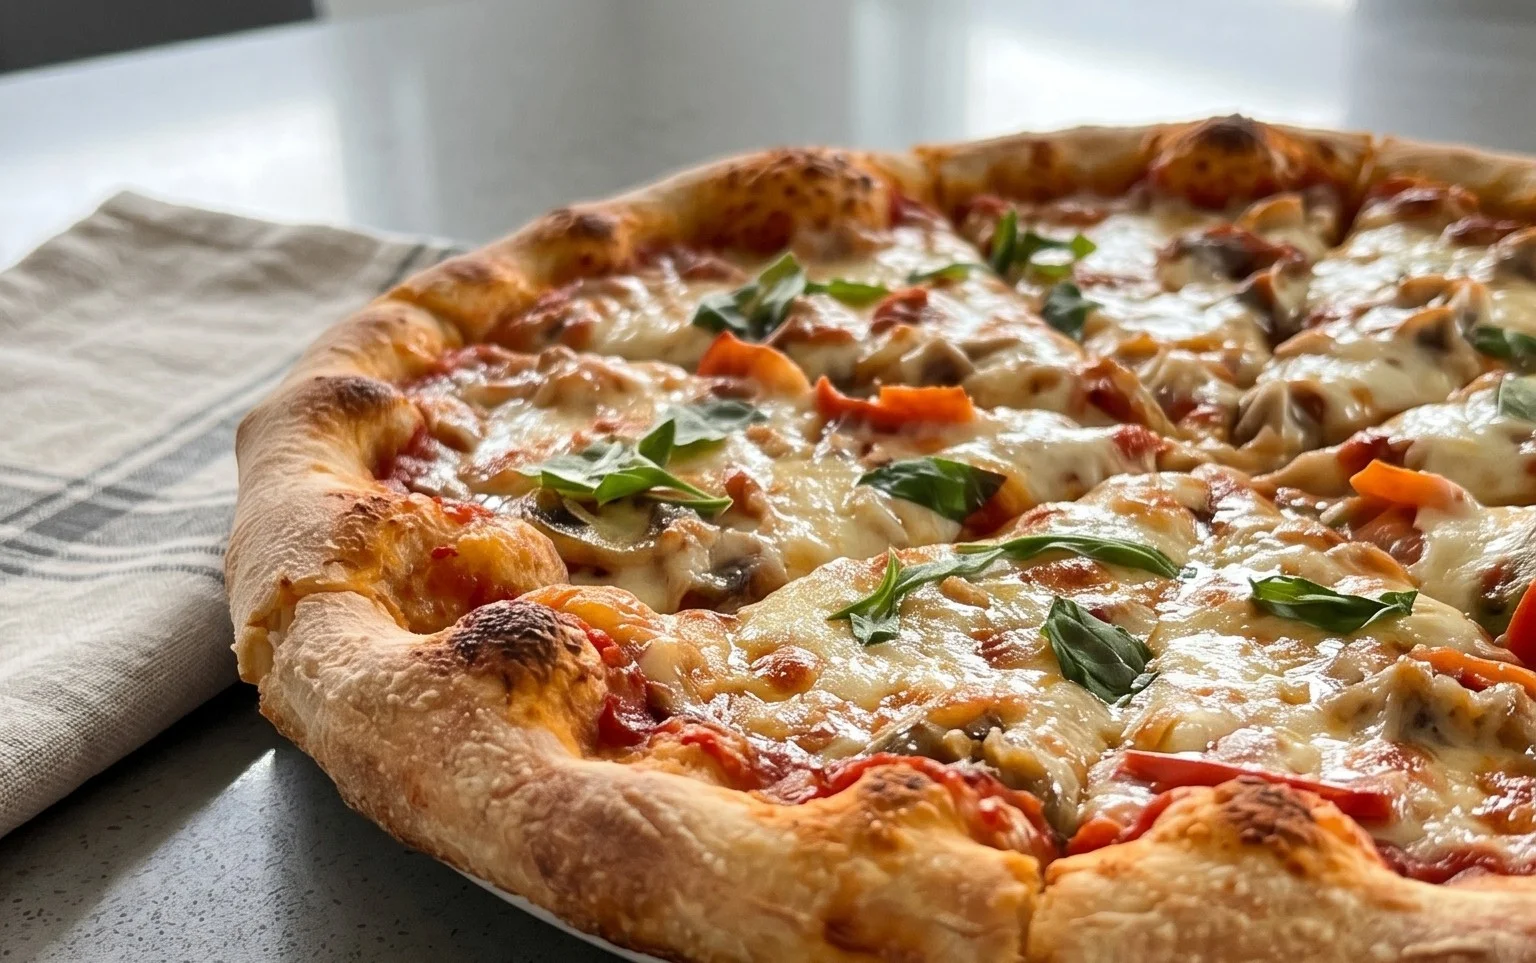
An Excellent No Yeast Pizza Dough – Quick & Easy Homemade Pizza!
There’s something incredibly satisfying about a homemade pizza. The aroma filling your kitchen, the bubbling cheese, and the slightly crisp crust are hard to beat. But what if you’re craving pizza and don’t have any yeast on hand, or perhaps you’re short on time? Fear not! This no-yeast pizza dough recipe is an absolute lifesaver. It’s remarkably quick to whip up, requires minimal fuss, and results in a wonderfully tender and slightly chewy crust that’s perfect for all your favorite toppings. Forget waiting for dough to rise; you can have delicious homemade pizza on the table in under an hour with this fantastic recipe.
This recipe is perfect for weeknight dinners, impromptu pizza parties, or even just a fun activity with the kids. The secret to its leavening power is baking powder, which works its magic quickly, giving you that lovely rise without the long fermentation period. I’ve tried many no-yeast recipes, and this one consistently delivers excellent results, making it my go-to whenever the pizza craving strikes.
Ingredients:
Instructions:
Here’s how to bring this quick and easy pizza dough to life. It’s so simple, you’ll be amazed at how good it is!
1. Combine the Dry Ingredients
In a medium-sized mixing bowl, combine the 1 1/3 cups of bread flour (or your all-purpose flour), 2 teaspoons of baking powder, 3/4 teaspoon of salt, and 3/4 teaspoon of sugar. Whisk these dry ingredients together thoroughly. It’s important to ensure the baking powder is evenly distributed throughout the flour. This will guarantee consistent leavening across your pizza crust, preventing dense or flat spots. The sugar, while a small amount, plays a role in both flavor and helping the crust to lightly brown during baking. Give it a good stir to make sure everything is well incorporated.
2. Add the Wet Ingredients and Mix
Now, add the 2 teaspoons of olive oil (or your preferred cooking oil) and 1/2 cup of cold tap water to the bowl with the dry ingredients. Using your hands or a sturdy spoon, begin extract to mix everything together. You’re aiming for a shaggy dough that just starts to come together. Don’t overmix at this stage. The dough will look a bit messy and unappealing at first, but that’s perfectly normal. The goal here is simply to incorporate the liquids into the dry ingredients until no dry flour pockets remain visible.
3. Knead the Dough
Turn the shaggy dough out onto a lightly floured surface. I usually use about 1 tablespoon of extra flour for dusting my work surface to prevent sticking. Now, it’s time to knead! Kneading develops the gluten in the flour, which is what gives your pizza crust its structure and chew. Knead the dough for about 5-7 minutes. You’ll know it’s ready when it becomes smooth, elastic, and springs back slightly when you gently press it with your finger. If the dough feels too sticky, add a tiny bit more flour, a teaspoon at a time, as you knead. Conversely, if it seems too dry and crum extractbly, you can dampen your hands with a little water and continue kneading. The dough should feel soft but not sticky.
4. Shape and Rest the Dough
Once your dough is smooth and elastic, form it into a nice, compact ball. You can place it back into the clean mixing bowl, cover it loosely with a clean kitchen towel or plastic wrap, and let it rest for about 10-15 minutes. This resting period is crucial. It allows the gluten to relax, making the dough much easier to shape and preventing it from shrinking back when you try to stretch it. Think of it as giving the dough a little breather before the main event.
5. Shape Your Pizza Crust
After the brief rest, your dough is ready to be shaped into your pizza base. Lightly flour your work surface again if needed. You can either gently stretch the dough with your hands, starting from the center and working your way outwards, or use a rolling pin. If you prefer a thicker crust, you can roll it out to your desired thickness. For a thinner crust, stretch it out more thinly. Aim for a circle or an irregular rustic shape – it’s homemade, after all! If you want a slightly puffy crust edge, be sure to leave a little thicker rim. Be gentle as you stretch to avoid tearing the dough. Once shaped, you can carefully transfer it to your pizza peel or baking sheet that has been lightly dusted with cornmeal or flour to prevent sticking.
6. Add Your Toppings and Bake!
Now comes the fun part – adding your favorite pizza sauce, cheese, and toppings! For an extra special touch, you can brush the outer edge of the crust with 2 teaspoons of vegetable oil (or canola or other neutral oil) before adding toppings. This will give the crust a lovely golden sheen and a slightly crispier texture. Once your pizza is loaded with all its deliciousness, it’s time to bake. Preheat your oven to a high temperature, typically between 450°F and 475°F (230°C – 245°C), depending on your oven. If you have a pizza stone or steel, place it in the oven while it preheats. Bake for 10-15 minutes, or until the crust is golden brown and the cheese is bubbly and melted. Keep an eye on it, as oven temperatures can vary.
Enjoy your incredible homemade no-yeast pizza! It’s proof that you don’t need yeast for a fantastic pizza experience.

Conclusion:
You’ve now got the secrets to crafting an absolutely excellent no yeast pizza dough, transforming your kitchen into a pizzeria in minutes! This recipe truly shines because it eliminates the waiting time associated with traditional yeast-risen dough, making homemade pizza a spontaneous and achievable delight. The result is a wonderfully tender yet slightly chewy crust that’s the perfect canvas for all your favorite toppings.
Imagin extracte piling on fresh mozzarella, vibrant vegetables, or savory meats – the possibilities are endless! This dough is incredibly versatile. For a classic margherita, keep it simple with San Marzano tomatoes, fresh basil, and mozzarella. Feeling adventurous? Try a pesto base with sundried tomatoes and grilled chicken, or a white pizza with ricotta, spinach, and garlic. Don’t be afraid to experiment with different sauces and cheeses!
I truly encourage you to give this quick and easy homemade pizza recipe a try. It’s perfect for busy weeknights, impromptu gatherings, or anytime you’re craving a delicious, satisfying pizza without the fuss. You’ll be amazed at how simple and rewarding it is to create restaurant-quality pizza right in your own home.
Frequently Asked Questions:
Can I make this no yeast pizza dough ahead of time?
Yes, you absolutely can! You can prepare the dough and store it in an airtight container in the refrigerator for up to 2 days. Allow it to come to room temperature for about 30 minutes before shaping for easier handling.
What kind of flour is best for this recipe?
All-purpose flour works wonderfully for this excellent no yeast pizza dough and is readily available. For a slightly chewier crust, you could experiment with bread flour, but all-purpose is perfectly fine and highly recommended for its ease of use.
My dough feels too sticky. What should I do?
A slightly sticky dough is normal. Instead of adding too much extra flour, which can make the crust tough, try lightly flouring your hands and your work surface. You can also use a bench scraper to help manage the dough as you knead and shape it.
An excellent No Yeast Pizza Dough – quick easy homemade pizza!
A quick and easy no-yeast pizza dough recipe perfect for a fast homemade pizza night.
Ingredients
-
{‘@type’: ‘Ingredient’, ‘name’: ‘bread flour’, ‘description’: ‘or plain / all purpose flour’, ‘amount’: ‘1 1/3 cups’}
-
{‘@type’: ‘Ingredient’, ‘name’: ‘baking powder’, ‘amount’: ‘2 tsp’}
-
{‘@type’: ‘Ingredient’, ‘name’: ‘salt’, ‘amount’: ‘3/4 tsp’}
-
{‘@type’: ‘Ingredient’, ‘name’: ‘sugar’, ‘amount’: ‘3/4 tsp’}
-
{‘@type’: ‘Ingredient’, ‘name’: ‘olive oil’, ‘description’: ‘or any other oil’, ‘amount’: ‘2 tsp’}
-
{‘@type’: ‘Ingredient’, ‘name’: ‘water’, ‘description’: ‘cold tap water’, ‘amount’: ‘1/2 cup’}
-
{‘@type’: ‘Ingredient’, ‘name’: ‘Extra Flour’, ‘description’: ‘for dusting’, ‘amount’: ‘1 tbsp’}
-
{‘@type’: ‘Ingredient’, ‘name’: ‘vegetable oil’, ‘description’: ‘optional, for brushing crust (or canola or other neutral oil)’, ‘amount’: ‘2 tsp’}
Instructions
-
Step 1
In a large bowl, whisk together the bread flour, baking powder, salt, and sugar. -
Step 2
Add the olive oil and water to the dry ingredients. Mix with a spoon or spatula until a shaggy dough forms. -
Step 3
Turn the dough out onto a lightly floured surface (use the 1 tbsp of extra flour) and knead for 5-7 minutes, or until smooth and elastic. It will be a slightly sticky dough. -
Step 4
Divide the dough in half for two medium pizzas. Shape each half into a ball. -
Step 5
On a lightly floured surface, stretch or roll out each dough ball into your desired pizza shape. Be careful not to overwork the dough. -
Step 6
Transfer the pizza dough to a baking sheet or pizza peel. Add your favorite toppings. If desired, brush the crust edges with vegetable oil for extra crispiness and color. Bake at 425°F (220°C) for 15-20 minutes, or until golden brown and cooked through.
Important Information
Nutrition Facts (Per Serving)
It is important to consider this information as approximate and not to use it as definitive health advice.
Allergy Information
Please check ingredients for potential allergens and consult a health professional if in doubt.