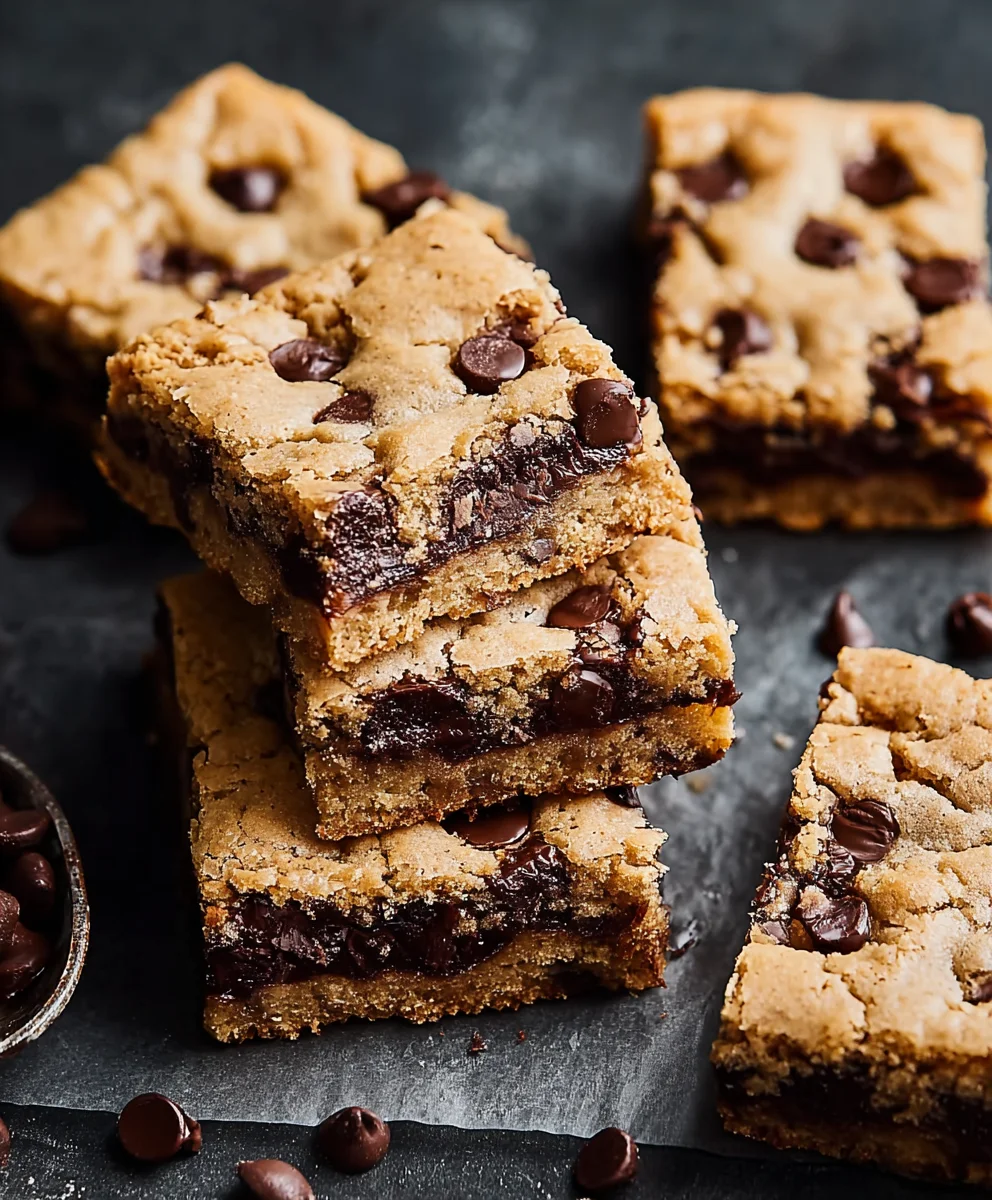
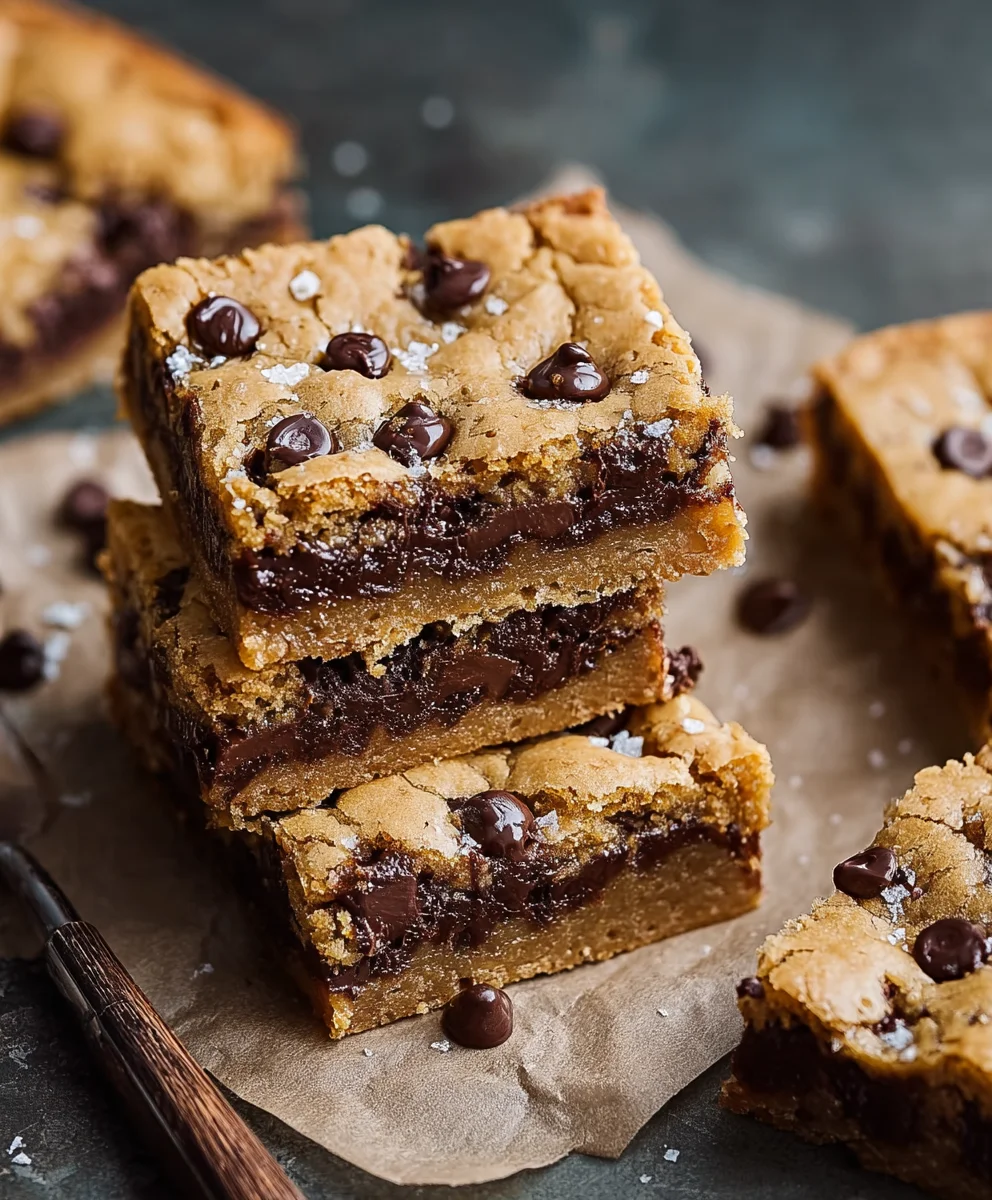
Classic Chocolate Chip Cookie Bars-Easy Homemade Dessert
Classic Chocolate Chip Cookie Bars are more than just a treat; they’re a portal to pure, unadulterated comfort. Imagin extracte the scent of warm, melted chocolate mingling with sweet, buttery dough, filling your kitchen with an aroma that promises pure bliss. We all have those cherished memories tied to a perfect cookie, and these bars capture that nostalgic magic, elevated to an effortless perfection. What sets these Classic Chocolate Chip Cookie Bars apart isn’t just their irresistible chegrape juicess and rich chocolate chunks, but their sheer simplicity and crowd-pleasing nature. They deliver that homemade goodness without the fuss of scooping individual cookies, making them ideal for gatherings, afternoon snacks, or simply when a serious chocolate craving strikes. Prepare to fall in love with the ultimate easy-to-make, deeply satisfying dessert.
Ingredients:
- 2 sticks (8 ounces) unsalted butter, melted and cooled
- 1 cup packed light brown sugar
- ½ cup granulated sugar
- 2 large eggs, at room temperature
- 2 teaspoons pure vanilla extract
- 2 cups all-purpose flour
- 1 teaspoon baking powder
- ¾ teaspoon salt
- 2¼ cups dark or semi-sweet chocolate chips (divided)
- Flaky sea salt, for sprinkling
Getting Started: Prepping Your Pan and Oven
The foundation of any great cookie bar is proper preparation. Before we even think about mixing ingredients, preheating your oven is crucial for even baking. Set your oven to 350 degrees Fahrenheit (175 degrees Celsius). This temperature is a classic for a reason, providing a gentle heat that allows the cookies to bake through without burning the edges.
Next, let’s prepare your baking pan. For a perfectly uniform bar that lifts out easily, I recommend using a 9×13 inch baking pan. To ensure no sticking and for simple cleanup, line the pan with parchment paper, leaving an overhang on the two longer sides. This parchment “sling” will act as handles, allowing you to lift the entire slab of baked cookie bars out of the pan once they’ve cooled slightly. This makes cutting so much easier and less messy. A light greasing of the pan before laying in the parchment paper can also provide an extra layer of security against sticking, especially if your parchment paper isn’t the highest quality.
Mixing the Wet Ingredients
Now for the heart of the cookie dough – the wet ingredients. In a large mixing bowl, combine the melted and cooled unsalted butter with the packed light brown sugar and granulated sugar. It’s important that your butter is melted but has cooled slightly. If it’s too hot, it can start to cook the sugars prematurely or even melt the chocolate chips too early in the process. Whisk these together until they are well combined and the mixture looks smooth and slightly creamy. The brown sugar will lend moisture and a wonderful caramel undertone to our bars, while the granulated sugar provides structure and crispness.
Once the sugars and butter are incorporated, it’s time to add the eggs. Make sure your large eggs are at room temperature. Room temperature eggs emulsify more easily with the fat and sugar mixture, creating a smoother, more cohesive dough. Add them one at a time, whisking well after each addition until they are fully incorporated. Don’t rush this step; a well-emulsified mixture is key to a tender cookie bar. Finally, stir in the pure vanilla extract. The vanilla is a flavor enhancer, deepening the chocolate notes and adding that unmistakable classic cookie aroma. Whisk until everything is thoroughly blended into a uniform, glossy base.
Incorporating the Dry Ingredients
In a separate medium-sized bowl, whisk together your all-purpose flour, baking powder, and salt. Whisking the dry ingredients together helps to distribute the baking powder and salt evenly throughout the flour. This ensures that your cookie bars rise uniformly and are seasoned perfectly. Baking powder is our leavening agent here, giving the bars a slight lift and a tender texture. The salt balances the sweetness and enhances all the other flavors.
Now, gradually add the dry ingredients to the wet ingredients. It’s best to add them in about three additions, mixing on low speed or by hand with a spatula after each addition until just combined. Be careful not to overmix the dough at this stage. Overmixing can develop the gluten in the flour too much, leading to tough cookie bars instead of the tender, chewy texture we’re aiming for. Stop mixing as soon as you no longer see streaks of flour. A few small lumps are perfectly fine and often preferable to overmixing.
Folding in the Chocolatey Goodness
This is the moment we’ve all been waiting for – the chocolate! We have 2¼ cups of dark or semi-sweet chocolate chips, and we’re going to use them strategically. Reserve about ¼ cup of the chocolate chips for topping later. Add the remaining 2 cups of chocolate chips to the dough. Gently fold them in using a spatula or wooden spoon. The goal here is to distribute the chocolate chips evenly throughout the dough without breaking them up too much. They should be nestled throughout the batter, promising pockets of melted chocolate in every bite. This folding method helps to maintain the integrity of the chips and ensures you get those delightful bursts of chocolate.
Baking and Finishing Touches
Now it’s time to get these beauties into the oven. Spread the cookie dough evenly into your prepared 9×13 inch baking pan. Use your spatula to ensure the surface is as flat and even as possible. This will promote even baking. Sprinkle the reserved ¼ cup of chocolate chips evenly over the top of the dough. They will melt slightly during baking, creating a beautiful, glossy chocolate topping.
Bake for 25 to 30 minutes, or until the edges are golden brown and the center is set but still looks slightly soft. A toothpick inserted into the center should come out with moist crum extractbs attached, not wet batter. Resist the urge to overbake, as cookie bars will continue to cook slightly as they cool. Once they are out of the oven, immediately sprinkle the top with a generous pinch of flaky sea salt. The salt not only adds a beautiful visual appeal but also enhances the sweetness of the chocolate and balances the overall flavor profile. Let the cookie bars cool completely in the pan on a wire rack before lifting them out using the parchment paper overhang. This cooling process is crucial for them to set properly, making them firm enough to cut cleanly. Once fully cooled, slice into bars and enjoy this classic treat!
Conclusion:
And there you have it – the perfect batch of Classic Chocolate Chip Cookie Bars! I hope you’ve enjoyed this recipe and are eager to try it out. These bars are wonderfully versatile, making them a fantastic treat for any occasion, from a casual afternoon snack to a more festive gathering. The chewy texture and rich chocolate flavor are truly irresistible. They’re incredibly satisfying to bake and even more delightful to share (or keep all to yourself!).
For serving suggestions, these bars are fantastic on their own, perhaps with a glass of cold milk. They also pair beautifully with a scoop of vanilla ice cream for a decadent dessert. If you’re feeling adventurous, consider adding a sprinkle of sea salt on top before baking for an extra flavor dimension. And don’t be afraid to experiment with variations! You could easily add chopped nuts, a swirl of peanut butter, or even different types of chocolate chips like white chocolate or dark chocolate. I truly encourage you to give these Classic Chocolate Chip Cookie Bars a try; you won’t be disappointed!
FAQs:
Can I freeze these Classic Chocolate Chip Cookie Bars?
Absolutely! Once cooled, you can cut the bars and freeze them in an airtight container for up to 2-3 months. They thaw beautifully at room temperature and are just as delicious as when freshly baked.
What if I don’t have all-purpose flour?
While all-purpose flour is recommended for the best texture, you can substitute a gluten-free all-purpose flour blend if needed. Ensure the blend is designed for baking and contains a binder like xanthan gum for similar results.
Classic Chocolate Chip Cookie Bars-Easy Homemade Dessert
An easy recipe for classic chocolate chip cookie bars, perfect for a homemade dessert.
Ingredients
-
2 sticks (8 ounces) unsalted butter, melted and cooled
-
1 cup packed light brown sugar
-
½ cup granulated sugar
-
2 large eggs, at room temperature
-
2 teaspoons pure vanilla extract
-
2 cups all-purpose flour
-
1 teaspoon baking powder
-
¾ teaspoon salt
-
2¼ cups dark or semi-sweet chocolate chips (divided)
-
Flaky sea salt, for sprinkling
Instructions
-
Step 1
Preheat oven to 350 degrees Fahrenheit (175 degrees Celsius). Line a 9×13 inch baking pan with parchment paper, leaving an overhang on the longer sides. -
Step 2
In a large bowl, whisk together melted and cooled butter, brown sugar, and granulated sugar until smooth and creamy. -
Step 3
Add eggs one at a time, whisking well after each addition. Stir in vanilla extract until thoroughly blended. -
Step 4
In a separate bowl, whisk together flour, baking powder, and salt. Gradually add dry ingredients to wet ingredients in three additions, mixing until just combined. Do not overmix. -
Step 5
Reserve ¼ cup of chocolate chips for topping. Gently fold the remaining 2 cups of chocolate chips into the dough. -
Step 6
Spread the dough evenly into the prepared pan. Sprinkle the reserved chocolate chips over the top. -
Step 7
Bake for 25 to 30 minutes, until edges are golden brown and the center is set. Sprinkle with flaky sea salt immediately after removing from the oven. Let cool completely before slicing.
Important Information
Nutrition Facts (Per Serving)
It is important to consider this information as approximate and not to use it as definitive health advice.
Allergy Information
Please check ingredients for potential allergens and consult a health professional if in doubt.