Easy No-Bake Chocolate Biscuit Bars – Delicious Treat
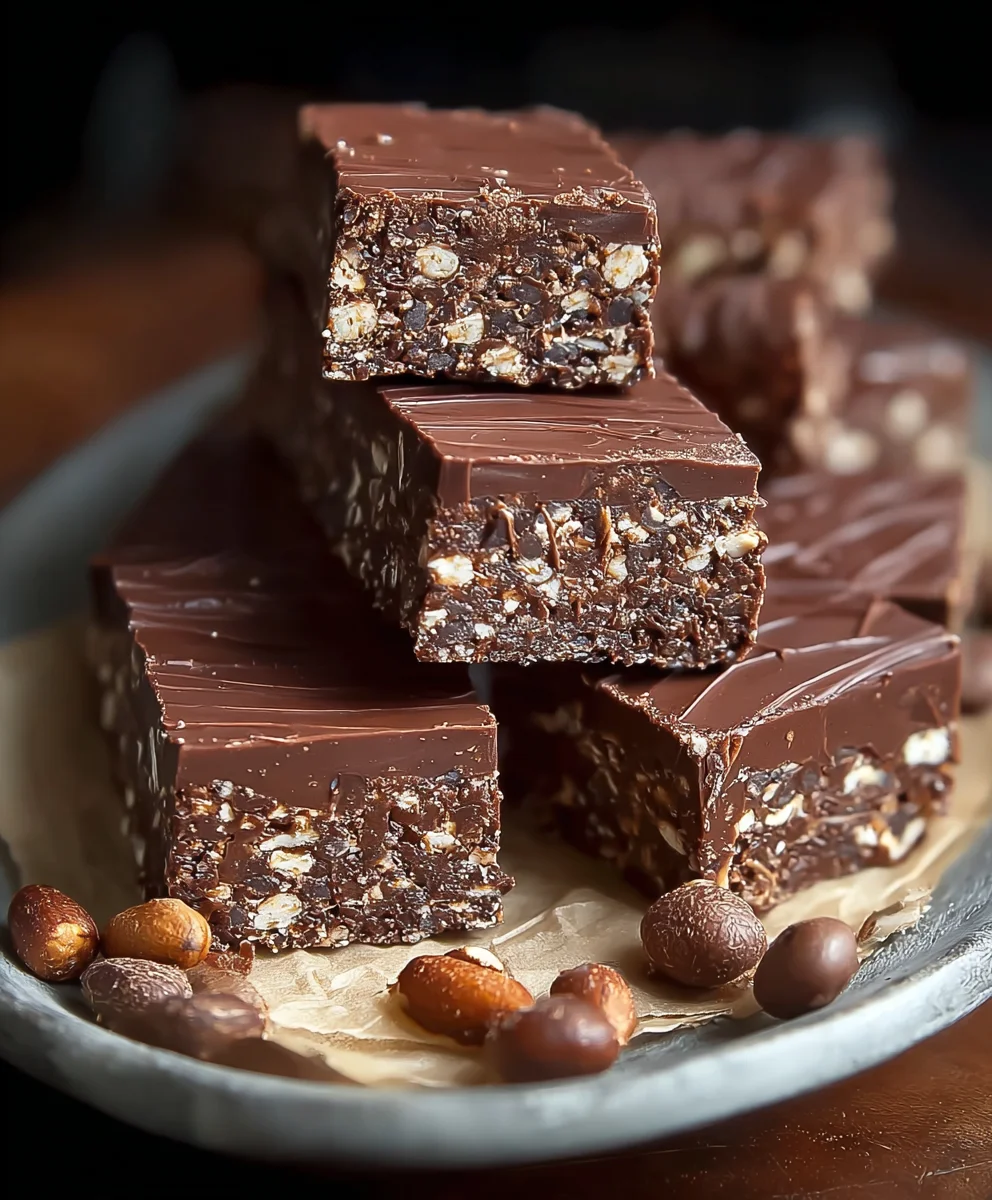
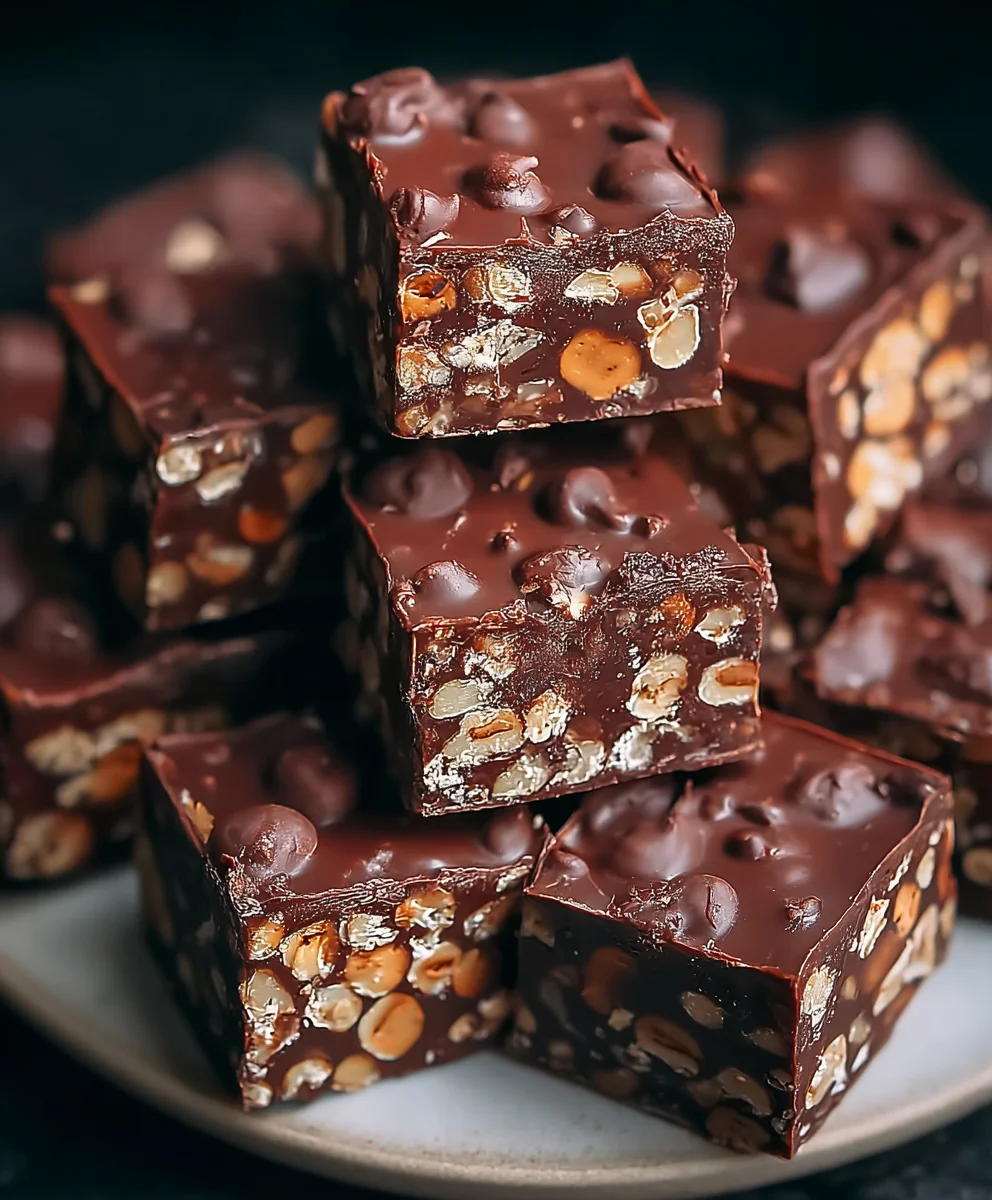
No-Bake Chocolate Biscuit Bars are the ultimate crowd-pleaser, a delightful treat that brings smiles to faces of all ages. Imagin extracte rich, decadent chocogin extracte hugging crunchy, buttery biscuit pieces, all coming together in a symphony of textures and flavors. These bars are so incredibly easy to whip up, requiring absolutely no oven time, which makes them a lifesaver for busy weeknights, last-minute dessert emergencies, or when you simply want something sweet without the fuss. What truly sets these No-Bake Chocolate Biscuit Bars apart is their irresistible combination of simplicity and indulgence. They manage to be both comforting and exciting, a perfect balance that keeps people coming back for more. Whether you’re a seasoned baker or a complete novice, this recipe is your gateway to creating a truly memorable sweet sensation that everyone will adore.
Ingredients:
- 12.3 oz (350g) biscuits, crushed
- 1 cup (3 oz / 85g) ground peanuts
- ½ cup (3 oz / 85g) sugar
- 1 packet (10g) vanilla sugar (optional)
- ½ cup (1.6 oz / 45g) cocoa powder
- ¾ cup (6 fl oz / 180ml) sweet cream
- ½ cup (3.9 oz / 110g) butter
- 3.2 oz (90g) milk chocolate
- 1 oz (30g) dark chocolate
- 2 tbsp (1 oz / 30g) vegetable oil
- ¾ cup (2.5 oz / 70g) ground peanuts
Preparing the Biscuit Base
Step 1: Crushing the Biscuits
Begin extract by ensuring your biscuits are thoroughly crushed. You can achieve a fine crum extractb texture by placing them in a sturdy zip-top bag and using a rolling pin to bash them into submission, or for a more consistent result, pulse them in a food processor until you have a finerum extractven crumb. This fine texture is crucial for binding everything together. Aim for no large chunks; they should resemble coarse sand. Once crushed, transfrum extractthe biscuit crumbs into a large mixing bowl.
Step 2: Incorporating the Dry Ingredients
To the bowl with the crushed biscuits, add 1 cup (3 oz / 85g) of ground peanuts. These peanuts will add a lovely nutty depth and a slight crunch to the base. Next, measure out ½ cup (3 oz / 85g) of sugar and add it to the bowl. If you have a packet of vanilla sugar (10g), now is the time to add it. Vanilla sugar provides an extra layer of aromatic sweetness that complements the chocolate beautifully. Finally, sift in ½ cup (1.6 oz / 45g) of cocoa powder. Sifting the cocoa powder is important to prevent lumps and ensure an even distribution of chocolate flavor throughout the base. Use a whisk to thoroughly combine all these dry ingredients. You want to see a homogenous mixture where the color is consistent.
Step 3: Binding the Base
Now it’s time to bind our dry ingredients together. In a separate, microwave-safe bowl or in a small saucepan over low heat, combine the butter and sweet cream. Gently melt the butter and warm the cream. You don’t need to boil it, just ensure the butter is fully melted and the cream is warm. Pour this warm mixture over the dry ingredients in the large mixing bowl. Using a sturdy spatula or a wooden spoon, mix everything together until it forms a thick, cohesive paste. It should look like rich, dark cookie dough. Press this mixture firmly and evenly into the bottom of a lined baking dish (an 8×8 inch or similar size works well). Use the back of your spoon or a flat-bottomed glass to create a compact and smooth layer. This will form the sturdy base for our no-bake bars.
Crafting the Chocolate Topping
Step 4: Melting the Chocolates and Creating the Ganache
For the decadent chocolate topping, we’ll start by preparing a rich ganache. In a heatproof bowl, combine the 3.2 oz (90g) of milk chocolate and 1 oz (30g) of dark chocolate, both broken into small pieces. This combination of milk and dark chocolate provides a balanced sweetness and intensity. Heat the ¾ cup (6 fl oz / 180ml) of sweet cream in a small saucepan over medium-low heat until it’s steaming and small bubbles appear around the edges. Do not let it boil vigorously. Pour the hot cream directly over the chocolate pieces in the bowl. Let it sit undisturbed for about 5 minutes. This resting period allows the heat from the cream to gently melt the chocolate without scorching it. After 5 minutes, gently whisk the mixture starting from the center and working your way outwards. Continue whisking until you have a smooth, glossy, and completely emulsified chocolate ganache.
Step 5: Incorporating the Oil and Nuts
Once your ganache is beautifully smooth and glossy, it’s time to add the finishing touches. Measure out 2 tablespoons (1 oz / 30g) of vegetable oil and stir it into the ganache. The oil helps to give the topping a lovely sheen and a slightly softer texture when chilled. Next, add the remaining ¾ cup (2.5 oz / 70g) of ground peanuts to the ganache. Gently fold these peanuts into the chocolate mixture using your spatula. You want to distribute them evenly so you get a delightful crunch in every bite of the topping. The mixture will thicken slightly as you incorporate the peanuts and the oil.
Assembling and Chilling the Bars
Step 6: Topping and Setting the Bars
Carefully pour the chocolate and peanut mixture evenly over the prepared biscuit base in your baking dish. Use your spatula to spread it smoothly, ensuring it covers the entire base right to the edges. Once the topping is spread evenly, tap the baking dish gently on the counter a few times. This will help to release any air bubbles trapped in the chocolate and create an even surface. Now, transfer the dish to the refrigerator. Allow the bars to chill for at least 2-3 hours, or until the chocolate topping is firm and set. For an even cleaner cut, you can refrigerate them for longer, even overnight. This chilling time is crucial for the bars to hold their shape when you cut them.
Step 7: Cutting and Serving
Once the No-Bake Chocolate Biscuit Bars are completely set, remove the baking dish from the refrigerator. For easier removal, you can gently lift the entire slab out of the dish using the parchment paper as handles. Place the slab onto a cutting board. Using a sharp knife, cut the bars into your desired serving sizes. For cleaner cuts, you can warm your knife slightly under hot water and dry it thoroughly between each cut. These bars are best served chilled and make a wonderfully rich and satisfying treat for any occasion. Store any leftovers in an airtight container in the refrigerator.
Conclusion:
And there you have it! Our delightful No-Bake Chocolate Biscuit Bars are ready to be enjoyed. This recipe is a fantastic way to satisfy your sweet cravings without turning on the oven, making it perfect for any time of year or when you’re short on time. The rich chocolate coating paired with the crum extractbly biscuit base creates a wonderfully satisfying texture and flavour combination that’s sure to become a household favourite. We hope you’ve enjoyed making and will love eating these easy-to-prepare treats!
For serving, these bars are wonderful on their own as a quick dessert or snack. They also pair beautifully with a scoop of vanilla ice cream or a drizzle of extra melted chocolate. Feel free to experiment with variations! You could add chopped nuts like almonds or walnuts to the biscuit mixture for an extra crunch, or even some dried fruit like cranberries for a touch of tartness. If you’re feeling adventurous, a sprinkle of sea salt on top before the chocolate sets adds a sophisticated salty-sweet contrast. Don’t be afraid to make these your own and discover your favourite way to enjoy our No-Bake Chocolate Biscuit Bars!
Frequently Asked Questions:
Can I substitute the type of biscuits used in the No-Bake Chocolate Biscuit Bars?
Absolutely! While digestive biscuits are a classic choice and work wonderfully, you can certainly experiment with other rum extractin, crumbly biscuits. Rich tea biscuits, grabeef ham crackers, or even shortbread cookies can be used. Just ensure they are fairly neutral in flavour so the chocolate and other additions can shine. You may need to adjust the amount of melted butter slightly depending on how absorbent your chosen biscuits are.
How should I store the No-Bake Chocolate Biscuit Bars?
To keep your No-Bake Chocolate Biscuit Bars fresh and delicious, store them in an airtight container. They can be kept at room temperature for a few days, but for optimal texture and to prevent them from becoming too soft, I recommend storing them in the refrigerator. They will firm up nicely and are delicious served chilled.
Can I make the No-Bake Chocolate Biscuit Bars vegan?
Yes, it’s quite easy to make a vegan version of these No-Bake Chocolate Biscuit Bars! Use a good quality vegan butter or margarine for the binding agent, and ensure your biscuits are also vegan-friendly. For the chocolate coating, choose a dark or semi-sweet chocolate that is certified vegan. Many brands offer delicious dairy-free chocolate chips or bars that will work perfectly.
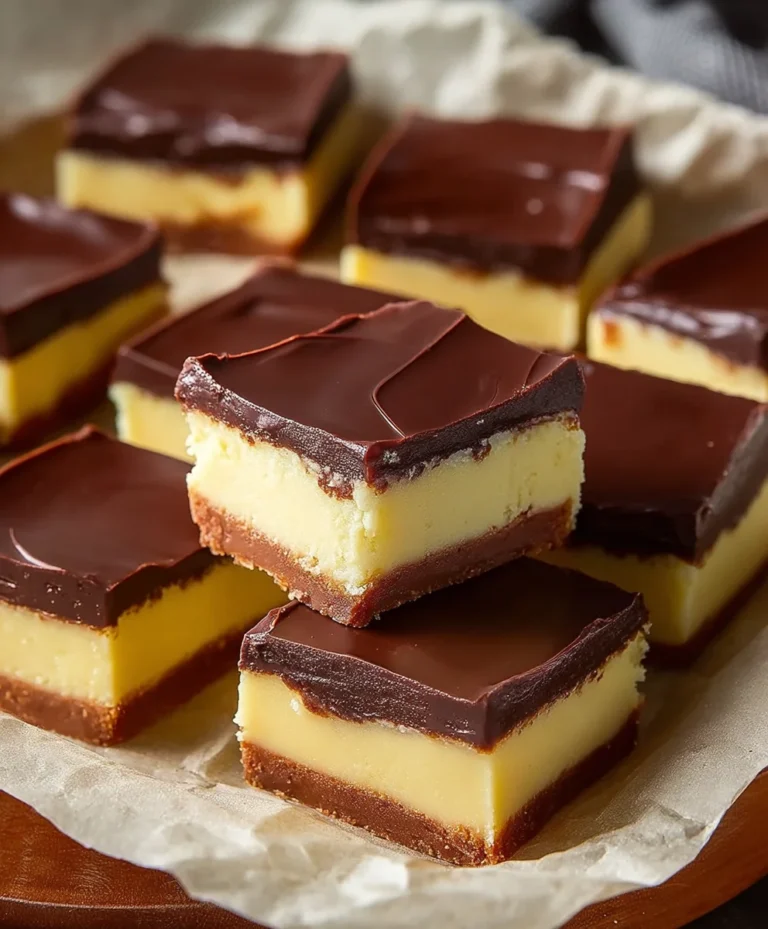
Easy No-Bake Chocolate Biscuit Bars
A simple and delicious no-bake treat featuring a crushed biscuit base and a rich chocolate peanut topping.
Ingredients
-
12.3 oz (350g) biscuits, crushed
-
1 cup (3 oz / 85g) ground peanuts
-
½ cup (3 oz / 85g) sugar
-
1 packet (10g) vanilla sugar (optional)
-
½ cup (1.6 oz / 45g) cocoa powder
-
¾ cup (6 fl oz / 180ml) sweet cream
-
½ cup (3.9 oz / 110g) butter
-
3.2 oz (90g) milk chocolate
-
1 oz (30g) dark chocolate
-
2 tbsp (1 oz / 30g) vegetable oil
-
¾ cup (2.5 oz / 70g) ground peanuts
Instructions
-
Step 1
Crush biscuits into fine crumbs using a rolling pin or food processor. -
Step 2
In a large bowl, combine crushed biscuits, 1 cup ground peanuts, sugar, optional vanilla sugar, and sifted cocoa powder. Whisk to combine. -
Step 3
Melt butter with sweet cream in a separate bowl or saucepan. Pour over dry ingredients and mix until a thick paste forms. Press firmly into a lined baking dish. -
Step 4
Melt milk and dark chocolate pieces in a heatproof bowl. Heat sweet cream until steaming and pour over chocolate. Let sit for 5 minutes, then whisk until smooth and glossy. -
Step 5
Stir vegetable oil and the remaining ¾ cup ground peanuts into the chocolate ganache. -
Step 6
Pour the chocolate and peanut mixture over the biscuit base. Spread evenly and tap the dish to remove air bubbles. -
Step 7
Chill for at least 2-3 hours, or until firm. Cut into bars and serve.
Important Information
Nutrition Facts (Per Serving)
It is important to consider this information as approximate and not to use it as definitive health advice.
Allergy Information
Please check ingredients for potential allergens and consult a health professional if in doubt.