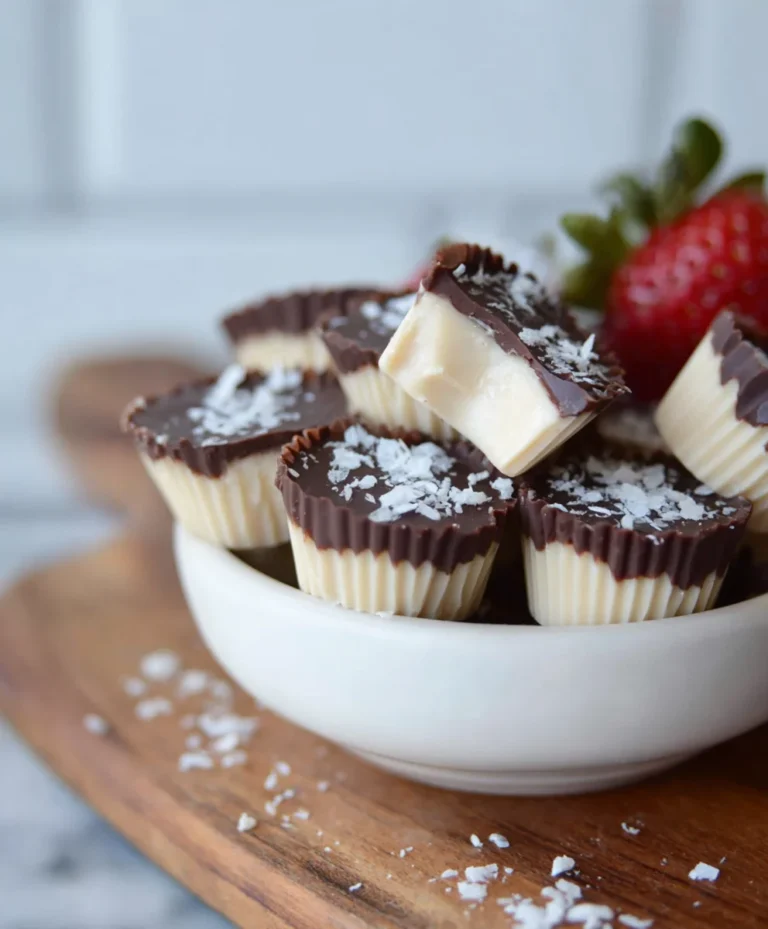
Lemon Blueberry Truffles-Easy No-Bake Treat
Lemon Blueberry Truffles are more than just a sweet treat; they are little bursts of sunshine that can brighten any day. Imagin extracte the delightful tang of fresh lemon perfectly complementing the juicy sweetness of plump blueberries, all enrobed in a luxurious, melt-in-your-mouth chocolate shell. It’s no wonder these flavor combinations are so beloved! What makes these lemon blueberry truffles truly special is their elegant simplicity. They’re deceptively easy to make, yet they deliver a sophisticated flavor profile that feels incredibly indulgent. Perfect for a special occasion, a thoughtful gift, or simply a moment of personal indulgence, these truffles are sure to become a favorite in your dessert repertoire. Get ready to experience pure bliss with every bite of these exquisite lemon blueberry truffles.
Lemon Blueberry Truffles: A Burst of Sunshine in Every Bite
Get ready to tantalize your taste buds with these vibrant and utterly delicious Lemon Blueberry Truffles! These little spheres of joy are not only a delight to eat but also a fantastic way to incorporate wholesome ingredients into your day. They’re perfect for a healthy treat, a sophisticated dessert, or even a thoughtful homemade gift. The zesty punch of lemon perfectly complements the sweet burst of blueberries, all wrapped up in a creamy, dreamy cashew frosting. And the best part? They’re incredibly easy to make with simple, natural ingredients. Let’s dive in and create some magic!
Ingredients:
Crafting the Flavorful Base
This is where the magic truly begin extracts! We’ll create a nutrient-dense and incredibly flavorful base that holds all those delightful lemon and blueberry notes. This part is all about bringin extractg together the earthy richness of nuts and dates with the bright, fruity essence of blueberries and lemon.
Step-by-Step Instructions:
1. Prepare the Raw Cake Ingredients: Begin extract by adding the wild blueberries, walnuts, and pitted dates to a food processor. Pulse these ingredients a few times until they start to break down into a coarse meal. It’s important not to over-process at this stage; you want some texture. Next, add the gluten-free rolled oats, shredded coconut, chia seeds, and the juice of one lemon to the food processor. Continue to process until the mixture starts to clump together and forms a dough-like consistency. You should be able to press it between your fingers and have it hold its shape. If the mixture seems too dry and crum extractbly, add another teaspoon of lemon juice or a tiny splash of water and pulse again until it just comes together. This mixture forms the heart of our truffles, providing a chewy, satisfying texture and a foundational flavor.
2. Forming the Truffle Balls: Once your base mixture is ready, take a tablespoon of the mixture at a time. Roll it between your palms to form small, compact balls, about 1 inch in diameter. These are your truffle bases! As you form each ball, ensure they are firm enough to hold their shape. If they feel a bit sticky, you can lightly dampen your hands with water. Place the formed truffle balls onto a parchment-lined baking sheet or a plate. You should aim to get around 15-20 truffles, depending on their size. It’s a good idea to chill these balls in the freezer for about 15-20 minutes while you prepare the frosting. This will help them firm up, making them easier to coat.
3. Creating the Luscious Cashew Frosting: Now, let’s prepare the decadent frosting that will elevate these truffles to a whole new level. Drain the soaked cashews thoroughly. Add the drained cashews to a high-speed blender or food processor. Pour in the melted and slightly cooled coconut oil, raw honey (or maple syrup), vanilla extract, and the juice of the second lemon. Begin extract blending. You’ll likely need to start on a low speed and gradually increase it. You may need to stop and scrape down the sides of the blender a few times to ensure everything is incorporated smoothly. If the mixture is too thick and struggling to blend, add the warm water, one tablespoon at a time, blending after each addition until you achieve a luxuriously smooth and pourable consistency. The goal is a creamy, velvety frosting that coats the back of a spoon beautifully. Taste and adjust sweetness or lemon flavor if needed before proceeding.
4. Coating the Truffles: Take the chilled truffle balls out of the freezer. Working one at a time, gently dip each truffle ball into the cashew frosting using a fork or a toothpick. Ensure the entire truffle is evenly coated. Let any excess frosting drip back into the bowl. Place the coated truffles back onto the parchment-lined baking sheet. You can drizzle any leftover frosting over the tops for an extra touch of elegance, or even roll them in a bit of extra shredded coconut or finely chopped nuts if you desire. This step is where they transform into the beautiful treats we’ve envisioned.
5. Chilling to Perfection: Once all the truffles are coated, it’s time to let them set. Carefully transfer the baking sheet to the refrigerator and let the truffles chill for at least 30-60 minutes, or until the frosting has firmed up and is no longer sticky. For the best texture and to ensure they hold their shape, I recommend chilling them for at least an hour. Once set, they are ready to be enjoyed! Store any leftover truffles in an airtight container in the refrigerator. They will stay fresh for about a week. These Lemon Blueberry Truffles are a perfect example of how simple, natural ingredients can create something truly extraordinary. Enjoy every zesty, sweet, and creamy bite!
Conclusion:
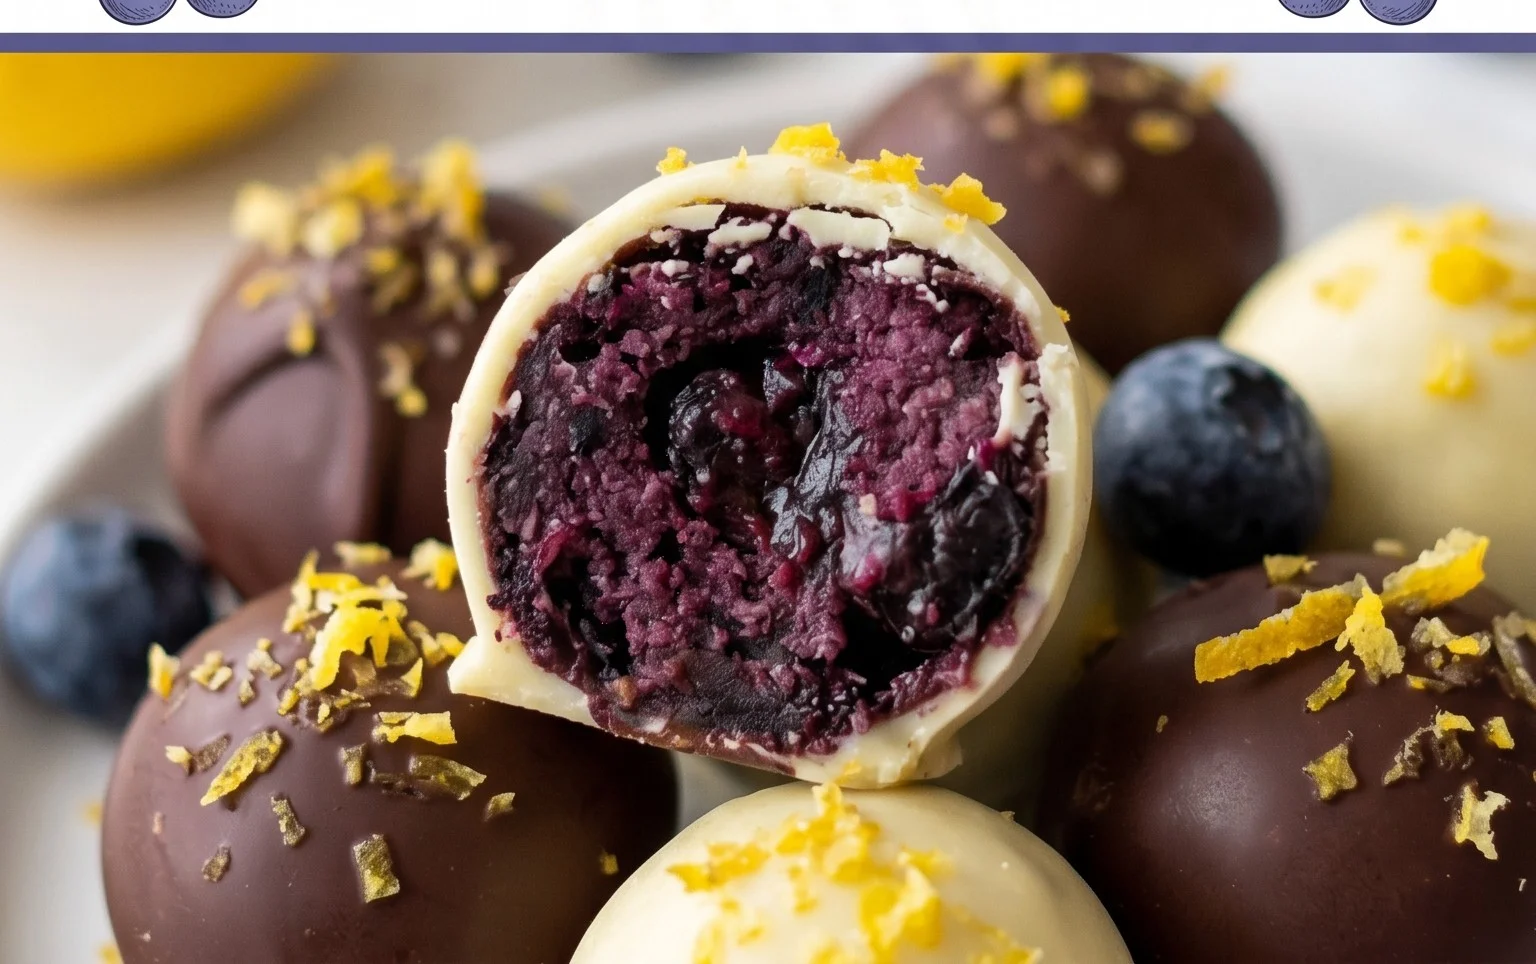
And there you have it – the delightful recipe for Lemon Blueberry Truffles! These little bursts of sunshine are an absolute triumph, combining the bright tang of lemon with the sweet juiciness of blueberries in a decadent, melt-in-your-mouth chocolate shell. They are perfect for any occasion, from a sophisticated dessert to a simple afternoon treat. Their elegant appearance and delightful flavor profile are sure to impress, and the process is surprisingly straightforward, making them accessible even for novice bakers.
I encourage you to give these Lemon Blueberry Truffles a try! They are wonderfully versatile and can be served chilled as a standalone indulgence, or as a charming addition to a dessert platter alongside fresh berries and a dollop of whipped cream. For a touch of elegance, consider dusting them lightly with powdered sugar or rolling them in finely chopped pistachios for an extra textural element. Feel free to experiment with different types of white chocolate or even dark chocolate for a richer contrast.
Frequently Asked Questions:
Can I make these Lemon Blueberry Truffles ahead of time?
Absolutely! These truffles are best made a day in advance, as the flavors meld beautifully and the texture firms up perfectly in the refrigerator. Store them in an airtight container for up to a week.
What kind of blueberries work best?
Fresh blueberries are ideal for the most vibrant flavor and texture. If using frozen blueberries, be sure to thaw them completely and drain any excess moisture before incorporating them into the mixture to avoid making the truffle base too wet.
Are there any dairy-free options?
Yes! You can easily adapt this recipe for a dairy-free version by using high-quality dairy-free white chocolate and a plant-based cream alternative, such as coconut cream. Ensure your dairy-free chocolate chips are suitable for melting.
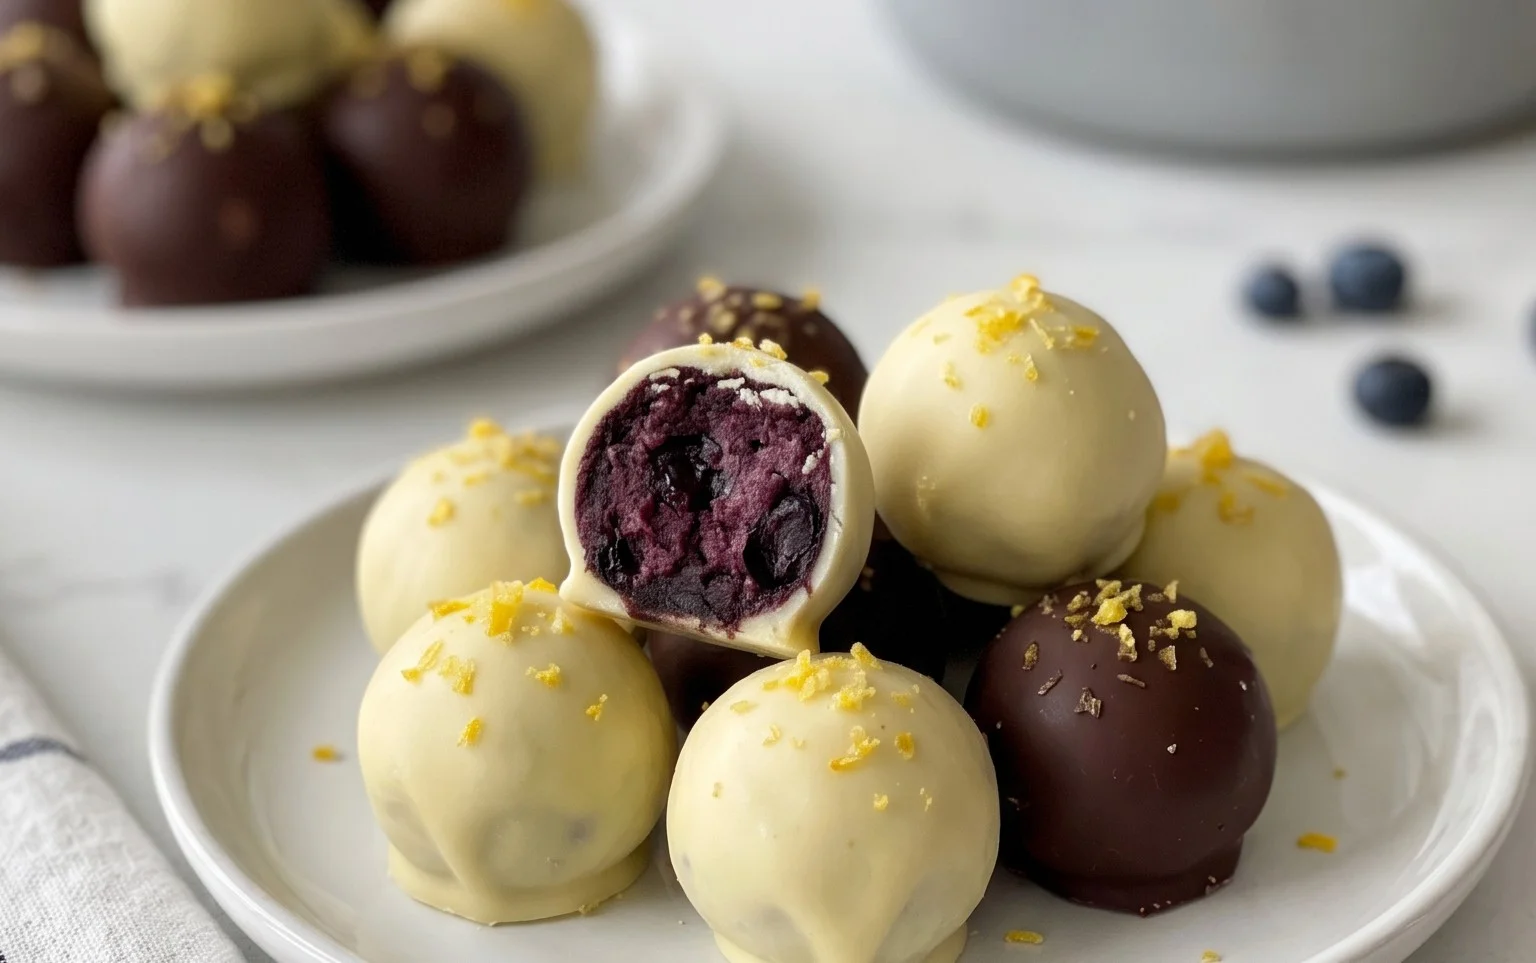
Lemon Blueberry Truffles
No-bake, dairy-free, and gluten-free lemon blueberry truffles made with wholesome ingredients.
Ingredients
-
1 cup wild blueberries
-
1 cup walnuts
-
1 cup dates
-
3 tbsp gluten-free rolled oats
-
2 tbsp shredded coconut
-
1 tbsp chia seeds
-
1 lemon, juiced
-
1 cup cashews (soaked for about 30 minutes)
-
½ cup coconut oil, melted and cooled
-
3 tbsp raw honey
-
1 tsp vanilla extract
-
2-3 tbsp warm water
Instructions
-
Step 1
Combine wild blueberries, walnuts, dates, gluten-free rolled oats, shredded coconut, and chia seeds in a food processor. Process until a sticky dough forms. -
Step 2
Add the juice of 1 lemon to the food processor and pulse until incorporated. -
Step 3
Roll the dough into small balls and place them on a parchment-lined baking sheet. -
Step 4
In a separate bowl, combine soaked cashews, melted coconut oil, raw honey, vanilla extract, and the juice of 1 lemon. Blend until smooth, adding warm water 1 tablespoon at a time if needed to reach a frosting-like consistency. -
Step 5
Dip each truffle into the frosting, ensuring it’s fully coated. -
Step 6
Place the frosted truffles back on the parchment-lined baking sheet and freeze for at least 30 minutes, or until firm.
Important Information
Nutrition Facts (Per Serving)
It is important to consider this information as approximate and not to use it as definitive health advice.
Allergy Information
Please check ingredients for potential allergens and consult a health professional if in doubt.