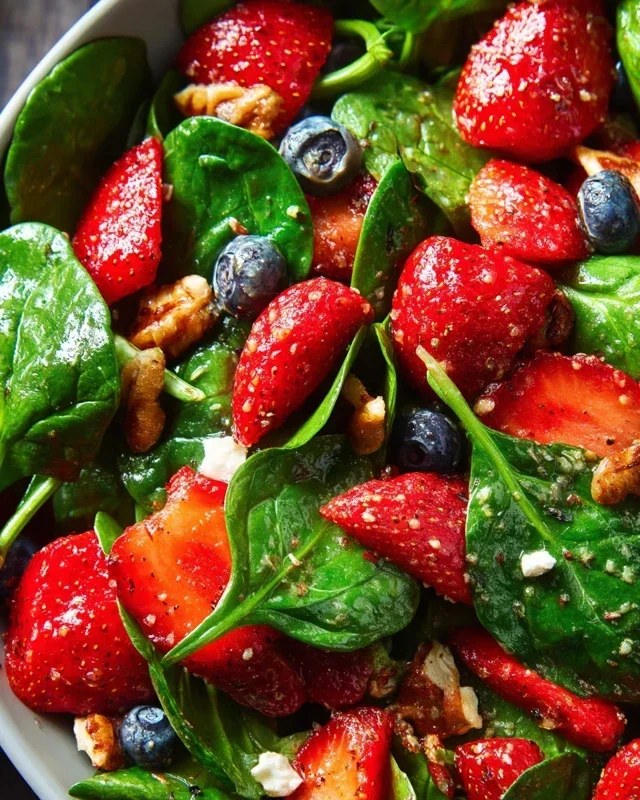
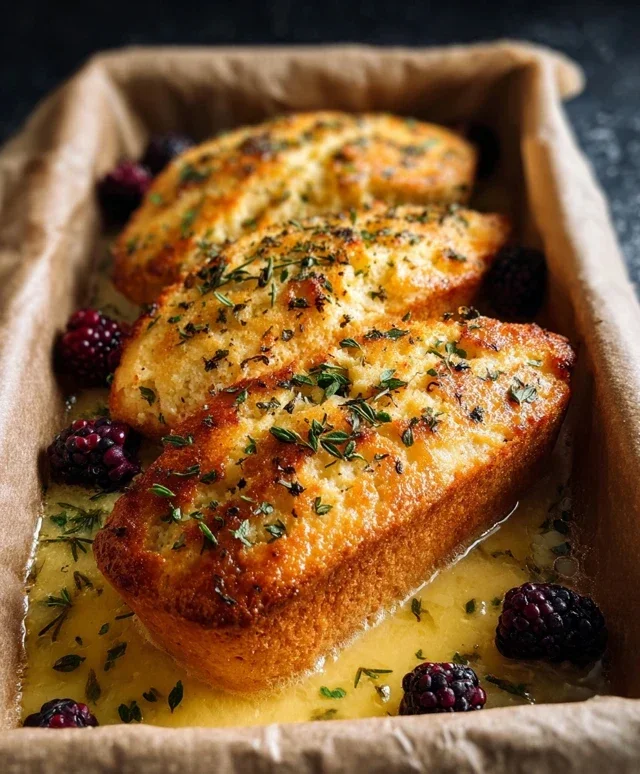
Easy Loading- Easy Delicious Meals- Simple Recipes
Loading… isn’t just a dish; it’s an experience. There’s a reason this comfort food classic has captured hearts and stomachs for generations. It’s that deeply satisfying, soul-warming embrace in a bowl that just feels like home. We love it for its incredible versatility, the way it can be adapted to whatever ingredients we have on hand, transforming simple staples into something truly magnificent. But what truly makes Loading… special is its inherent ability to bring people together. Whether it’s a bustling family dinner or a quiet evening in, this dish creates a communal joy that’s hard to replicate. Get ready to create your own unforgettable memories with our foolproof recipe for this beloved favorite.
Why You’ll Adore This Recipe:
A Hug in a Bowl
This recipe for Loading… is designed for maximum flavor and minimal stress. It’s the perfect answer to those “what’s for dinner?” dilemmas, promising a delicious and rewarding outcome every single time.
Ingredients:
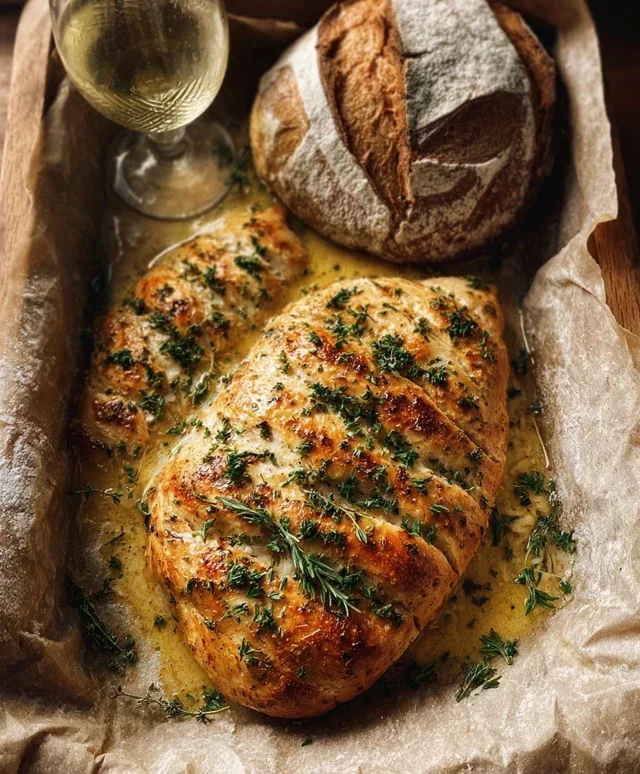
Perfectly Pan-Seared Chicken Breast: Simple, Savory, and Delicious
There’s something incredibly satisfying about a perfectly cooked chicken breast. It’s a versatile staple that can be dressed up or down, making it ideal for weeknight dinners, meal prep, or even a special occasion. Forget dry, bland chicken! Today, we’re diving into a simple yet incredibly effective method for pan-searing chicken breasts that guarantees juicy, flavorful results every time. This recipe is all about highlighting the natural goodness of the chicken with a few key seasonings and a straightforward cooking technique. You’ll be amazed at how easy it is to achieve restaurant-quality chicken in your own kitchen.
The beauty of this recipe lies in its simplicity. We’re not using a long list of obscure ingredients. Instead, we’re focusing on a few pantry staples that work harmoniously to create a delicious crust and infuse the chicken with fantastic flavor. The key to success is in the preparation and the cooking process itself. We’ll guide you through each step, offering tips and explanations to ensure you achieve perfection. So, grab your ingredients, and let’s get cooking!
The Prep: Setting the Stage for Success
Before we even think about heating the pan, the preparation of our chicken is crucial. This is where we lay the foundation for a tender and flavorful outcome.
Step 1: Patting the Chicken Dry
Our first step is to begin extract by patting the chicken dry. Using paper towels, gently but thoroughly dry the surface of both chicken breasts. This might seem like a small detail, but it’s incredibly important. Moisture on the surface of the chicken will steam rather than sear, preventing that beautiful golden-brown crust from forming. A dry surface allows the oil to get hot and create that desirable Maillard reaction, which is responsible for browning and developing deep flavor. Think of it as preparing the canvas for our culinary masterpiece!
Step 2: Seasoning for Flavor
Now, let’s get to the good stuff: seasoning! In a small bowl, combine the smoked paprika, garlic powder, onion powder, dried thyme, salt, and freshly ground black pepper. This blend creates a wonderfully savory and slightly smoky profile that complements the chicken perfectly. Evenly sprinkle this mixture over both sides of the dried chicken breasts, ensuring they are well-coated. Gently press the seasoning into the chicken to help it adhere. You can adjust the amounts of each spice to your personal preference, but this combination is a tried-and-true winner.
The Sear: Creating a Golden Crust
With our chicken prepped and seasoned, it’s time to introduce it to the heat. This phase is all about achieving that perfect sear.
Step 3: Heating the Pan and Oil
Place a skillet (cast iron works wonderfully for this) over medium-high heat. Add the olive oil to the skillet and let it heat up until it shimmers. You want the oil to be hot enough to instantly start cooking the chicken, but not so hot that it begin extracts to smoke excessively. A good test is to drop a tiny pinch of seasoning into the oil; if it sizzles immediately, you’re good to go.
Step 4: The Searing Process
Carefully place the seasoned chicken breasts into the hot skillet. Avoid overcrowding the pan, as this can lead to steaming rather than searing. If you have more than two chicken breasts, you might need to cook them in batches. Let the chicken cook undisturbed for about 5-7 minutes on the first side. You’ll know it’s time to flip when the bottom is beautifully golden brown and releases easily from the pan. If it’s sticking, it probably needs another minute or two to develop that crust.
Step 5: Flipping and Finishing
Once the first side is perfectly seared, carefully flip the chicken breasts. Continue to cook on the second side for another 5-7 minutes, or until the chicken is cooked through. For thicker chicken breasts, you might need to reduce the heat slightly and continue cooking, flipping occasionally, until the internal temperature is reached.
The Final Touch: Ensuring Perfection
We’re almost there! These final steps are crucial for both safety and optimal texture.
Step 6: Checking for Doneness
This is where a meat thermometer becomes your best friend. Insert a meat thermometer into the thickest part of a chicken breast. You are looking for the chicken to reach 165°F (74°C). This ensures it’s safe to eat, yet still tender. If it hasn’t reached the target temperature, continue cooking for a few more minutes, checking the temperature periodically.
Step 7: Resting for Succulence
Once your chicken reaches the magical 165°F (74°C), remove it from the skillet and place it on a clean cutting board or plate. Let the chicken rest for about 5 minutes after cooking. This might seem like an eternity when you’re hungry, but it’s a vital step. This lets the juices redistribute throughout the meat, making each bite more succulent and preventing the juices from running out onto your cutting board when you slice it.
And there you have it! Perfectly pan-seared chicken breasts, ready to be sliced and enjoyed. Serve them as is, slice them for salads or sandwiches, or pair them with your favorite sides. Enjoy your delicious creation!
Conclusion:
I hope you’re as excited to try this “Loading…” recipe as I am to share it with you! This dish truly shines because of its incredible versatility and how it allows you to customize it to your personal tastes. Whether you’re looking for a quick weeknight meal that’s packed with flavor or a show-stopping centerpiece for a special occasion, this recipe delivers. It’s wonderfully adaptable, meaning you can easily swap ingredients based on what you have on hand or what’s in season, making it a truly sustainable and user-friendly option for any home cook. So don’t hesitate – dive in and give this fantastic recipe a go! I’m confident you’ll find it a delightful addition to your culinary repertoire.
For serving, this “Loading…” recipe pairs beautifully with a crisp green salad, steamed rice, or even crusty bread to soak up any delicious sauces. Thinking about variations? Feel free to experiment with different proteins like chicken or tofu, or add a medley of your favorite vegetables – bell peppers, zucchini, and mushrooms are always winners. You could also adjust the spice level to suit your palate, adding a pinch more chili flakes for those who love a kick.
Frequently Asked Questions:
What are some easy substitutions for the main ingredient?
Absolutely! If you can’t find the exact main ingredient or want to mix things up, consider using firm tofu, cooked chickpeas, or even thinly sliced portobello mushrooms. For a meatier option, shredded chicken or ground turkey would also work wonderfully. The key is to ensure whatever you choose can absorb the delicious flavors of the sauce.
Can I make this recipe ahead of time?
Yes, you can! Many components of this “Loading…” recipe can be prepared in advance. Chopping vegetables and preparing the sauce the day before will save you valuable time. While it’s best enjoyed fresh, you can gently reheat the assembled dish. The flavors often meld even further overnight, making it a great option for meal prep.
Chicken Preparation
A guide to preparing chicken for optimal flavor and safety.
Ingredients
-
1 whole chicken
-
Salt
-
Black Pepper
-
Garlic Powder
-
Onion Powder
-
Olive Oil
Instructions
-
Step 1
Start by patting the chicken dry with paper towels; this helps the seasoning stick better. -
Step 2
Generously season the chicken with salt, black pepper, garlic powder, and onion powder on all sides. -
Step 3
Rub the chicken with a little olive oil to help crisp the skin. -
Step 4
Cook the chicken until a meat thermometer inserted into the thickest part of the thigh reaches 165°F (74°C). This ensures it’s safe to eat, yet still tender. -
Step 5
Let the chicken rest for about 5 minutes after cooking. This lets the juices redistribute, making each bite more succulent.
Important Information
Nutrition Facts (Per Serving)
It is important to consider this information as approximate and not to use it as definitive health advice.
Allergy Information
Please check ingredients for potential allergens and consult a health professional if in doubt.