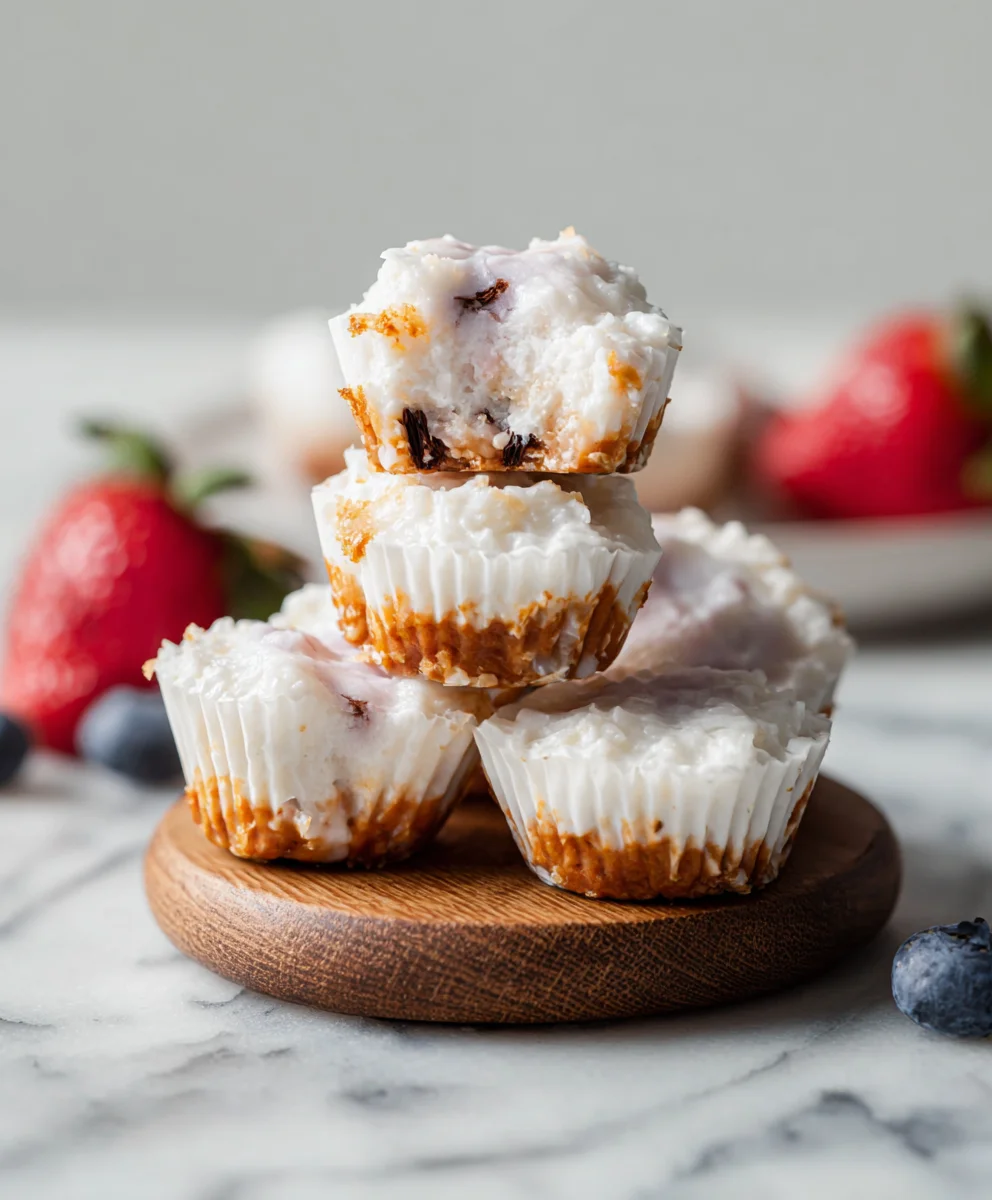
Easy Yogurt Bites Recipe – Delicious & Healthy Treat
How To Make Yogurt Bites are your answer to those moments when you crave something sweet, healthy, and utterly delightful without the guilt. These tiny flavor bombs have taken the internet by storm, and for good reason! People are falling in love with how incredibly versatile and satisfying these frozen yogurt treats are. Imagin extracte biting into a cool, creamy, and slightly tart sensation that melts in your mouth, bursting with the goodness of real fruit and yogurt. What truly sets these yogurt bites apart is their simplicity; you can whip them up in minutes with just a handful of ingredients, making them a perfect activity for kids and adults alike. They are the ultimate guilt-free snack, an elegant dessert option, or even a fun breakfast addition. Get ready to discover the magic of creating your own perfect batch of these irresistible morsels.
Discover the Joy of Homemade Yogurt Bites
A Refreshing and Healthy Treat
Ingredients:
- 1 cup Greek yogurt, plain, full-fat
- 1/4 cup fruit puree (such as raspberry, blueberry, or mango), unsweetened
- 1 tablespoon honey or maple syrup (optional, for added sweetness)
- 1/4 teaspoon vanilla extract
- Optional toppings: a sprinkle of chia seeds, finely chopped nuts, or unsweetened shredded coconut
Preparing the Yogurt Mixture
The first step to making these delightful yogurt bites is to create the perfect, creamy base. In a medium-sized bowl, add your 1 cup of plain, full-fat Greek yogurt. Using a spoon or a whisk, gently stir the yogurt until it is smooth and lump-free. This might seem like a small detail, but it ensures a silky texture in your finished bites. Full-fat Greek yogurt is crucial here as it provides a richer flavor and a firmer texture that holds its shape better when frozen. If you prefer a slightly sweeter treat, now is the time to incorporate your sweetener. Add 1 tablespoon of honey or maple syrup to the yogurt. Stir thoroughly until the sweetener is completely dissolved and evenly distributed. If you’re aiming for a sugar-free option, you can omit this entirely. Next, add 1/4 teaspoon of vanilla extract. This little addition really elevates the flavor, adding a warmth and depth that complements the tangin extractess of the yogurt and the sweetness of the fruit. Stir again to ensure the vanilla extract is well incorporated.
Incorporating the Fruit Puree
Now it’s time to add a burst of fruity goodness! Take your 1/4 cup of unsweetened fruit puree. You can use your favorite fruit for this – raspberry and blueberry purees offer a vibrant color and a classic berry flavor, while mango puree adds a tropical twist. If you don’t have store-bought puree, you can easily make your own by blending fresh or frozen fruit until smooth. Ensure there are no large chunks of fruit remaining, as this will affect the consistency of your bites. Gently fold the fruit puree into the yogurt mixture. Avoid overmixing at this stage. You want to create a beautiful swirl effect, or a marbled appearance, rather than a uniform pink or purple color, unless you prefer that! This visual appeal makes the yogurt bites even more enticing, especially for children. The puree will add a lovely tang and a subtle sweetness, depending on the fruit you choose.
Freezing the Yogurt Bites
This is where the magic happens and your mixture transforms into delightful, bite-sized treats. You’ll need a baking sheet lined with parchment paper. The parchment paper is essential to prevent the yogurt bites from sticking to the baking sheet, making them easy to peel off once frozen. Spoon small dollops of the yogurt mixture onto the prepared baking sheet. Aim for uniform sizes, about 1 to 1.5 inches in diameter, to ensure even freezing. You can use a tablespoon or a small cookie scoop for this. Be generous but don’t let them touch, as they will expand slightly as they freeze. If you’re using any optional toppings, this is the time to sprinkle them over the yogurt dollops. A light dusting of chia seeds adds a subtle crunch and nutritional boost, while finely chopped nuts or unsweetened shredded coconut can provide extra texture and flavor. Once your baking sheet is filled with these tiny yogurt creations, carefully place it into the freezer. Allow them to freeze for at least 2-3 hours, or until completely solid. The longer they freeze, the firmer they will become.
Achieving the Perfect Texture
The key to truly satisfying yogurt bites is their texture – they should be firm enough to hold their shape but also melt-in-your-mouth soft. The freezing process is where this is achieved. Once your yogurt bites are solid to the touch, yogin extractan begin the process of separating them from the parchment paper. Gently peel each yogurt bite off the baking sheet. If you find some are sticking a little, run a thin spatula underneath them. For optimal storage and to prevent them from clumping together in the freezer, it’s best to transfer them to an airtight container or a freezer-safe zip-top bag. Before sealing the container, ensure all the yogurt bites are placed in a single layer as much as possible. This makes it easier to grab just a few at a time. If you have a lot of yogurt bites, you can layer them with a small piece of parchment paper between each layer to prevent sticking. They will keep well in the freezer for up to 2 weeks, maintaining their delicious texture and flavor.
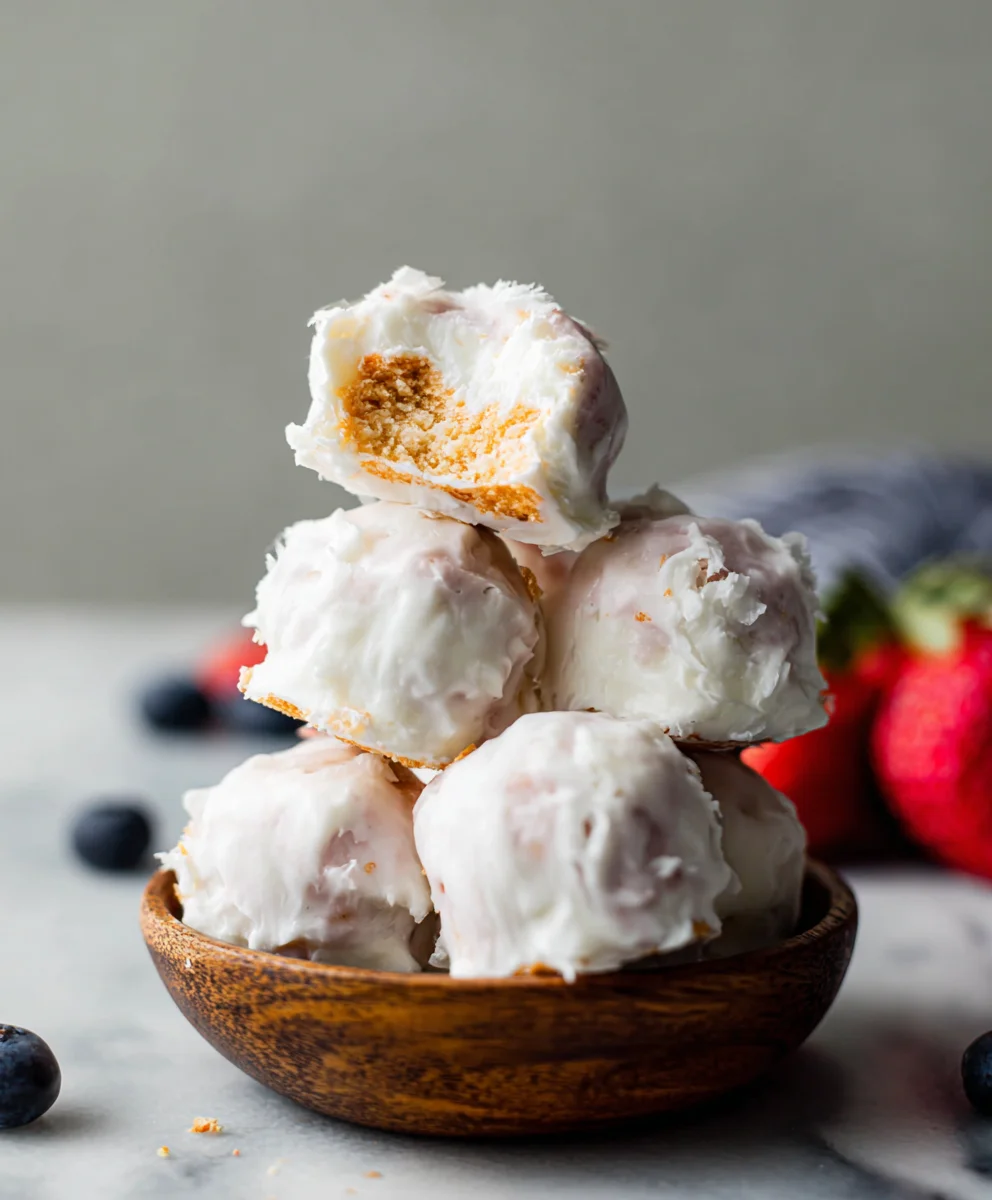
Serving Your Delicious Yogurt Bites
Now for the best part – enjoying your homemade yogurt bites! When you’re ready to serve, simply take as many as you need from the freezer. They are best enjoyed straight from the freezer, as they will start to soften relatively quickly at room temperature. These are perfect for a refreshing snack on a hot day, a healthy dessert, or even as a fun, cool treat for toddlers and young children. Their small size makes them easy for little hands to hold, and the customizable flavors allow you to cater to different preferences. You can serve them on a small plate or in a bowl. If you want to get creative, you can arrange them on a platter for a festive presentation. Remember, their frozen state is fleeting, so it’s ideal to serve them immediately after removing them from the freezer to experience their delightful, slightly chewy, and creamy texture. They are a simple yet incredibly satisfying way to enjoy the goodness of yogurt and fruit in a fun, frozen format.
Conclusion:
There you have it! You’ve successfully learned How To Make Yogurt Bites. We’ve walked through each simple step, from selecting your yogurt base to achieving that perfect freeze. These delightful little treats are incredibly versatile and a fantastic way to get some extra goodness into your day, especially for kids and adults alike.
For serving, these yogurt bites are wonderful on their own as a refreshing snack. You can also get creative and serve them alongside fresh fruit for a more substantial dessert, or even crum extractble them over a bowl of granola for a textural surprise.
Don’t be afraid to experiment with variations! Feel free to swirl in a spoonful of fruit puree, a pinch of cinnamon, or even a drizzle of honey before freezing. Different yogurt types, like Greek yogurt for a creamier texture or a plant-based alternative, will also yield unique results. The possibilities are truly endless when you master How To Make Yogurt Bites! We encourage you to try this recipe and make it your own. Happy snacking!
Frequently Asked Questions:
Q: Can I use flavored yogurt for my yogurt bites?
Absolutely! While plain yogurt provides a neutral base for adding your own flavors, using pre-flavored yogurt is a convenient shortcut. Just be mindful of the sugar content in flavored yogurts, as it can impact the overall sweetness of your finished bites.
Q: How long do yogurt bites typically last in the freezer?
Properly stored, your homemade yogurt bites should remain delicious for about 1 to 2 months in the freezer. It’s best to keep them in an airtight container or a freezer bag to prevent freezer burn and maintain their optimal texture.
Q: My yogurt bites are sticking to the baking sheet. What can I do?
To prevent sticking, ensure your baking sheet is lined with parchment paper or a silicone baking mat. This provides a non-stick surface that makes removing the frozen yogurt bites a breeze. If you find they’re still a bit stubborn, allow them to sit at room temperature for just a minute or two before gently peeling them off.
Easy Yogurt Bites Recipe – Delicious & Healthy Treat
Simple and delicious frozen yogurt bites made with Greek yogurt and fruit puree, perfect for a healthy snack or treat.
Ingredients
-
1 cup Greek yogurt, plain, full-fat
-
1/4 cup fruit puree (such as raspberry, blueberry, or mango), unsweetened
-
1 tablespoon honey or maple syrup (optional, for added sweetness)
-
1/4 teaspoon vanilla extract
-
Chia seeds (optional topping)
-
Finely chopped nuts (optional topping)
-
Unsweetened shredded coconut (optional topping)
Instructions
-
Step 1
Prepare the yogurt mixture: In a medium bowl, stir 1 cup of plain, full-fat Greek yogurt until smooth. Add 1 tablespoon of honey or maple syrup (if using) and 1/4 teaspoon of vanilla extract. Stir until well combined. -
Step 2
Incorporate the fruit puree: Gently fold 1/4 cup of unsweetened fruit puree into the yogurt mixture. Aim for a swirled or marbled appearance, or mix until fully combined based on preference. -
Step 3
Freeze the yogurt bites: Line a baking sheet with parchment paper. Spoon small dollops of the yogurt mixture onto the prepared baking sheet, about 1 to 1.5 inches in diameter. Ensure they do not touch. -
Step 4
Add optional toppings: If desired, sprinkle chia seeds, finely chopped nuts, or unsweetened shredded coconut over the yogurt dollops. -
Step 5
Freeze until solid: Place the baking sheet in the freezer and freeze for at least 2-3 hours, or until completely solid. -
Step 6
Achieve perfect texture and store: Once solid, gently peel the yogurt bites from the parchment paper. Transfer to an airtight container or freezer-safe zip-top bag, ideally in a single layer, and store in the freezer for up to 2 weeks. -
Step 7
Serve immediately: Enjoy the yogurt bites straight from the freezer for the best texture.
Important Information
Nutrition Facts (Per Serving)
It is important to consider this information as approximate and not to use it as definitive health advice.
Allergy Information
Please check ingredients for potential allergens and consult a health professional if in doubt.