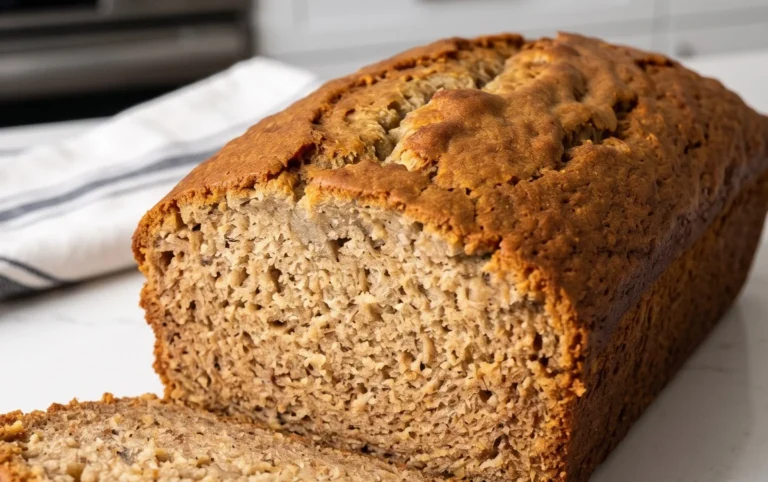
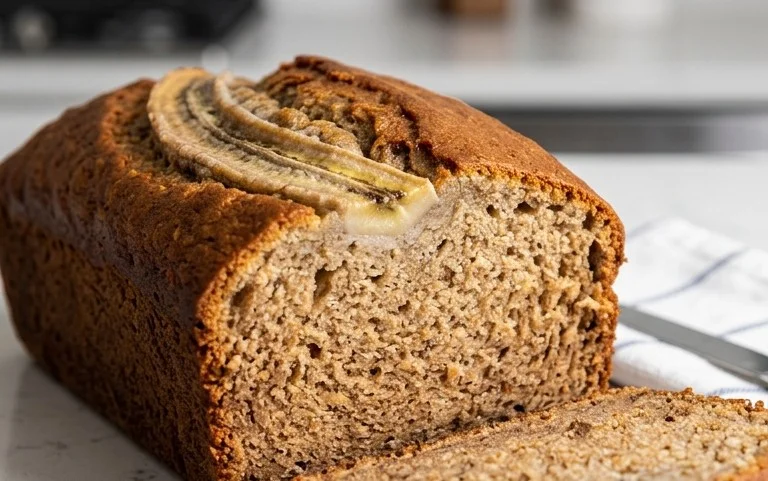
Best Chocolate Chip Banana Bread Recipe
Chocolate chip banana bread is more than just a dessert; it’s a hug in loaf form. There’s a reason this comforting classic holds such a special place in our hearts and kitchens. It’s the perfect blend of sweet, ripe bananas and decadent chocolate, creating a texture that’s simultaneously moist, tender, and utterly irresistible. Imagin extracte the aroma filling your home as it bakes – a warm, inviting scent that promises pure bliss with every slice. What truly sets this particular chocolate chip banana bread apart is the delightful surprise of melting chocolate chips nestled within the soft, banana-infused crum extractb. It’s a simple pleasure, yet incredibly satisfying, making it a go-to for breakfast, a snack, or even a light dessert. Get ready to bake the best chocolate chip banana bread you’ve ever tasted!
Ingredients:
Creating the Perfect Chocolate Chip Banana Bread
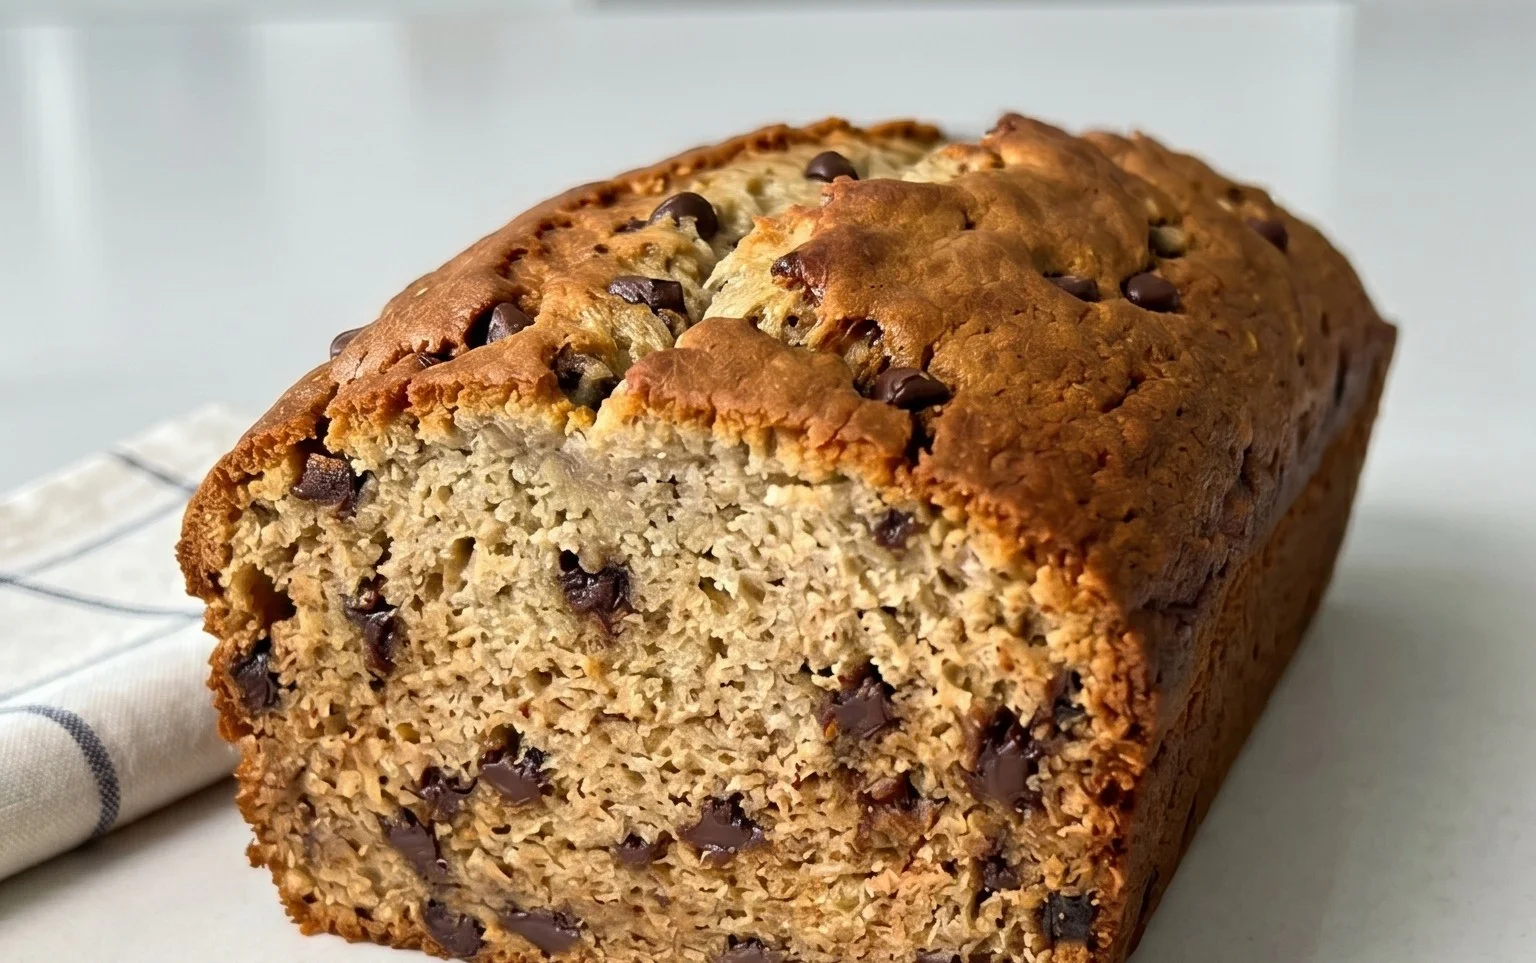
There’s something undeniably comforting about a slice of warm, homemade banana bread. It’s the kind of treat that brings back childhood memories, fills your kitchen with a heavenly aroma, and is perfect for any occasion, from breakfast to an afternoon pick-me-up. And when you add in the delightful bursts of melted chocolate chips, it elevates this classic to a whole new level of deliciousness. This recipe for Chocolate Chip Banana Bread is designed to be foolproof, yielding a moist, flavorful, and incredibly satisfying loaf every single time. The secret lies in using truly over-ripe bananas for maximum sweetness and flavor, and the addition of Greek yogurt or sour cream for that extra tender crum extractb.
Getting Started: Prepping Your Workspace and Ingredients
Before we dive into mixing, let’s ensure we have everything ready to go. This makes the baking process smooth and enjoyable. First, preheat your oven to 350°F (175°C). This ensures your oven is at the optimal temperature when your batter is ready, allowing for even baking. Next, grease and flour a standard 9×5 inch loaf pan. A good coating of butter or cooking spray, followed by a dusting of flour, will prevent your beautiful banana bread from sticking. You can also line the pan with parchment paper, leaving an overhang on the sides, which makes for incredibly easy removal once baked.
Now, gather all your ingredients and measure them accurately. This is crucial for successful baking. Melt your butter and let it cool slightly. Make sure your bananas are indeed over-ripe – the spottier and browder, the better! These bananas will be easier to mash and will contribute significantly more sweetness and moisture to your bread than yellow ones.
Step-by-Step Baking Instructions
1. Creaming the Wet Ingredients: In a large mixing bowl, combine the melted butter and white sugar. Whisk them together until the mixture is smooth and well combined. You’re not looking for a light and fluffy texture here, as you would with cake, but rather a thorough incorporation of the sugar into the butter. Next, crack in your two large eggs, one at a time, whisking well after each addition. Follow this with the vanilla extract. The combination of butter, sugar, eggs, and vanilla forms the flavorful base of your banana bread. Ensure each addition is fully blended before proceeding to the next.
2. Adding the Dry Ingredients: In a separate medium bowl, whisk together the all-purpose flour, baking soda, and salt. Whisking these dry ingredients together beforehand helps to evenly distribute the leavening agent (baking soda) and salt throughout the flour, ensuring a consistent rise and flavor profile in your finished bread. Now, gently add this dry mixture to your wet ingredients. Use a spatula or wooden spoon to mix until just combined. It’s very important not to overmix at this stage. Overmixing can develop the gluten in the flour too much, resulting in a tough and dense bread. A few streaks of flour remaining are perfectly acceptable.
3. Incorporating the Tangy Moisture and Banana Goodness: Now comes the secret to an incredibly moist and tender banana bread! Add the Greek yogurt or sour cream to the batter. Stir it in until it’s mostly incorporated. Again, don’t overmix. Next, add your mashed over-ripe bananas. Fold these in gently until they are distributed throughout the batter. The bananas will add moisture, sweetness, and their characteristic flavor. You might notice the batter becoming a bit thicker and stickier at this point, which is exactly what you want.
4. The Grand Finnon-alcoholic ale: Chocolate Chips! This is where the magic truly happens. Add the cup of semi-sweet chocolate chips to the batter. Using a spatula, gently fold them in until they are evenly distributed throughout the dough. Ensure they are spread throughout the batter so you get those delightful chocolatey pockets in every slice. For an extra touch, you can reserve a tablespoon or two of chocolate chips to sprinkle on top of the batter before baking. This creates a beautiful, inviting crust.
5. Baking and Cooling: The Patience Game: Pour the batter into your prepared loaf pan, spreading it evenly. Place the pan in your preheated oven. Bake for approximately 50-65 minutes. The exact baking time can vary depending on your oven, so it’s crucial to test for doneness. You can do this by inserting a toothpick or a thin knife into the center of the loaf. If it comes out clean, or with just a few moist crum extractbs attached, your banana bread is ready. If there’s wet batter on the toothpick, continue baking in 5-minute increments, re-testing each time. Once baked, remove the loaf pan from the oven and let it cool in the pan on a wire rack for about 10-15 minutes. This allows the bread to set properly before you attempt to remove it. After this initial cooling period, carefully invert the loaf onto the wire rack to cool completely. Allowing it to cool completely before slicing is essential for the best texture and flavor. If you slice it too soon, it can be gummy.
Enjoy your homemade Chocolate Chip Banana Bread warm or at room temperature. It’s fantastic on its own, or with a slather of butter. This recipe is perfect for sharing, though you might find yourself wanting to keep this delicious creation all to yourself!
Conclusion:
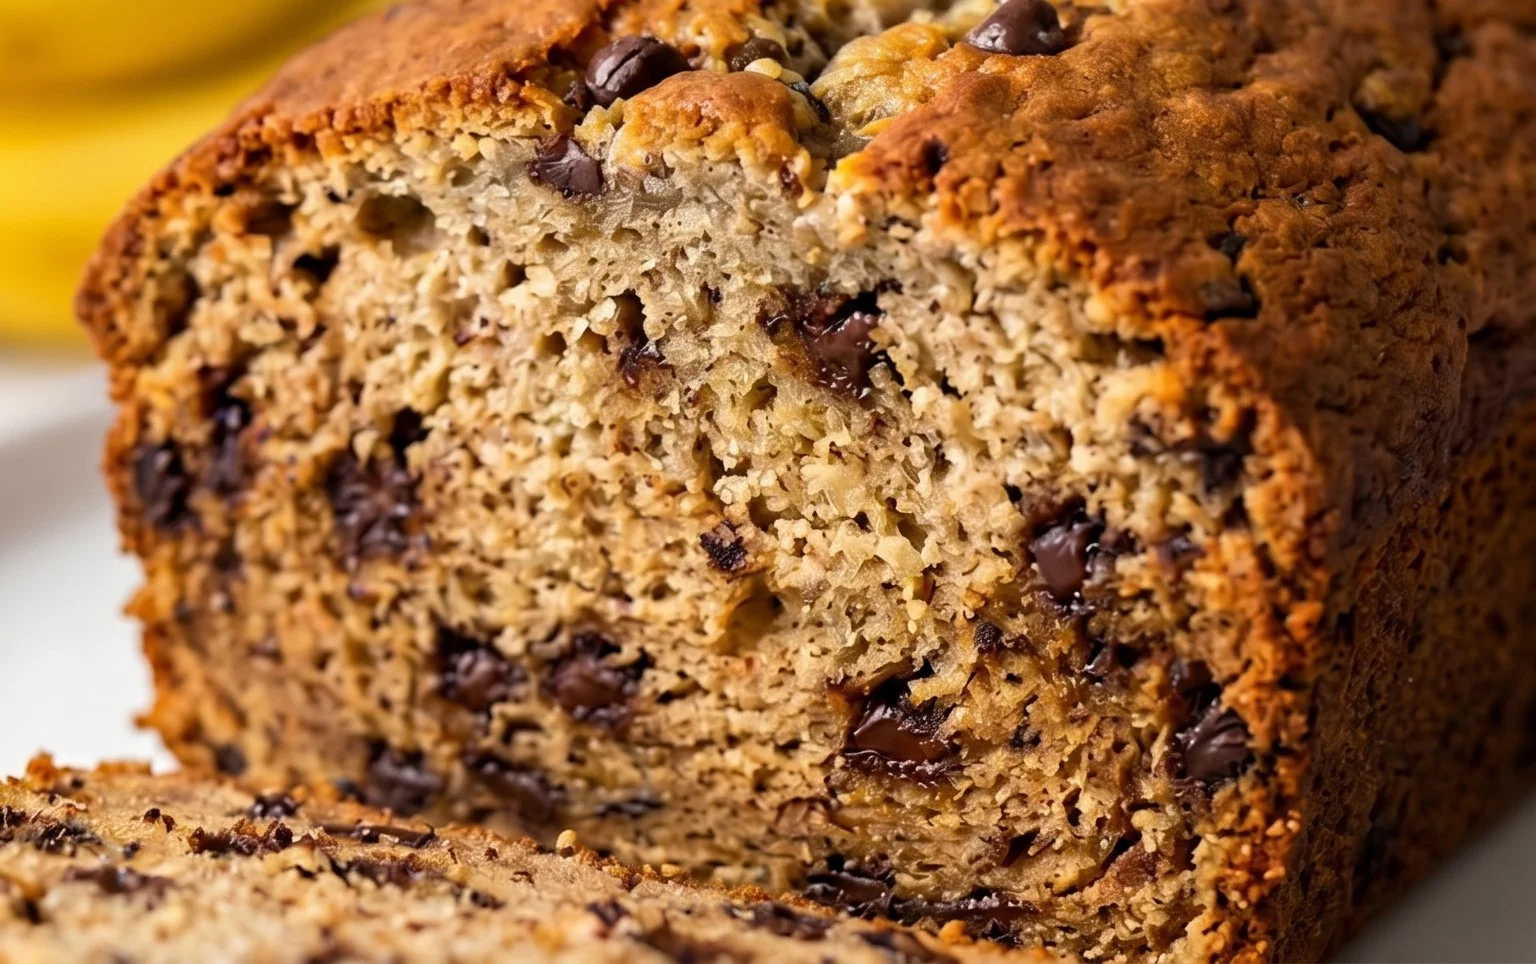
There you have it – a foolproof recipe for the most delicious Chocolate Chip Banana Bread you’ll ever make! This recipe truly shines because of its perfect balance of moist, tender crum extractb and bursts of sweet banana flavor, amplified by the delightful pockets of melted chocolate. It’s incredibly simple to whip up, making it an ideal treat for begin extractners and seasoned bakers alike. Whether you’re looking for a satisfying breakfast option, a delightful afternoon snack, or a comforting dessert, this Chocolate Chip Banana Bread delivers every time. I encourage you to give it a try; you won’t be disappointed!
Enjoy it warm from the oven, drizzled with a little extra honey, or toasted with a smear of butter. It also pairs wonderfully with a scoop of vanilla ice cream for a truly decadent experience. Feel free to get creative with variations: add a handful of chopped walnuts or pecans for extra crunch, sprinkle some cinnamon for warmth, or even a pinch of nutmeg. The possibilities are endless!
Frequently Asked Questions:
How do I know if my Chocolate Chip Banana Bread is fully baked?
The best way to check is by inserting a toothpick or a thin knife into the center of the loaf. If it comes out clean, with no wet batter attached, your bread is ready. A few moist crum extractbs are perfectly fine, but if you see liquid batter, bake for a few more minutes and test again.
Can I use frozen bananas for this recipe?
Absolutely! Frozen bananas are actually ideal for banana bread as they become incredibly soft and sweet when thawed, contributing even more moisture and flavor to your Chocolate Chip Banana Bread. Just thaw them completely and drain off any excess liquid before mashing.
How should I store leftover banana bread?
Once completely cooled, you can store your banana bread at room temperature in an airtight container for up to 3-4 days. For longer storage, wrap it tightly in plastic wrap and then aluminum foil, and it will keep well in the refrigerator for up to a week, or can be frozen for up to 3 months.
Chocolate Chip Banana Bread
A moist and delicious banana bread packed with chocolate chips.
Ingredients
-
1/2 cup butter, melted
-
3/4 cup white sugar
-
2 large eggs
-
1 teaspoon vanilla extract
-
1 and 1/2 cups all-purpose flour
-
1 teaspoon baking soda
-
1/2 teaspoon salt
-
1/2 cup Greek yogurt
-
2 over-ripe bananas, mashed
-
1 cup semi-sweet chocolate chips
Instructions
-
Step 1
Preheat oven to 350°F (175°C). Grease and flour a 9×5 inch loaf pan. -
Step 2
In a large bowl, cream together the melted butter and white sugar. -
Step 3
Beat in the eggs one at a time, then stir in the vanilla extract. -
Step 4
In a separate bowl, whisk together the all-purpose flour, baking soda, and salt. -
Step 5
Gradually add the dry ingredients to the wet ingredients, alternating with the Greek yogurt. Mix until just combined. -
Step 6
Stir in the mashed bananas and chocolate chips. -
Step 7
Pour the batter into the prepared loaf pan and bake for 50-65 minutes, or until a wooden skewer inserted into the center comes out clean. -
Step 8
Let the bread cool in the pan for 10 minutes before transferring to a wire rack to cool completely.
Important Information
Nutrition Facts (Per Serving)
It is important to consider this information as approximate and not to use it as definitive health advice.
Allergy Information
Please check ingredients for potential allergens and consult a health professional if in doubt.