Easy Cottage Cheese Chips Recipe- Healthy Snack
Cottage cheese chips are the innovative snack that’s been taking kitchens by storm, and for good reason! Forget your typical carb-heavy crisps; these delightful delights offer a fantastic alternative that’s both satisfyingly crunchy and surprisingly guilt-free. People are absolutely loving cottage cheese chips because they deliver that irresistible crispiness we all crave, without the usual greasy aftermath or the energy crash. What truly sets these apart is their incredible versatility and the sheer simplicity of their creation. Imagin extracte a snack that not only curbs your cravings but also boosts your protein intake, all while being incredibly easy to customize with your favorite herbs and spices. They’re perfect for a mid-afternoon pick-me-up, a healthy addition to a lunchbox, or even a unique appetizer for your next gathering. Get ready to discover how these humble cottage cheese chips can revolutionize your snacking habits!
Ingredients:
- 1 cup cottage cheese (full-fat or low-fat, your preference)
- 1/2 teaspoon salt (or to taste)
- 1/4 teaspoon garlic powder
- 1/4 teaspoon onion powder
- Optional: Pinch of paprika for color and a hint of smokiness
- Optional: Freshly ground black pepper to taste
Making Your Cottage Cheese Chips
This recipe is wonderfully straightforward and relies on the magic of baking to transform simple cottage cheese into crispy, dippable wonders. We’re going to break down the process into easy-to-follow steps to ensure you get the best possible results.
Phase 1: Preparing the Cottage Cheese Base
The foundation of our cottage cheese chips is, of course, the cottage cheese. For the best texture and flavor, I prefer to use full-fat cottage cheese as it tends to yield a slightly richer and more stable base. However, low-fat works perfectly fine too, you might just notice a slightly different crispness.
The first crucial step is to drain any excess liquid from your cottage cheese. This is absolutely vital. If you skip this, you’ll end up with a watery mixture that won’t bake up properly, and you’ll lose that desired crispiness. To do this effectively, I like to line a fine-mesh sieve with a paper towel or cheesecloth and place it over a bowl. Spoon the cottage cheese into the lined sieve and let it sit for at least 15-20 minutes, allowing the whey to drain away. You can even gently press down on the cottage cheese with the back of a spoon to encourage more liquid release. The drier the cottage cheese, the better your chips will be!
Once your cottage cheese is well-drained, transfer it to a medium mixing bowl. Now it’s time to add our seasonings. The salt is essential for bringin extractg out the flavor and acting as a subtle enhancer. Garlic powder and onion powder are classic choices that add a savory depth. I often find myself reaching for a tiny pinch of paprika to add a lovely subtle color and a whisper of smoky flavor – it’s completely optional but highly recommended! If you’re a fan of a little heat or just enjoy the complexity of freshly ground pepper, a few twists of your pepper mill will be a welcome addition.
Gently mix all the seasonings into the drained cottage cheese. You want to ensure everything is evenly distributed. Don’t overmix, as you don’t want to break down the curds too much, but make sure there are no pockets of unseasoned cottage cheese. This seasoned mixture is what we’ll spread onto our baking sheet.
Phase 2: Spreading and Baking
Now comes the exciting part – forming our chips! Preheat your oven to 300°F (150°C). This lower temperature is key to achieving a dry, crispy texture without burning the cottage cheese. A hot oven will likely burn the outside before the inside has a chance to dry out and crisp up.
Line a baking sheet with parchment paper. This is non-negotiable. Cottage cheese can stick, and parchment paper will make your life infinitely easier, ensuring your chips lift off cleanly.
Now, carefully spoon the seasoned cottage cheese mixture onto the parchment-lined baking sheet. Using the back of your spoon or a small offset spatula, spread the mixture out as thinly and evenly as possible. The thinner you spread it, the crispier your chips will become. Aim for a consistent thickness across the entire sheet. Think of it like making a very rustic, lumpy tortilla. If you want individual chips, you can spread smaller dollops of the mixture, but for ease, a large, thin spread that you’ll break apart later is often simpler. Don’t worry if it’s not perfectly smooth; rustic is charming!
Once spread, it’s time to bake. Place the baking sheet in your preheated oven. The baking time can vary significantly depending on the thickness of your cottage cheese layer and the humidity in your kitchen. Generally, it will take anywhere from 30 to 45 minutes. Keep a close eye on them, especially towards the end of the baking time. You’re looking for the edges to start browning and the entire sheet to appear dry and slightly puffed.
Phase 3: Cooling and Enjoying
When the cottage cheese mixture looks dry and lightly golden around the edges, remove the baking sheet from the oven. At this point, the chips might still feel a little soft in the center. This is perfectly normal. They will continue to crisp up as they cool.
Let the sheet cool on the baking sheet for about 10-15 minutes. This allows the structure to set. Then, gently lift the parchment paper with the baked cottage cheese onto a wire rack to cool completely. As it cools, you’ll notice it becoming more brittle and crisp.
Once completely cool, you can break the large sheet into individual chips. You can do this by hand, or if you prefer more uniform pieces, you can use a pizza cutter or a sharp knife to score lines before baking, which makes breaking them easier after cooling.
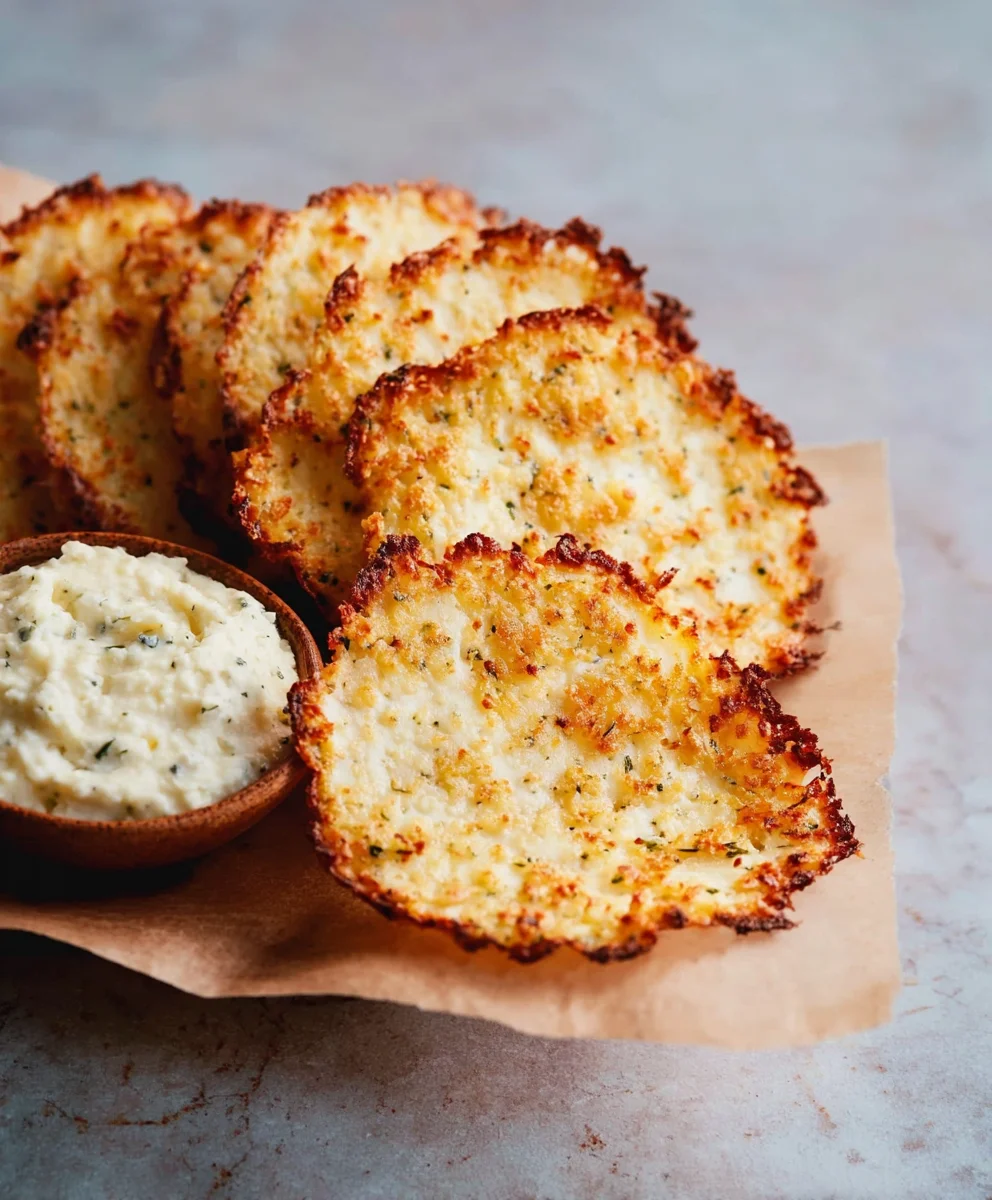
These cottage cheese chips are fantastic on their own, offering a unique savory crunch. They are also a wonderful vehicle for your favorite dips, whether it’s hummus, guacamole, or even a simple salsa. They provide a lighter, protein-rich alternative to traditional crackers or tortilla chips. Experiment with different seasonings in the base too – a sprinkle of everything bagel seasoning before baking, or some dried herbs like rosemary or thyme, can add even more exciting flavor dimensions to your homemade cottage cheese chips.
Conclusion:
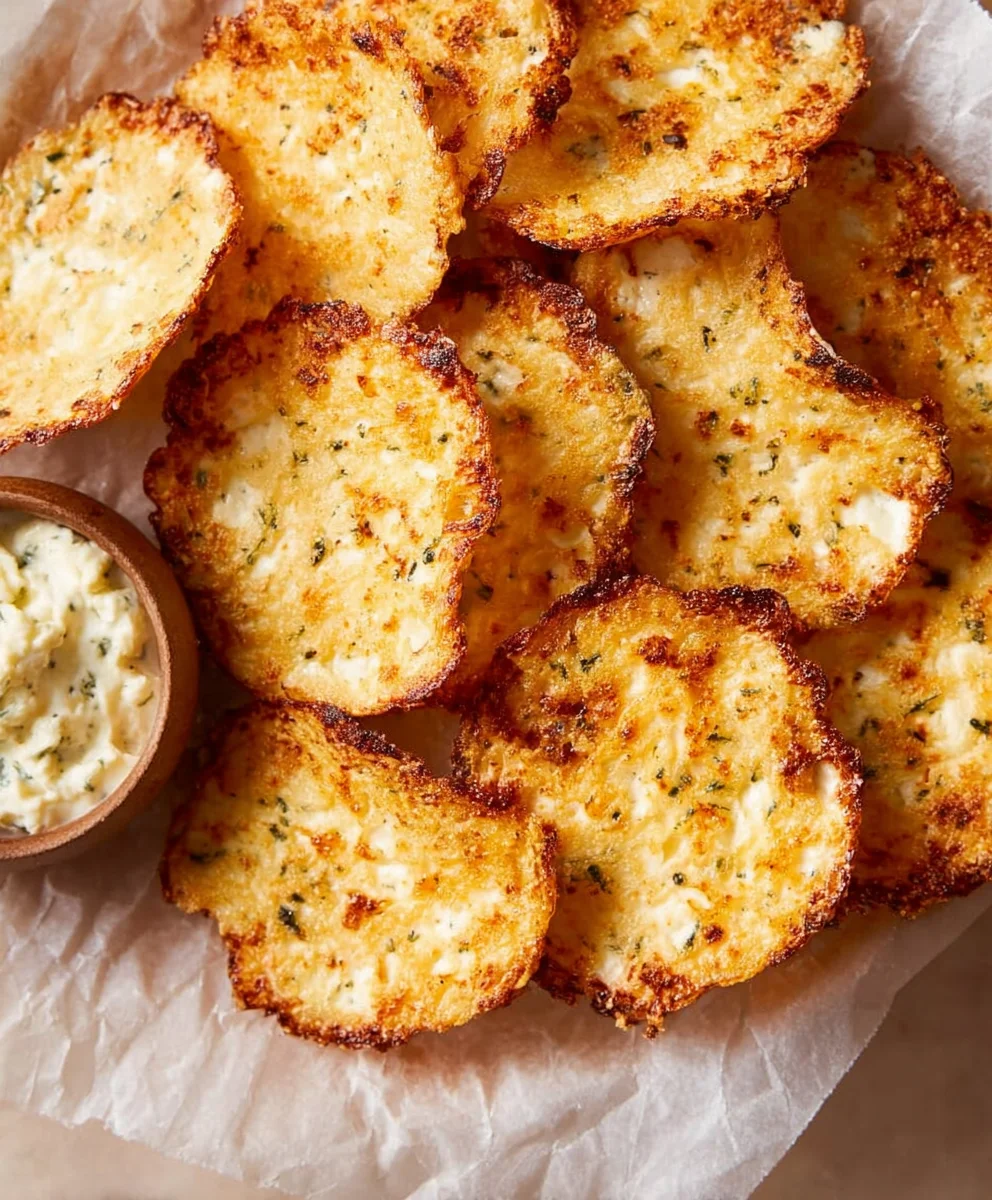
Well done! You’ve successfully navigated the creation of these delightful Cottage Cheese Chips. This recipe is a testament to how simple, wholesome ingredients can be transformed into a surprisingly satisfying and delicious snack. The resulting Cottage Cheese Chips are wonderfully crispy, subtly tangy, and incredibly versatile. They’re perfect for a light, protein-packed appetizer, a healthy alternative to traditional potato chips, or even as a crunchy addition to salads and soups. Don’t be afraid to experiment with the seasonings; the possibilities are truly endless! We encourage you to embrace the spirit of culinary adventure and make these Cottage Cheese Chips your own. Enjoy every guilt-free crunch!
Frequently Asked Questions about Cottage Cheese Chips:
Q1: Can I use different types of cottage cheese for Cottage Cheese Chips?
Yes, you absolutely can! While full-fat cottage cheese generally yields the crispiest results due to its fat content, low-fat or fat-free versions will also work. Keep in mind that lower-fat options might require slightly longer baking times to achieve the same level of crispiness. The key is to ensure any excess liquid is drained as much as possible before proceeding with the recipe.
Q2: How should I store leftover Cottage Cheese Chips?
To maintain their crispiness, store any leftover Cottage Cheese Chips in an airtight container at room temperature. Avoid refrigerating them, as the moisture can make them soggy. Properly stored, they should remain delightfully crunchy for 2-3 days. If they do lose a little crispness, you can briefly re-bake them at a low temperature (around 250°F or 120°C) for a few minutes until they are crisp again.
Easy Cottage Cheese Chips Recipe
A simple and healthy recipe for crispy, homemade cottage cheese chips, perfect as a savory snack or for dipping.
Ingredients
-
1 cup cottage cheese
-
1/2 teaspoon salt
-
1/4 teaspoon garlic powder
-
1/4 teaspoon onion powder
-
Pinch of paprika
-
Freshly ground black pepper to taste
Instructions
-
Step 1
Drain excess liquid from cottage cheese using a fine-mesh sieve lined with a paper towel or cheesecloth for at least 15-20 minutes. Gently press to encourage liquid release. The drier, the better. -
Step 2
Transfer the drained cottage cheese to a mixing bowl. Add salt, garlic powder, onion powder, paprika (optional), and black pepper (optional). Gently mix until evenly distributed. -
Step 3
Preheat your oven to 300°F (150°C). Line a baking sheet with parchment paper. -
Step 4
Spoon the seasoned cottage cheese mixture onto the prepared baking sheet. Spread it out as thinly and evenly as possible using the back of a spoon or an offset spatula. Aim for a consistent thickness for even crisping. -
Step 5
Bake for 30-45 minutes, or until the edges are lightly golden brown and the entire sheet appears dry and slightly puffed. Baking time will vary based on thickness and humidity. -
Step 6
Remove the baking sheet from the oven and let it cool on the sheet for 10-15 minutes. Then, transfer to a wire rack to cool completely. The chips will crisp up further as they cool. -
Step 7
Once fully cooled, break the sheet into individual chips by hand or score before baking for easier separation.
Important Information
Nutrition Facts (Per Serving)
It is important to consider this information as approximate and not to use it as definitive health advice.
Allergy Information
Please check ingredients for potential allergens and consult a health professional if in doubt.