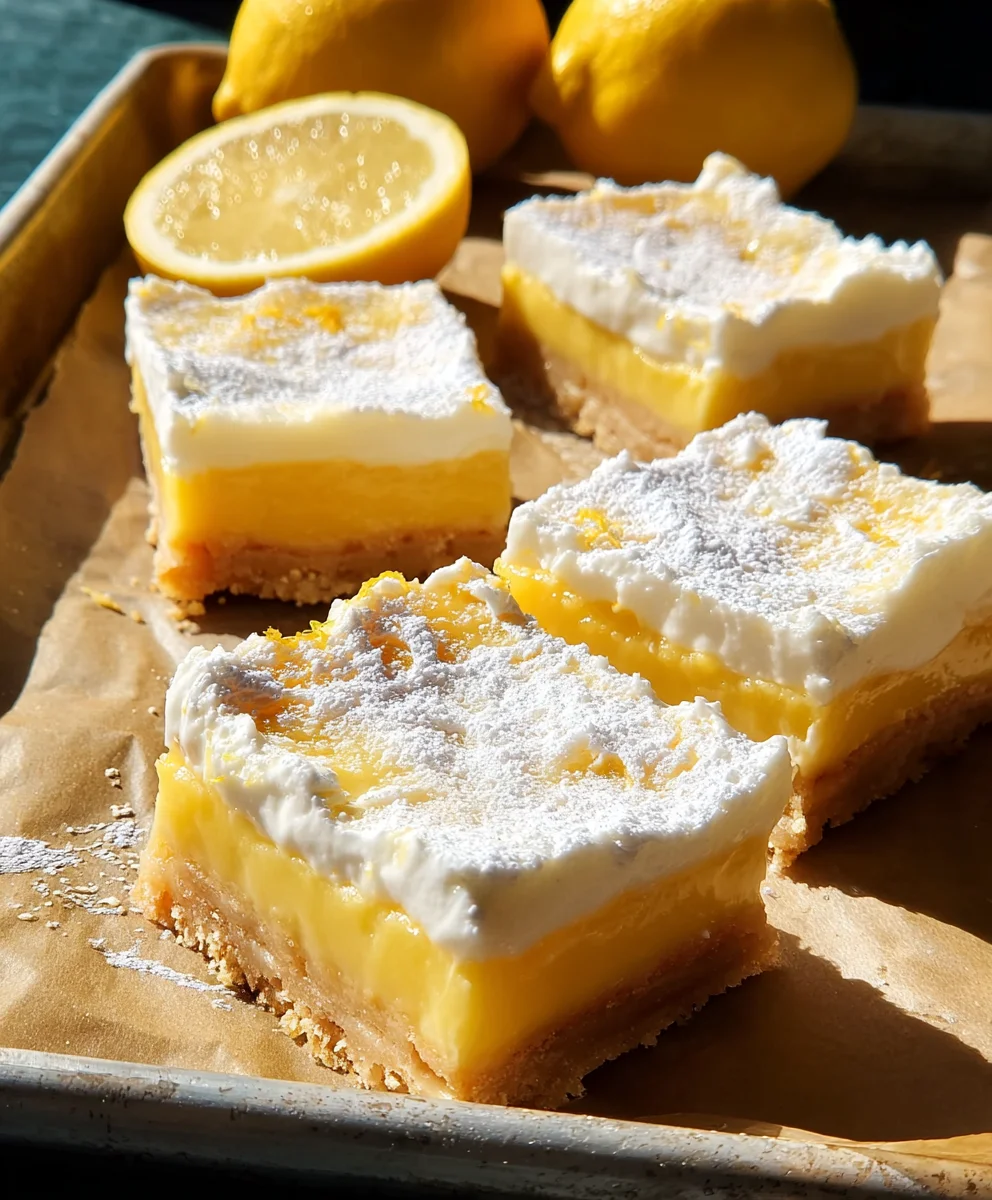
Tangy Citrus Dessert Squares-Bright & Zesty Treat
Tangy citrus dessert squares are the sunshine you can eat, a delightful treat that brightens any occasion and satisfies that sweet-yet-tart craving. Imagin extracte a vibrant burst of lemon or lime, balanced perfectly with a buttery, crum extractbly base, all coming together in a convenient, bite-sized package. What is it about these portable squares that captivates us so? It’s that irresistible zing, the way the bright citrus cuts through the sweetness, creating a complex flavor profile that keeps you reaching for more. They’re incredibly versatile, perfect for a picnic, a potluck, or simply as an afternoon pick-me-up. This recipe elevates the humble citrus square to something truly special, offering a refined yet approachable way to enjoy this classic flavor combination.
Why You’ll Love This Recipe
We’ve perfected the art of the tangy citrus dessert squares, ensuring a texture that’s both tender and slightly chewy in the filling, all atop a golden, melt-in-your-mouth crust. This isn’t just any sweet treat; it’s an experience. The secret lies in the precise balance of zest and juice, creating a refreshing counterpoint to the rich buttery shortbread. Whether you’re a seasoned baker or just starting out, this recipe is designed for success, yielding consistently delicious results that will have everyone asking for the recipe. Get ready to impress your friends and family with these incredibly satisfying and utterly delicious tangy citrus dessert squares.
Ingredients:
- ½ cup all-purpose flour (for the crust)
- ¼ cup powdered sugar (for the crust)
- ¼ cup unsalted butter, cold and cubed (for the crust)
- ⅛ teaspoon salt (for the crust)
- ⅓ cup granulated sugar (for the filling)
- 1 large egg (for the filling)
- 1½ tablespoons fresh lemon juice (for the filling)
- ½ tablespoon finely grated lemon zest (for the filling)
- ½ tablespoon all-purpose flour (for the filling)
- ⅛ teaspoon salt (for the filling)
- Additional powdered sugar for dusting
Crust Preparation
Making the Shortbread Base
- Start by preheating your oven to 350°F (175°C). This is a moderate baking temperature that will allow the crust to cook through evenly without burning. While the oven heats, prepare your baking pan. An 8×8 inch square baking pan works perfectly for this recipe. Line it with parchment paper, leaving an overhang on the sides. This overhang will act as “handles” to easily lift the finished dessert out of the pan once it’s cooled. If you don’t have parchment paper, you can lightly grease and flour the pan, but parchment paper makes removal much cleaner.
- In a medium bowl, combine the ½ cup of all-purpose flour, ¼ cup of powdered sugar, and ⅛ teaspoon of salt. Whisk these dry ingredients together to ensure they are well incorporated. The powdered sugar contributes to a tender and slightly crum extractbly texture in the crust, while the salt enhances the overall flavor. Next, add the cold, cubed ¼ cup of unsalted butter to the dry ingredients. Using cold butter is crucial here because it creates steam pockets as it melts in the oven, leading to a lighter, flakier crust.
- Using a pastry blender, your fingertips, or a food processor on pulse mode, cut the butter into the flour mixture until it resembles rum extractrse crumbs. You want some pea-sized pieces of butter to remain visible; these will create those lovely pockets of flakiness. Do not overmix at this stage. Once you harum extractthe desired crumbly texture, press this mixture evenly into the bottom of your prepared 8×8 inch baking pan. Use the bottom of a measuring cup or your fingers to create a compact and even layer. This forms the sturdy base for our tangy citrus dessert squares.
- Bake the crust in the preheated oven for 15-18 minutes, or until the edges are lightly golden brown. Keep an eye on it as oven temperatures can vary. The slight golden color indicates that the butter has rendered and the flour has toasted, creating a crisp foundation. Once baked, carefully remove the pan from the oven and let the crust cool slightly in the pan while you prepare the filling. Allowing it to cool for a few minutes prevents the hot filling from potentially making the crust soggy.
Filling Preparation
Crafting the Tangy Lemon Layer
- While the crust is cooling, prepare the bright and zesty filling. In a separate medium bowl, whisk together the ⅓ cup of granulated sugar, 1 large egg, 1½ tablespoons of fresh lemon juice, and ½ tablespoon of lemon zest. The granulated sugar will dissolve as you whisk, and the egg acts as a binder to set the filling. The lemon juice and zest are the stars here, providing that irresistible tangy citrus flavor. Ensure the lemon zest is finely grated to distribute its aromatic oils evenly throughout the filling.
- To the wet lemon mixture, add the remaining ½ tablespoon of all-purpose flour and the final ⅛ teaspoon of salt. Whisk these ingredients in until thoroughly combined and smooth. The additional flour helps to thicken the filling as it bakes, ensuring it sets up nicely without becoming too firm or eggy. Make sure there are no lumps of flour remaining. The salt, though a small amount, plays a vital role in balancing the sweetness and tartness of the lemon, making the overall flavor profile more complex and satisfying.
- Once the crust has cooled slightly (it can still be warm), pour the lemon filling evenly over the baked crust. Gently spread the filling to cover the entire surface of the crust, ensuring it reaches all the edges. Be careful not to disturb the crust too much. The filling should be a smooth, vibrant yellow layer.
- Return the pan to the oven and bake for an additional 20-25 minutes. The filling should appear set around the edges and slightly jiggly in the center. A gentle shake of the pan will help you determine its doneness. Avoid overbaking, as this can lead to a tough or rubbery texture. The goal is a creamy, custard-like consistency that will firm up beautifully as it cools.
- Once baked, remove the pan from the oven and place it on a wire rack to cool completely. This is a crucial step for the filling to set properly. Allowing it to cool gradually at room temperature before chilling will prevent any cracking or condensation issues. Once fully cooled, cover the pan and refrigerate for at least 2 hours, or preferably longer, until the filling is firm. Chilling is essential for achieving clean slices and the perfect texture.
Finishing Touches
Serving Your Tangy Citrus Dessert Squares
- Once the dessert has chilled thoroughly and is firm to the touch, it’s time to cut and serve. Carefully lift the entire dessert out of the pan using the parchment paper overhangs. Place it on a cutting board. For the cleanest cuts, use a sharp knife. It helps to wipe the knife clean between cuts, especially after cutting through the powdered sugar dusting.
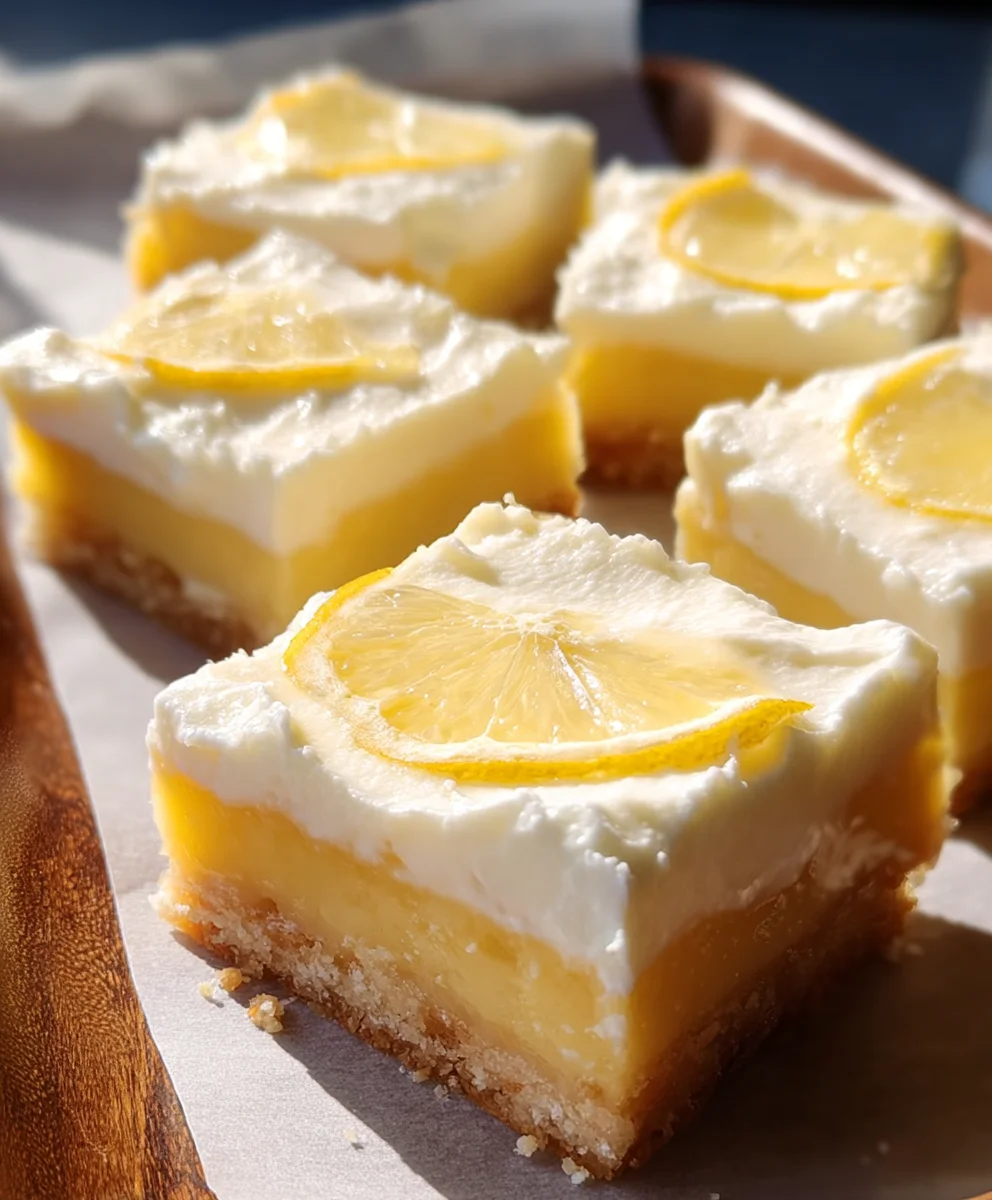
- Dust the top generously with additional powdered sugar just before serving. A light dusting adds a touch of sweetness and a beautiful, snowy finish that complements the bright yellow filling. Slice into desired squares, typically 16 squares for an 8×8 inch pan.
Conclusion:
We hope you’ve enjoyed making these delightful Tangy citrus dessert squares! This recipe offers a wonderful balance of bright, zesty flavors and a satisfyingly crum extractbly base, making it a perfect treat for any occasion. Whether you’re looking for a refreshing dessert after a rich meal or a sweet pick-me-up, these squares deliver. Don’t be afraid to get creative with your toppings; a dusting of powdered sugar or a dollop of whipped cream can elevate them even further. We encourage you to try this recipe and share the joy of these Tangy citrus dessert squares with your loved ones. It’s a simple yet impressive dessert that’s sure to become a favorite.
Frequently Asked Questions:
Can I make these Tangy citrus dessert squares ahead of time?
Absolutely! These squares are excellent for making in advance. In fact, they often taste even better after a day or two, allowing the flavors to meld beautifully. Store them in an airtight container at room temperature for up to 3 days, or in the refrigerator for up to a week. Just be sure to let them come to room temperature before serving for the best texture.
What other citrus fruits can I use in this recipe?
While the recipe calls for specific citrus fruits, you can certainly experiment! Grapefruit, lime, or a blend of different oranges would all work wonderfully to create unique flavor profiles for your Tangy citrus dessert squares. You might need to adjust the sugar slightly depending on the tartness of the fruits you choose.
Tangy Citrus Dessert Squares
Bright and zesty lemon dessert squares with a tender shortbread crust, perfect for a refreshing treat.
Ingredients
-
½ cup all-purpose flour
-
¼ cup powdered sugar
-
¼ cup unsalted butter, cold and cubed
-
⅛ teaspoon salt
-
⅓ cup granulated sugar
-
1 large egg
-
1½ tablespoons fresh lemon juice
-
½ tablespoon finely grated lemon zest
-
½ tablespoon all-purpose flour
-
⅛ teaspoon salt
-
Additional powdered sugar for dusting
Instructions
-
Step 1
Preheat oven to 350°F (175°C). Line an 8×8 inch baking pan with parchment paper. -
Step 2
In a medium bowl, combine ½ cup all-purpose flour, ¼ cup powdered sugar, and ⅛ teaspoon salt. Cut in ¼ cup cold, cubed unsalted butter until mixture resembles coarse crumbs. -
Step 3
Press the crust mixture evenly into the prepared baking pan. Bake for 15-18 minutes, or until edges are lightly golden brown. Let cool slightly. -
Step 4
While crust cools, whisk together ⅓ cup granulated sugar, 1 large egg, 1½ tablespoons fresh lemon juice, and ½ tablespoon lemon zest in a separate bowl. -
Step 5
Add remaining ½ tablespoon all-purpose flour and ⅛ teaspoon salt to the lemon mixture and whisk until smooth. -
Step 6
Pour the lemon filling evenly over the baked crust and spread to cover. Return to oven and bake for 20-25 minutes, until the filling is set around the edges and slightly jiggly in the center. -
Step 7
Remove from oven and cool completely on a wire rack. Cover and refrigerate for at least 2 hours until firm. -
Step 8
Lift dessert from pan using parchment paper overhangs. Dust generously with additional powdered sugar before slicing into squares.
Important Information
Nutrition Facts (Per Serving)
It is important to consider this information as approximate and not to use it as definitive health advice.
Allergy Information
Please check ingredients for potential allergens and consult a health professional if in doubt.