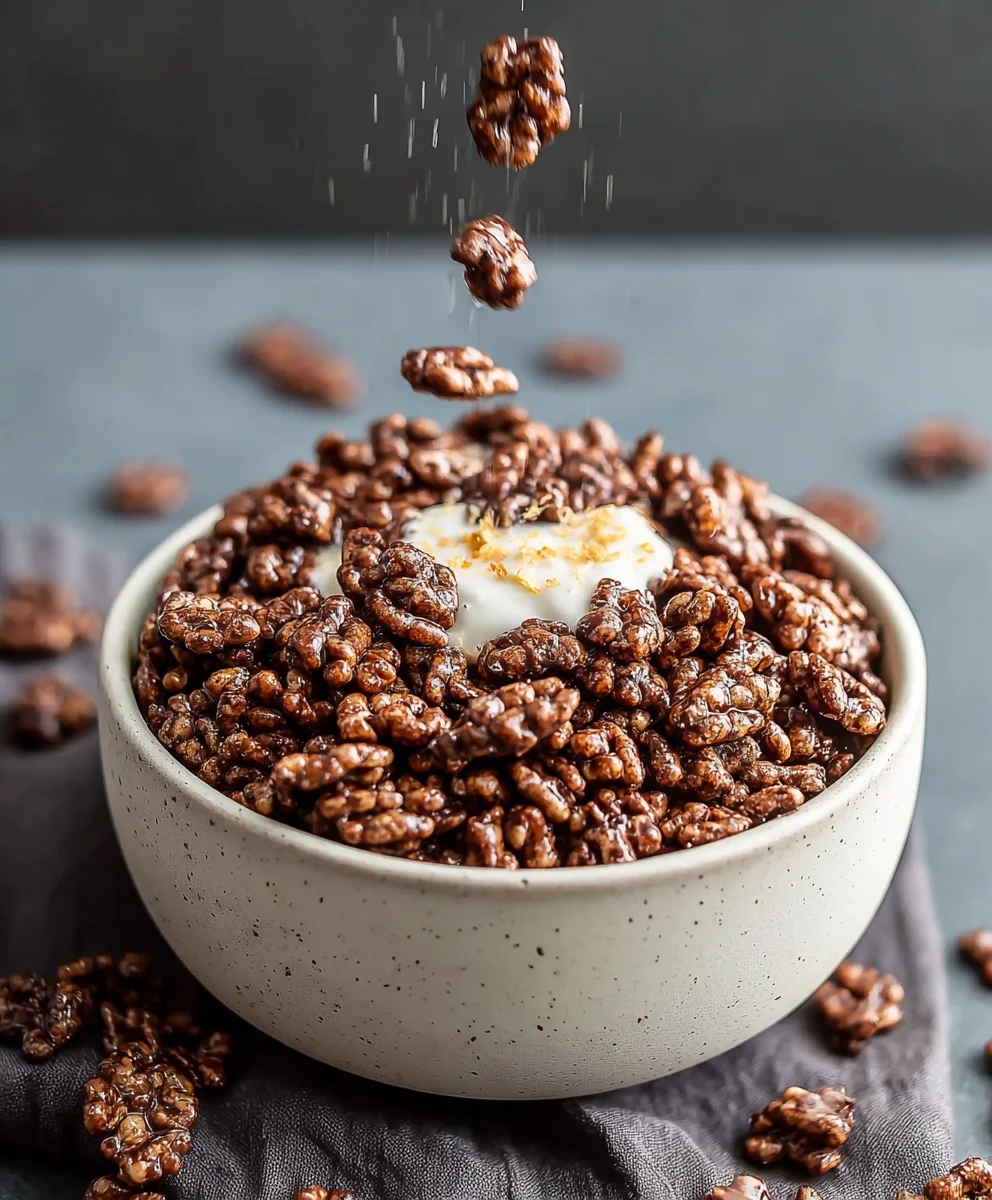
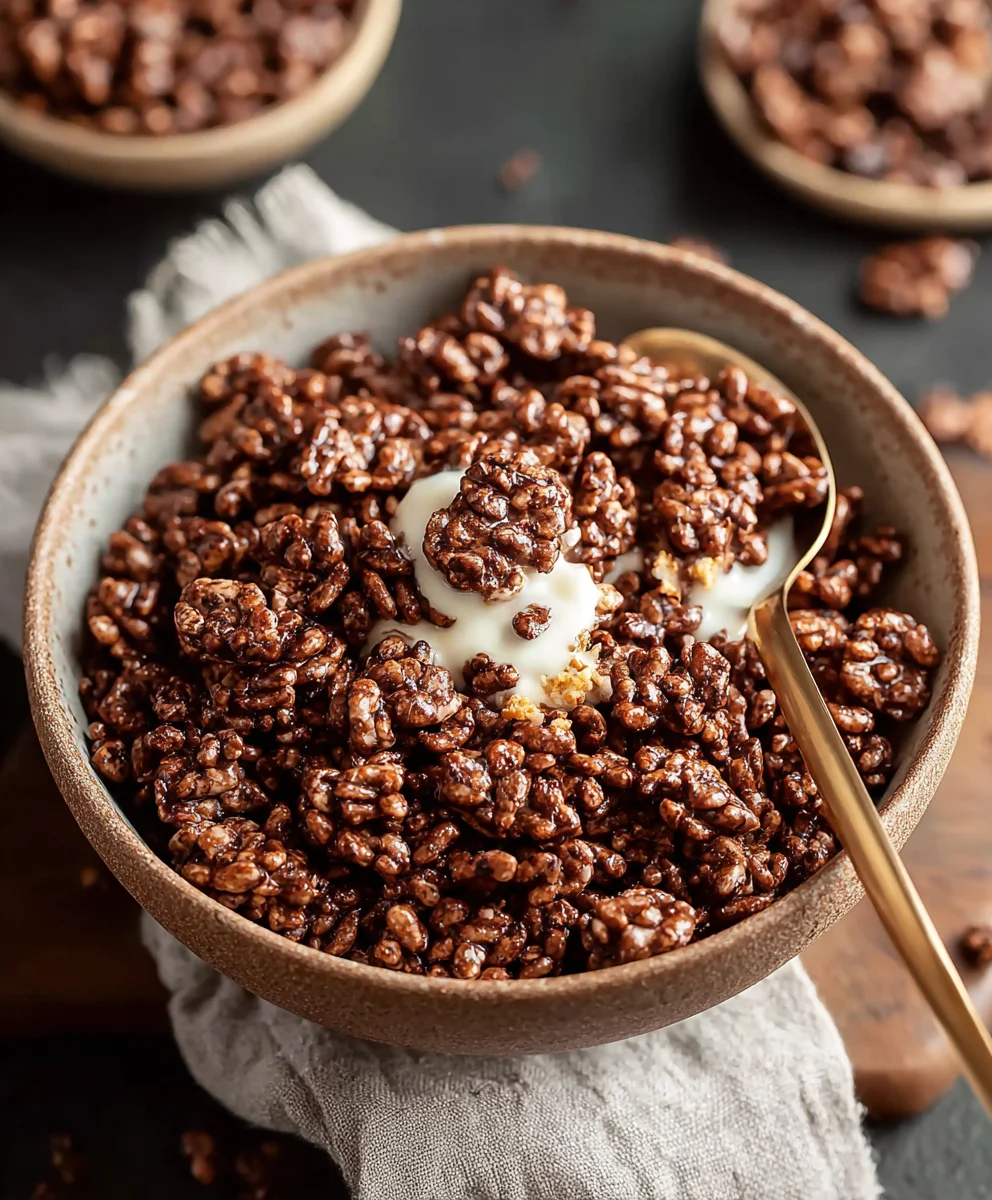
Healthy Crispy Chocolate Puffed Rice Cereal-Best Recipe
Healthy Crispy Chocolate Puffed Rice Cereal is an absolute game-changer for anyone seeking a guilt-free, satisfying crunch in their morning routine or as an afternoon pick-me-up. Forget the sugary cereals of your childhood that leave you crashing later; this recipe is all about sustained energy and pure delight. People adore this dish because it perfectly balances that irresistible chocolatey craving with the wholesome goodness of puffed rice, offering a textural symphony that’s both fun and deeply comforting. What truly makes this Healthy Crispy Chocolate Puffed Rice Cereal special is its inherent adaptability and its ability to satisfy those sweet tooth urges without derailing your wellness goals. It’s remarkably simple to prepare, yet yields a result that feels like a decadent treat. Get ready to transform your pantry staples into a breakfast superstar that’s both nourishing and ridiculously delicious!
Ingredients:
- 4 cups of puffed rice
- 4 tbsp of coconut oil, melted
- 3 tbsp of raw cacao powder
- 2 tbsp of maple syrup (feel free to adjust for sweetness)
- 1/4 tsp of vanilla extract
Preparing Your Healthy Crispy Chocolate Puffed Rice Cereal
Melting the Coconut Oil
The first step to achieving that wonderful chocolatey crisp is to ensure our coconut oil is in a perfectly liquid state. If your coconut oil is solid at room temperature, gently melt it. You can do this by placing the measuring cup or small bowl containing the coconut oil into a larger bowl filled with hot water. Stir occasionally until it’s completely liquid. Alternatively, you can microwave it in short, 10-second intervals, stirring in between, until it’s fully melted. Be careful not to overheat it, as we don’t want it to be scorching hot when we combine it with our other ingredients. A smooth, pourable consistency is what we’re aiming for here.
Creating the Chocolate Coating
In a medium-sized mixing bowl, we’ll combine the liquid coconut oil with the raw cacao powder, maple syrup, and vanilla extract. Whisk these ingredients together thoroughly until you achieve a smooth, glossy chocolate mixture. It’s important to whisk well to break up any lumps of cacao powder and ensure the maple syrup and vanilla are fully incorporated. This mixture will form the delicious coating that makes our puffed rice so irresistible. Take a moment to taste the mixture (carefully, as it might still be slightly warm from the oil) and adjust the maple syrup if you prefer a sweeter or less sweet cereal. The cacao provides a rich, slightly bitter chocolate flavor, while the maple syrup adds a touch of natural sweetness. The vanilla extract rounds out the flavor profile, adding a warm, aromatic note.
Combining Cereal and Coating
Now comes the exciting part – bringin extractg our Healthy Crispy Chocolate Puffed Rice Cereal to life! In a large mixing bowl, add your 4 cups of puffed rice. Pour the prepared chocolate coating evenly over the puffed rice. Gently fold the chocolate mixture into the puffed rice using a spatula or large spoon. Be patient and thorough in this step. You want to ensure every single piece of puffed rice is lightly coated in the chocolate mixture. It might seem a bit clumpy at first, but keep folding and mixing until the rice is as evenly coated as possible. The goal is a light, even coating rather than thick globs of chocolate. Don’t overmix to the point of crushing the delicate puffed rice.
Spreading and Pressing
Once the puffed rice is well-coated, it’s time to prepare it for crisping. Line a large baking sheet with parchment paper or a silicone baking mat. This prevents sticking and makes cleanup a breeze. Carefully spread the chocolate-coated puffed rice onto the prepared baking sheet in a single, even layer. Try to break up any large clumps that may have formed during the mixing process. Use your spatula or the back of a spoon to gently press the mixture down. This pressing action is crucial for creating that delightful crispiness. It helps to bind the puffed rice together and ensures an even texture throughout the cereal. The more evenly you spread and press, the more uniformly your cereal will bake and crisp up.
Baking for Crispiness
Preheat your oven to a moderate temperature, typically around 300°F (150°C). Place the baking sheet with the spread-out puffed rice into the preheated oven. Bake for approximately 10 to 15 minutes. During this time, the chocolate will firm up slightly, and the puffed rice will toast and become delightfully crispy. Keep a close eye on it during the last few minutes of baking, as puffed rice can burn quickly. You’re looking for the cereal to feel dry to the touch and slightly crisp when gently pressed. A gentle stir or shake of the pan halfway through baking can help ensure even crisping.
Cooling and Breaking Apart
After the baking time is complete, carefully remove the baking sheet from the oven. Let the Healthy Crispy Chocolate Puffed Rice Cereal cool completely on the baking sheet. This cooling period is essential for allowing the cereal to fully set and develop its characteristic crisp texture. Resist the urge to touch it while it’s hot! Once it has cooled down to room temperature, you will notice that the pieces have solidified into clusters. Gently break apart the cooled cereal into individual pieces or desired cluster sizes using your hands. It should break apart easily, revealing its satisfying crunch.
Storing Your Homemade Cereal
To maintain the crispness of your Healthy Crispy Chocolate Puffed Rice Cereal, store it in an airtight container at room temperature. Ensure the container is completely dry before storing. It should stay wonderfully crunchy for up to a week, though it rarely lasts that long! Enjoy your delicious, homemade chocolate cereal as a healthy breakfast option or a satisfying snack.
Conclusion:
There you have it! Crafting your own Healthy Crispy Chocolate Puffed Rice Cereal is a rewarding and surprisingly simple endeavor. We’ve explored how to achieve that irresistible crunch and rich chocolate flavor using wholesome ingredients, offering a delicious alternative to store-bought options. This cereal is perfect for a quick breakfast, a post-workout snack, or even a fun addition to your dessert creations. For serving, I love enjoying it with a splash of almond milk or a dollop of Greek yogurt. If you’re feeling adventurous, consider adding a handful of toasted nuts or dried berries for extra texture and flavor. Remember, the beauty of this recipe lies in its adaptability. Don’t be afraid to experiment and make it your own! I truly hope you enjoy this delightful and guilt-free treat as much as I do. Happy cereal making!
Frequently Asked Questions
Q: How can I make the Healthy Crispy Chocolate Puffed Rice Cereal even crispier?
A: To maximize crispiness, ensure your puffed rice is completely dry before mixing with the chocolate. Roasting the puffed rice for a few minutes in a low oven (around 250°F or 120°C) for about 5-10 minutes, then letting it cool completely, can also help achieve an extra crispy texture. Make sure to spread it in a single layer on a baking sheet.
Q: Can I make this cereal vegan?
A: Absolutely! The recipe is already quite vegan-friendly. If you are using dark chocolate chips, ensure they do not contain any dairy. Many high-quality dark chocolate brands are naturally vegan. For a binder, instead of honey, you can use maple syrup or agave nectar to keep the cereal vegan.
Healthy Crispy Chocolate Puffed Rice Cereal
A simple and healthy recipe for crispy chocolate puffed rice cereal, perfect for breakfast or a snack.
Ingredients
-
4 cups puffed rice
-
4 tbsp liquid coconut oil
-
3 tbsp raw cacao powder
-
2 tbsp maple syrup
-
1/4 tsp vanilla extract
Instructions
-
Step 1
Melt the coconut oil gently if solid, ensuring it’s liquid and not overheated. -
Step 2
In a bowl, whisk together the melted coconut oil, raw cacao powder, maple syrup, and vanilla extract until smooth and glossy. Adjust maple syrup for sweetness. -
Step 3
In a large bowl, pour the chocolate coating over the puffed rice and gently fold until evenly coated. Avoid crushing the rice. -
Step 4
Spread the coated puffed rice in a single, even layer on a baking sheet lined with parchment paper. Gently press down to create clusters. -
Step 5
Bake in a preheated oven at 300°F (150°C) for 10-15 minutes, or until dry and crisp. Stir halfway through. -
Step 6
Let the cereal cool completely on the baking sheet, then break apart into desired pieces.
Important Information
Nutrition Facts (Per Serving)
It is important to consider this information as approximate and not to use it as definitive health advice.
Allergy Information
Please check ingredients for potential allergens and consult a health professional if in doubt.