Easy Homemade Strawberry Ice Cream Recipe
Homemade strawberry ice cream is more than just a dessert; it’s a nostalgic trip to sunny afternoons and pure, unadulterated joy. There’s something undeniably magical about that first spoonful of creamy, sweet goodness, bursting with the vibrant flavor of perfectly ripe strawberries. We all have those childhood memories tied to a scoop or two, don’t we? What makes this particular treat so beloved is its simplicity and the incredible satisfaction of creating something so delicious from scratch. Unlike store-bought versions that can sometimes taste artificial, our homemade strawberry ice cream celebrates the natural sweetness and delicate perfume of fresh fruit, creating a truly special taste experience that’s simply unmatched. Get ready to impress yourself and everyone you share it with!
Homemade Strawberry Ice Cream
There’s something truly magical about homemade ice cream, and when it comes to fresh, vibrant flavors, nothing beats a perfectly ripe strawberry. This recipe for homemade strawberry ice cream is a delightful journey into creating a creamy, dreamy dessert right in your own kitchen. Forget the store-bought stuff; this is pure, unadulterated strawberry bliss, bursting with natural sweetness and a hint of tang. It’s surprisingly simple to make, requiring just a few high-quality ingredients and a bit of patience. The result is a smooth, rich ice cream that will have everyone asking for seconds. Let’s get started on this deliciously rewarding adventure!
Ingredients:
Preparing the Strawberries: A Burst of Flavor
The foundation of any great strawberry ice cream is, of course, the strawberries themselves. For this recipe, I like to use fresh, ripe strawberries. You’ll want to hull them, which means removing the green leafy tops, and then dice them into manageable pieces. This allows them to break down more easily and release their juices.
Once diced, we’ll introduce them to a little bit of sweetness and a touch of acidity to amplify their natural flavor. In a bowl, combine the diced strawberries with the honey, granulated sugar, and lemon juice. The honey adds a lovely floral note and a subtle richness, while the sugar provides that classic sweetness we crave in ice cream. The lemon juice is a secret weapon; it doesn’t make the ice cream sour, but rather brightens and intensifies the strawberry flavor, preventing it from tasting flat or one-dimensional. Gently stir these ingredients together.
Now, for the magic to happen: let this strawberry mixture macerate. This means letting it sit for a period of time, allowing the sugar to draw out the juices from the strawberries. I usually let it sit for at least 30 minutes, or even an hour, at room temperature. You’ll notice that the strawberries will start to soften and release a beautiful, fragrant syrup. This syrup is pure liquid gold and will be instrum extractental in giving our ice cream that intense strawberry punch. If you have the time and are looking for an even deeper flavor, you can refrigerate the strawberry mixture for a few hours, or even overnight.
Crafting the Creamy Base
While our strawberries are doing their thing, it’s time to prepare the creamy custard base for our ice cream. This is where the luxurious texture comes from. In a separate medium bowl, combine the heavy whipping cream and the half and half. These two dairy components are key to achieving that silky smooth mouthfeel. Heavy whipping cream, with its high fat content, provides richness and creaminess, while the half and half lightens it just enough to prevent the ice cream from being overly dense. Whisk these together until they are just combined.
Next, we’ll add the vanilla extract. Vanilla is a classic ice cream flavor that acts as a wonderful enhancer to other flavors, including strawberries. It adds a subtle warmth and complexity that makes the strawberry flavor sing even brighter. Whisk the vanilla into the cream mixture.
Combining and Chilling: The Crucial Step
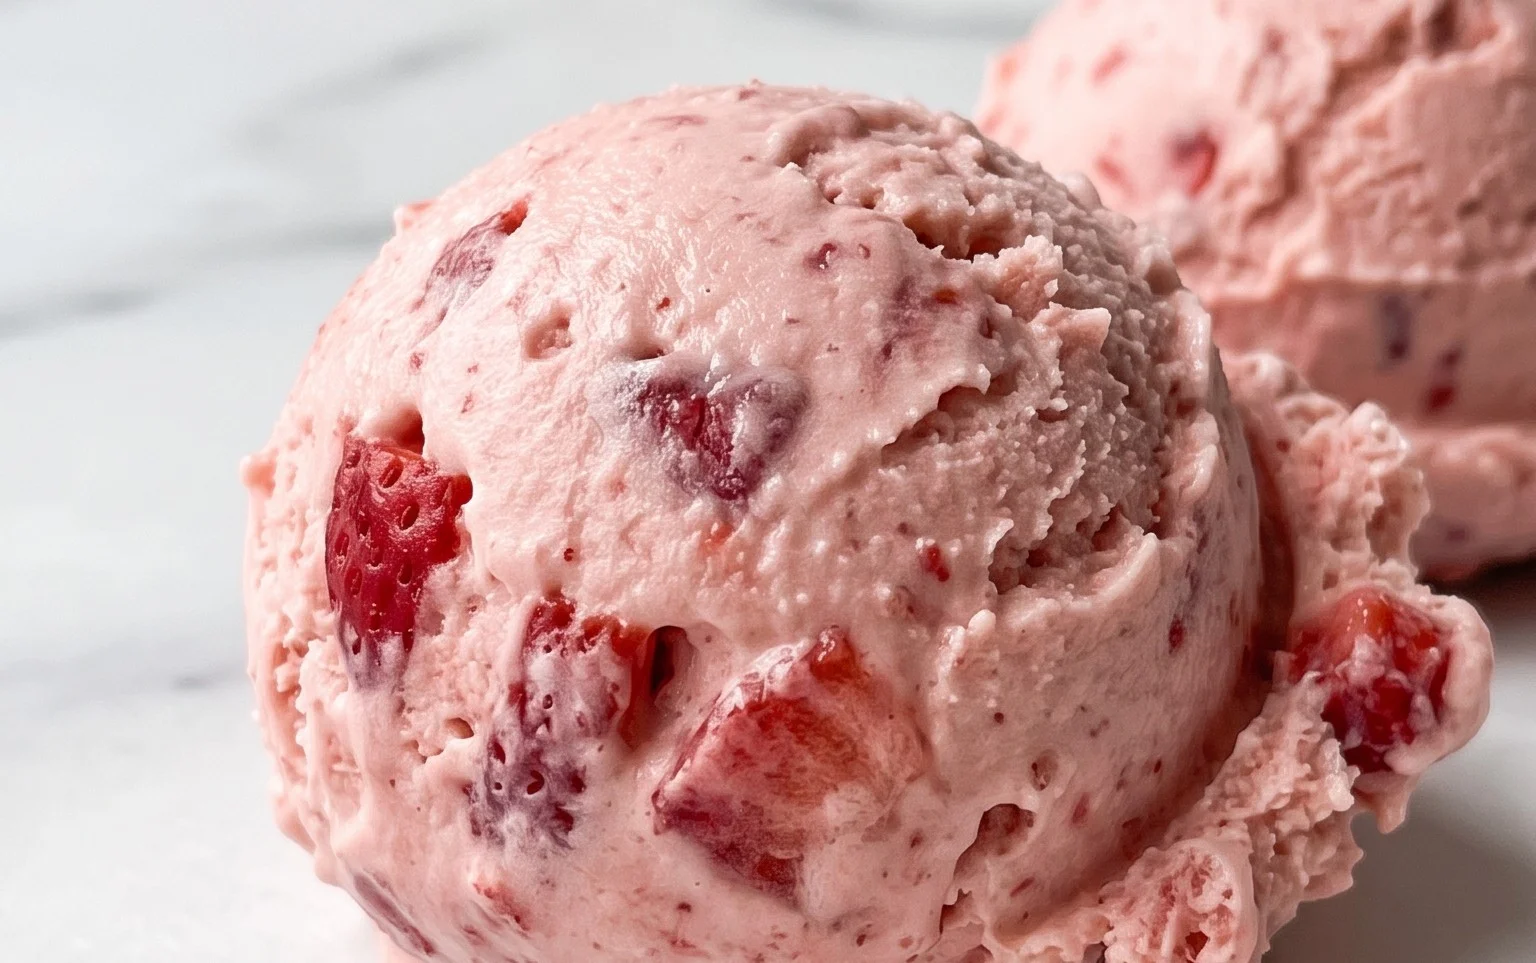
Once the strawberries have macerated and released their lovely juices, and your cream base is ready, it’s time to bring them together. Carefully add the macerated strawberries and their accumulated juices into the cream mixture. Give it a good stir, ensuring that the strawberry goodness is evenly distributed throughout the base. You’ll start to see those beautiful pink swirls already forming, a visual promise of the deliciousness to come.
This is where patience truly pays off. For optimal freezing, it’s essential that your ice cream base is thoroughly chilled. Transfer the mixture to an airtight container and refrigerate it for at least 4 hours, or preferably overnight. This chilling process allows the flavors to meld together beautifully and, more importantly, ensures that your ice cream maker can do its job efficiently, creating the smoothest possible ice cream. A cold base freezes faster and more evenly, minimizing the formation of large ice crystals.
The Churning Process: Creating Ice Cream Magic
Now comes the fun part: churning! If you have an ice cream maker, follow the manufacturer’s instructions for your specific model. Typically, this involves pouring your chilled strawberry ice cream base into the frozen bowl of your ice cream maker and letting it churn for about 20-30 minutes, or until it reaches a soft-serve consistency. The churning process incorporates air into the mixture and breaks down ice crystals, creating that signature creamy texture. As it churns, you’ll see the mixture gradually thicken and transform into the luscious ice cream we’re dreaming of.
Freezing for Perfect Texture
Once your ice cream has reached that soft-serve stage in the ice cream maker, it’s almost ready to enjoy. However, for that classic firm ice cream texture, it needs a bit more time to freeze. Carefully spoon the churned ice cream into a freezer-safe container. A loaf pan works perfectly for this. Gently smooth the top.
To prevent ice crystals from forming on the surface and to help it freeze evenly, press a piece of parchment paper or plastic wrap directly onto the surface of the ice cream, ensuring there are no air gaps. Then, cover the container tightly with a lid or another layer of plastic wrap. Place the container in the freezer for at least 4-6 hours, or until it is firm and scoopable. The longer it freezes, the firmer it will become.
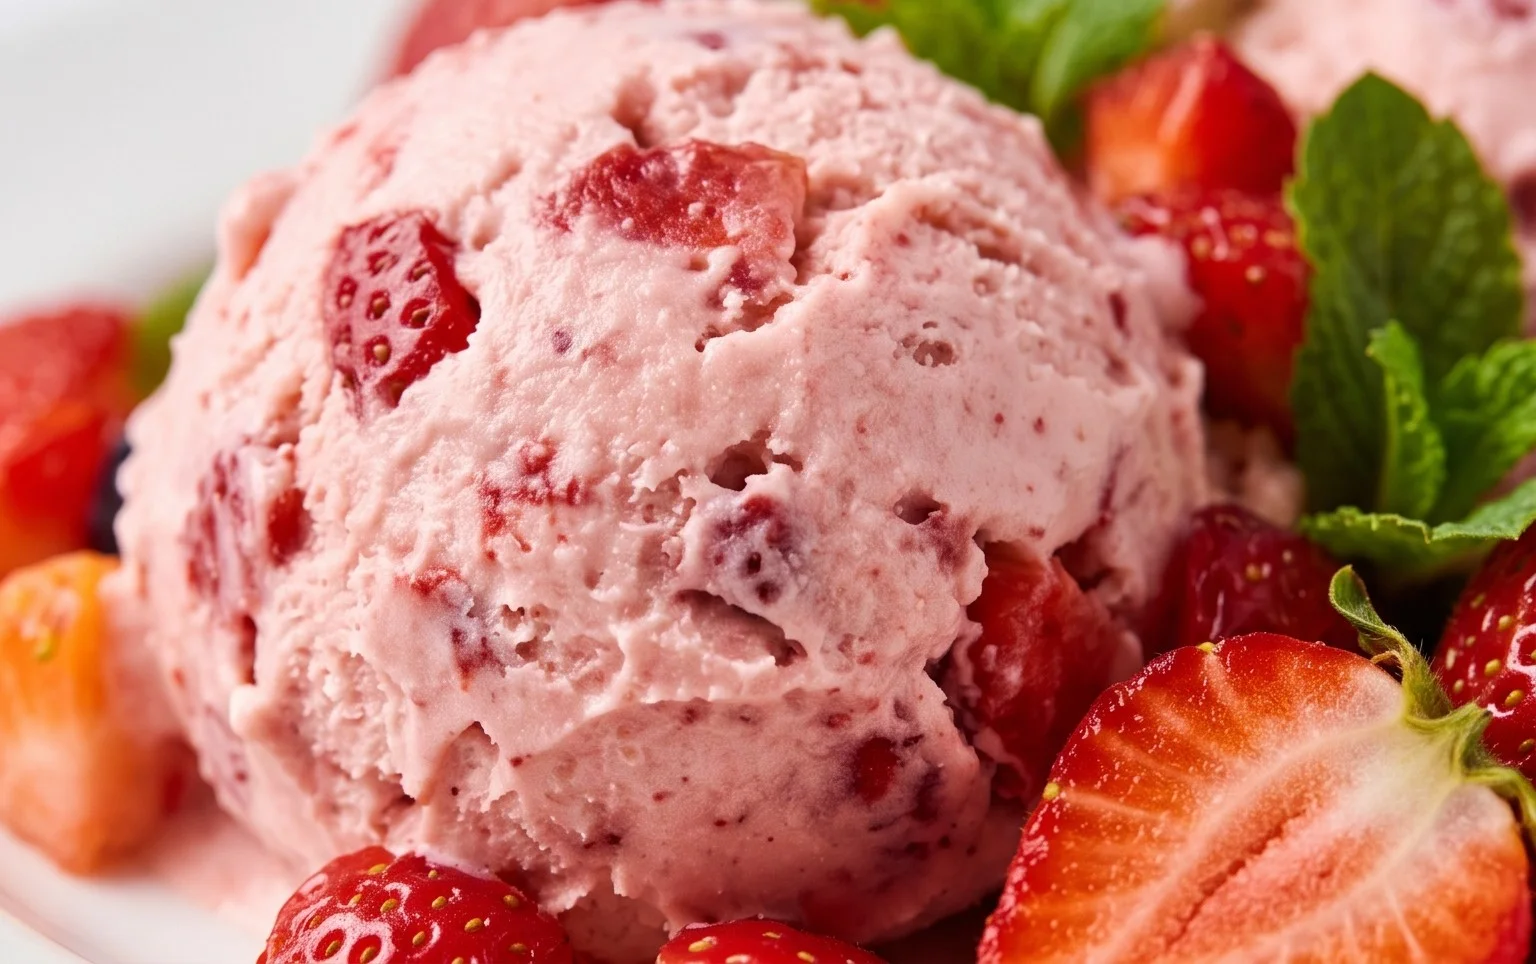
And there you have it – your very own homemade strawberry ice cream! The vibrant pink hue, the intense strawberry flavor, and the wonderfully creamy texture are a testament to the magic of simple, fresh ingredients. Enjoy every scoop of this delightful homemade treat!
Conclusion:
I hope you’re as excited as I am to dive into making your own homemade strawberry ice cream! This recipe is truly a triumph of simplicity and flavor. The beauty of this method lies in its ability to capture the pure, vibrant essence of fresh strawberries without a complicated custard base. The result is a delightfully creamy and intensely fruity treat that’s miles ahead of anything store-bought. Imagin extracte the satisfaction of scooping out a bowl of sunshine-colored ice cream you made yourself, bursting with natural sweetness and that unmistakable summer berry taste.
This delightful strawberry ice cream is wonderful served simply in a cone or bowl. However, it also makes an exceptional base for milkshakes, a decadent topping for brownies or waffles, or even layered into a trifle. For a touch of elegance, consider a drizzle of fresh strawberry coulis or a sprinkle of toasted slivered almonds. Don’t be afraid to experiment with variations! You could add a splash of balsamic glaze for a sophisticated twist, or even fold in some finely chopped basil for an unexpected herbaceous note. The possibilities are truly endless when you start with such a fantastic foundation.
Give this recipe a try; I promise you won’t be disappointed. The process is rewarding, and the taste is pure bliss. Happy churning!
Frequently Asked Questions about Homemade Strawberry Ice Cream:
Q: My ice cream isn’t as smooth as I’d like. What could be wrong?
A: Achieving a super smooth texture often depends on a few factors. Ensure your strawberries are well-pureed to avoid large fruit chunks. If you’re not using an ice cream maker, vigorous whisking during the freezing process is crucial to break up ice crystals. Allowing the ice cream to soften slightly at room temperature before serving also helps improve texture.
Q: Can I use frozen strawberries instead of fresh?
A: Absolutely! Frozen strawberries work wonderfully in this recipe and can even be more convenient. Thaw them completely before pureeing, and make sure to drain off any excess liquid to avoid making your ice cream too watery. The flavor will still be incredibly vibrant!
Homemade Strawberry Ice Cream
A simple and delicious homemade strawberry ice cream recipe made with fresh strawberries.
Ingredients
-
1 1/2 cups strawberries, hulled and diced
-
2 Tbsp honey
-
1/2 cup granulated sugar
-
1 tsp lemon juice
-
1 cup heavy whipping cream
-
1/2 cup half and half
-
1 tsp vanilla extract
Instructions
-
Step 1
In a bowl, mash the diced strawberries with the honey, granulated sugar, and lemon juice. Let it sit for about 15 minutes to allow the flavors to meld. -
Step 2
In a separate bowl, whisk together the heavy whipping cream, half and half, and vanilla extract until well combined. -
Step 3
Gently fold the strawberry mixture into the cream mixture. -
Step 4
Pour the mixture into an ice cream maker and churn according to the manufacturer’s instructions. -
Step 5
Once churned, transfer the ice cream to an airtight container and freeze for at least 2-4 hours, or until firm.
Important Information
Nutrition Facts (Per Serving)
It is important to consider this information as approximate and not to use it as definitive health advice.
Allergy Information
Please check ingredients for potential allergens and consult a health professional if in doubt.