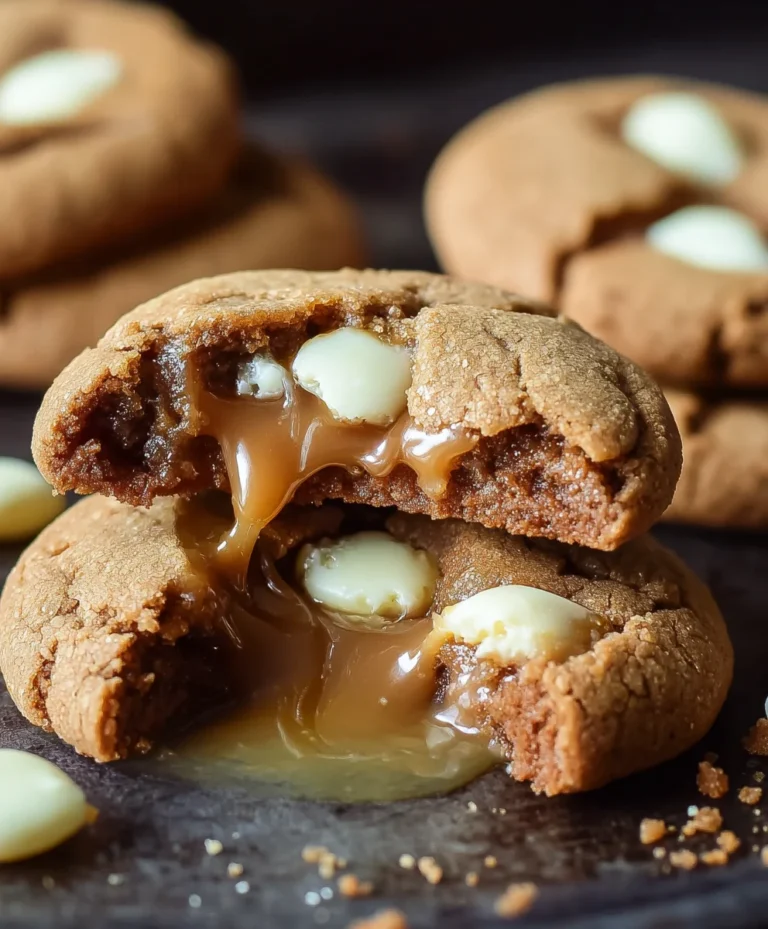
Chocolate Covered Strawberry Cookies – Delicious Easy Recipe
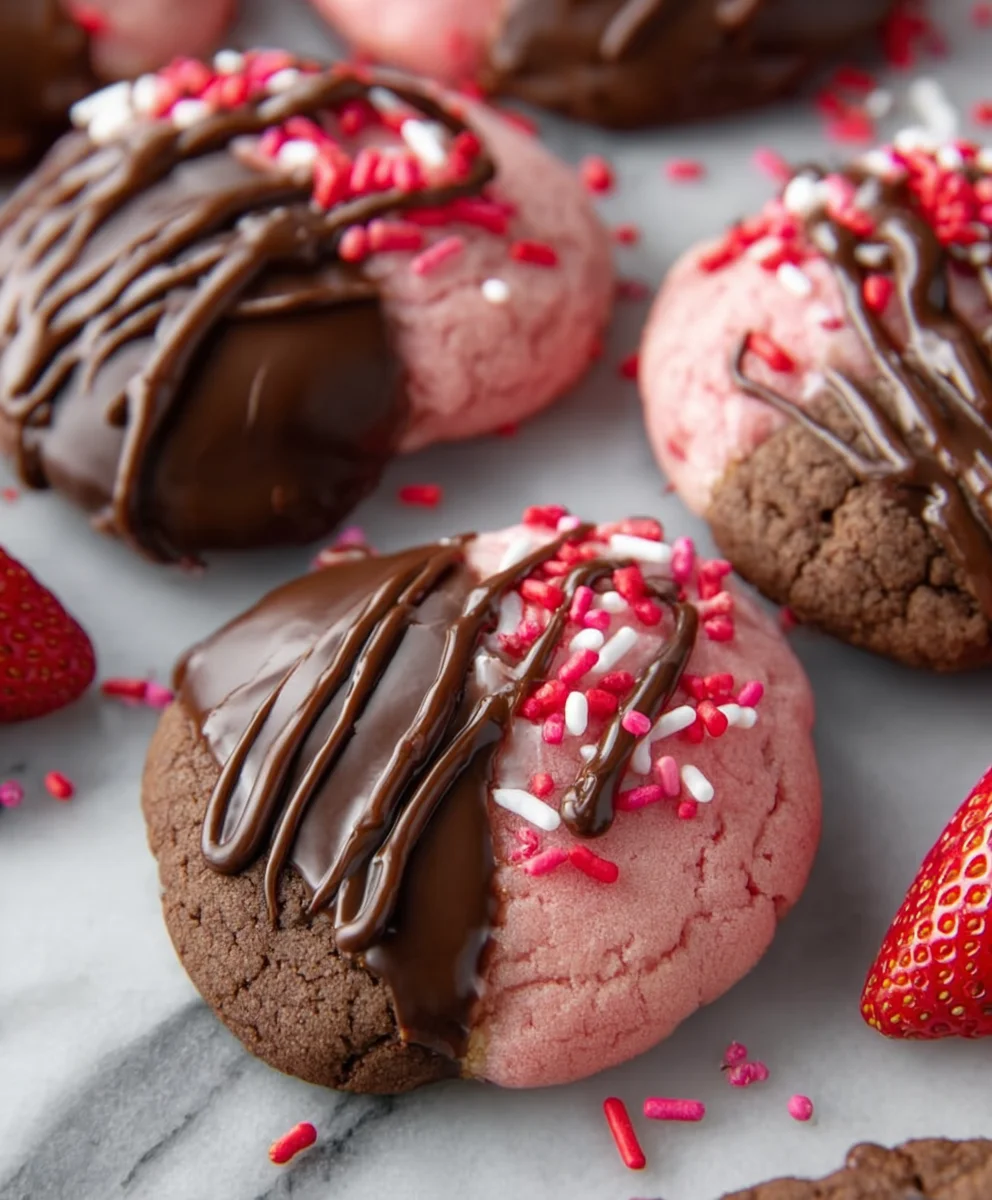
Chocolate Covered Strawberry Cookies are the delightful fusion of two beloved treats, and honestly, who wouldn’t fall head over heels for that? Imagin extracte the sweet, slightly tart burst of fresh strawberry, enveloped in rich, decadent chocolate, all nestled within a perfectly baked, chewy cookie base. It’s a symphony of textures and flavors that instantly transports you to a state of pure bliss. People adore these cookies because they capture the essence of a classic Vnon-alcoholic alentine’s Day indulgence but are accessible year-round. What truly sets these Chocolate Covered Strawberry Cookies apart is the artful balance. We’re not just adding a flavor; we’re creating an experience. The juicy sweetness of the strawberries melds harmoniously with the deep cocoa notes, while the cookie provides a comforting foundation. Get ready to elevate your dessert game with this irresistible creation that’s as beautiful as it is delicious.
Ingredients:
- 1 box strawberry cake mix
- 1/3 cup vegetable oil
- 1 teaspoon vanilla extract
- 2 large eggs
- 1 cup chocolate chips (semi-sweet, milk, or dark, your preference) OR 1 cup chocolate candy melts, chopped
- Optional: Sprinkles for decorating
Preparing Your Chocolate Covered Strawberry Cookie Dough
Preheating and Mixing Dry Ingredients
The first step to creating these delightful Chocolate Covered Strawberry Cookies is to preheat your oven. This ensures that your cookies bake evenly and achieve the perfect texture. Set your oven to 350 degrees Fahrenheit (175 degrees Celsius). While the oven is heating up, gather a large mixing bowl. Open the box of strawberry cake mix and pour the entire contents into the bowl. There’s no need to add anything else to the cake mix itself; we’re using it as the foundation for our cookie dough. The strawberry flavor in the mix will provide a subtle yet delicious fruitiness that pairs beautifully with the chocolate.
Combining Wet Ingredients
Next, we’ll incorporate the wet ingredients that will bind everything together and give our cookies moisture. To the bowl containing the strawberry cake mix, add the vegetable oil. Vegetable oil is a fantastic choice for cookies as it contributes to a tender and moist crum extractb. Following the oil, add the vanilla extract. Vanilla is a classic flavor enhancer that complements both strawberry and chocolate wonderfully, adding depth and aroma to our cookies. Finally, crack the two large eggs into the bowl. Make sure to check for any shell fragments before adding them. These eggs are crucial for structure and richness.
Forming the Cookie Dough
Now it’s time to bring all these ingredients together. Using a sturdy spoon or a rubber spatula, begin extract to mix the ingredients. Start by gently combining the wet and dry components. You’ll notice the mixture transforming from a powdery cake mix into a thick, slightly sticky dough. Continue to mix until all the ingredients are fully incorporated and there are no dry streaks of cake mix remaining. Be careful not to overmix at this stage; just mix until the dough comes together. The dough should be thick enough to handle but still pliable. If it seems a little too dry, you can add another tablespoon of vegetable oil, but this is rarely necessary with a standard cake mix.
Shaping and Baking Your Cookies
Incorporating the Chocolate (or Candy Melts)
This is where our cookies truly become “Chocolate Covered Strawberry Cookies”! You have two excellent options here. The first is to stir in 1 cup of chocolate chips directly into the cookie dough. You can use your favorite kind: semi-sweet for a classic balance, milk chocolate for extra sweetness, or dark chocolate for a richer flavor. Distribute the chips evenly throughout the dough. Alternatively, if you prefer a smoother, meltier chocolate experience, you can use 1 cup of chopped chocolate candy melts. If using candy melts, you might consider gently melting them slightly before adding to the dough to ensure they distribute more evenly, though they will melt sufficiently during baking regardless. Fold the chocolate chips or candy melts gently into the dough until they are well distributed.
Forming the Cookie Balls
Once your chocolate is incorporated, it’s time to shape the cookies. You can use a tablespoon or a small cookie scoop to portion out the dough. Roll each portion into a ball between your palms. Aim for uniformly sized balls so that your cookies bake at the same rate. Place these dough balls onto a baking sheet lined with parchment paper or a silicone baking mat. Leave about 2 inches of space between each cookie ball, as they will spread as they bake. If you’re using sprinkles, this is the perfect time to add them. You can gently press a few sprinkles onto the tops of the dough balls before they go into the oven for an extra festive touch. This step adds visual appeal and a fun texture.
Baking to Perfection
Now, carefully place the baking sheet into your preheated oven. Bake the cookies for approximately 10-12 minutes. The exact baking time will depend on your oven and the size of your cookies. You’re looking for the edges to be lightly golden brown and set, but the centers should still appear slightly soft. They will continue to cook slightly as they cool on the baking sheet. Avoid overbaking, as this can result in dry, hard cookies. Once they’re done, remove the baking sheet from the oven and let the cookies cool on the sheet for about 5 minutes. This allows them to firm up enough to be moved without breaking.
Cooling and Finishing Touches
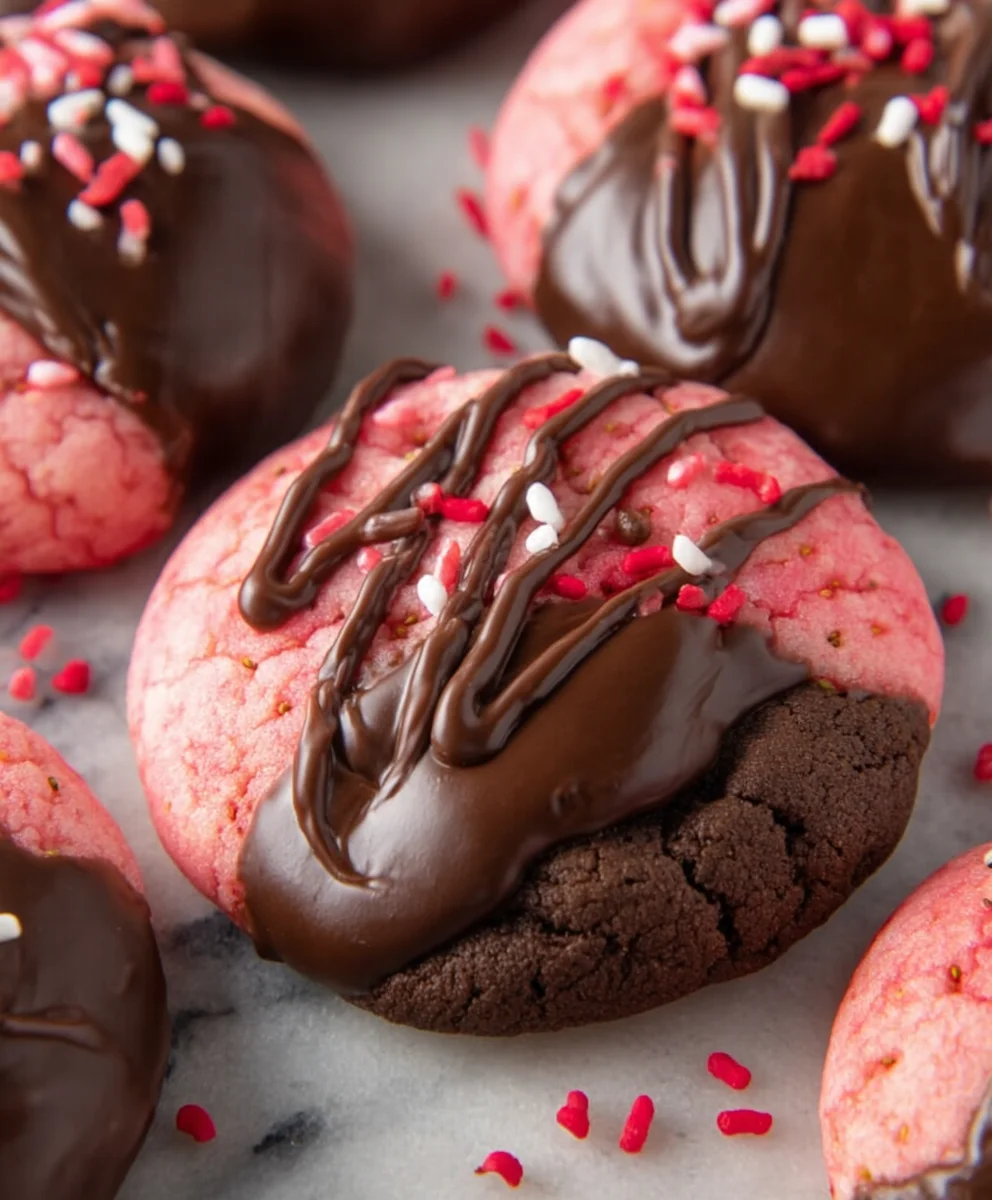
After the initial cooling period on the baking sheet, carefully transfer the cookies to a wire cooling rack to cool completely. This is essential for achieving the best texture. As they cool, the chocolate chips or candy melts will set up beautifully. If you opted not to add sprinkles before baking, you can let the cookies cool completely and then drizzle them with melted chocolate and add sprinkles then for an even more decorative finish. These Chocolate Covered Strawberry Cookies are absolutely divine when served warm with a glass of milk, but they also store well in an airtight container at room temperature for a few days, making them perfect for sharing or enjoying as a sweet treat anytime.
Conclusion:
I hope you’ve enjoyed learning how to create these delightful Chocolate Covered Strawberry Cookies! This recipe strikes a perfect balance between the rich decadence of chocolate and the sweet, slightly tart burst of strawberries, all wrapped up in a perfectly baked cookie. Whether you’re looking for a special treat for a holiday, a fun baking project with family, or just a way to satisfy your sweet cravings, these cookies are sure to impress. Their vibrant appearance and delicious flavor make them a standout addition to any dessert table.
For serving, these cookies are fantastic on their own, but they also pair beautifully with a glass of cold milk, a rich hot chocolate, or even a scoop of vanilla bean ice cream. Consider gifting them in a beautifully decorated tin; they make a thoughtful and delicious present.
Don’t be afraid to get creative with variations! You could try adding a pinch of cinnamon for a warming spice, a hint of orange zest to complement the strawberry flavor, or even a drizzle of white chocolate over the top for extra visual appeal. The possibilities are endless!
Baking should be an enjoyable experience, so embrace the process and have fun with your Chocolate Covered Strawberry Cookies. I encourage you to try this recipe and share your delicious creations!
Frequently Asked Questions:
Can I use fresh strawberries instead of freeze-dried for the Chocolate Covered Strawberry Cookies?
While fresh strawberries can be used, they contain a lot of moisture which can make the cookies spread too much and become soggy. For the best texture and flavor concentration in Chocolate Covered Strawberry Cookies, freeze-dried strawberries are highly recommended. If you must use fresh, ensure they are very finely chopped and perhaps even gently pressed to remove excess liquid before incorporating them into the dough.
How should I store my Chocolate Covered Strawberry Cookies?
Store your finished Chocolate Covered Strawberry Cookies in an airtight container at room temperature. They will stay fresh and delicious for about 3-4 days. Avoid refrigerating them, as this can sometimes affect the texture of the cookie and the chocolate coating.
Chocolate Covered Strawberry Cookies – Delicious Easy Recipe
A simple and delicious recipe for chocolate-covered strawberry cookies, perfect for any occasion.
Ingredients
-
1 box strawberry cake mix
-
1/3 cup vegetable oil
-
1 teaspoon vanilla extract
-
2 large eggs
-
1 cup chocolate chips (semi-sweet, milk, or dark)
-
1 cup chocolate candy melts, chopped
-
Optional: Sprinkles for decorating
Instructions
-
Step 1
Preheat your oven to 350 degrees Fahrenheit (175 degrees Celsius). In a large mixing bowl, pour the entire contents of the strawberry cake mix. -
Step 2
Add the vegetable oil, vanilla extract, and two large eggs to the bowl with the cake mix. -
Step 3
Mix the ingredients together with a spoon or spatula until a thick, slightly sticky dough forms. Ensure all dry streaks of cake mix are incorporated. Do not overmix. -
Step 4
Gently fold in the chocolate chips or chopped chocolate candy melts until evenly distributed throughout the dough. -
Step 5
Portion the dough using a tablespoon or cookie scoop, rolling each portion into a ball. Place the dough balls onto a baking sheet lined with parchment paper, leaving about 2 inches between each cookie. If using, press sprinkles onto the tops of the dough balls. -
Step 6
Bake for 10-12 minutes, or until the edges are lightly golden brown and set, but the centers are still soft. Remove from oven and let cool on the baking sheet for 5 minutes. -
Step 7
Transfer the cookies to a wire cooling rack to cool completely. Drizzle with melted chocolate and add more sprinkles if desired once fully cooled.
Important Information
Nutrition Facts (Per Serving)
It is important to consider this information as approximate and not to use it as definitive health advice.
Allergy Information
Please check ingredients for potential allergens and consult a health professional if in doubt.